
Where Can I Make An Account?
You have three possible paths to creating a new account, the Home screen, the Account List, and the Quick Add. Each of these will take you to the same style of window.
For a walkthrough of how to use the QuickAdd, click here.
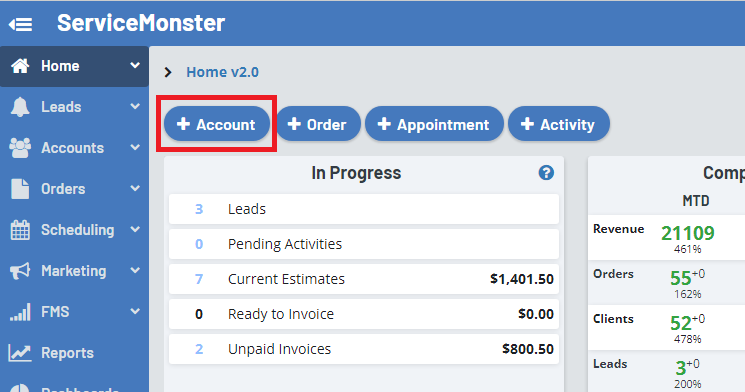
Home Screen
From the Home screen, simply click on the "+ Account" button. This path will allow you to create an account only if using Home v.
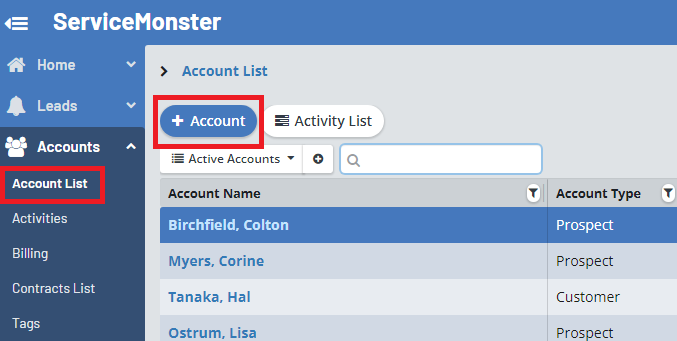
Account List
From the Account List page, simply click on the "+ Account" button. This path will allow you to create an account only.
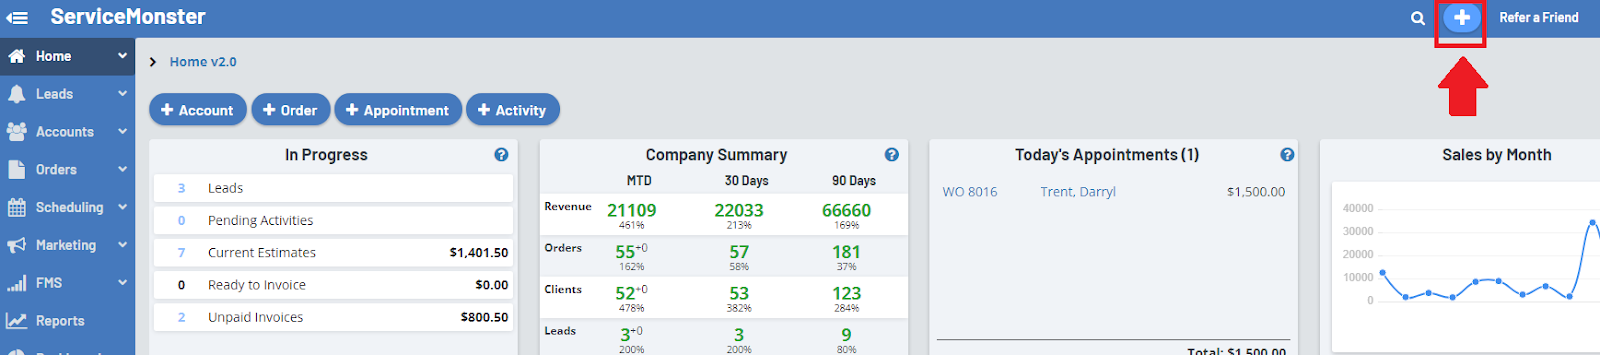
Quick Add
You can access the Quick Add from anywhere on ServiceMonster by simply clicking on the blue "+" button at the top of the screen. This path will allow you to not only create an account, but also an order and appointment if needed.
How Do I Make The Account?
This is what the create an account screen looks like no matter which path you take.
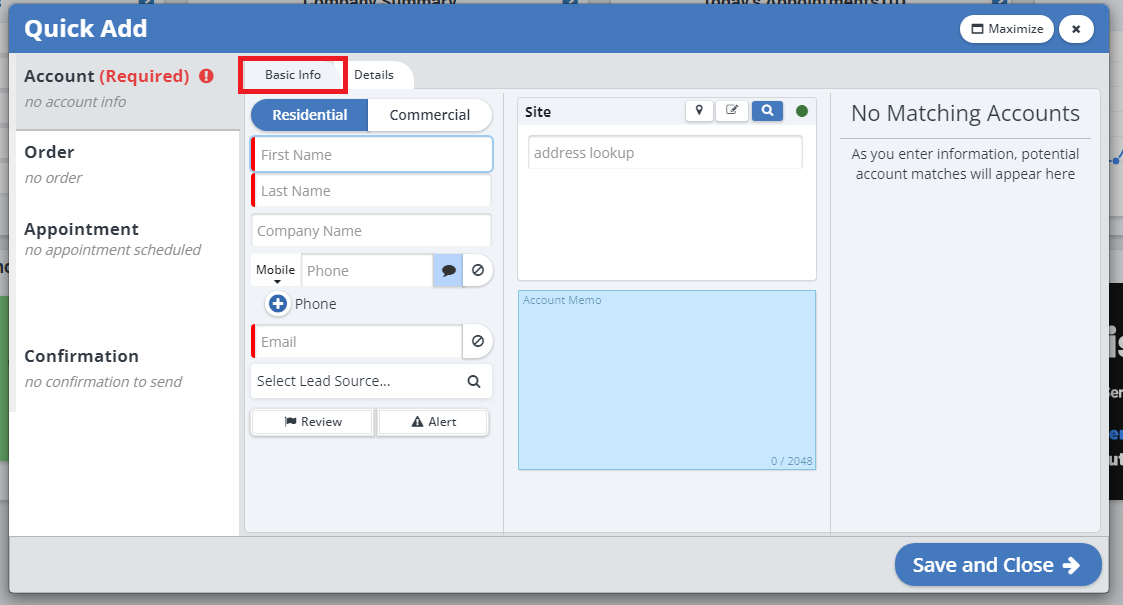
Basic Info
Here you can begin adding the details of the account. If you are looking for a preexisting account, then all you have to do is start typing in the details for the account and ServiceMonster will list any possible matches in the box to the right. Click the Go to Account button to leave the Quick Add & open this account. Use the arrow highlighted on the left if this isn't the same customer, which returns you to enter account information once again.

New Customer
If it is not a preexisting account, you can simply fill out all the account details as quickly as you can, with as much as the client will provide.
Residential or Commercial: Choose if the account is a Residential or Commercial account.
First Name: The first name of the person associated with the account. (If this is a Residential account, this is a required field and will be the account name)
Last Name: The last name of the person associated with the account. (If this is a Residential account, this is a required field and will be the account name)
Company Name: The company name associated with the account. (If this is a Commercial account this is a required field and will be the account name)
Phone: The phone number for the account. Here you can add in one phone number. If the number is one you can send texts to, you can leave the text box highlighted blue. If the client has asked you not to call this number for marketing purposes you can click on the "No" icon (circle with a line through it) to mark their account as a "Do Not Contact - Call" account.
To add another phone number, click on the “+ Phone” button.
Email: The email address for the account. You can add multiple email addresses by including a semicolon between them. If the client has asked you not to email this email address for marketing purposes you can click on the "No" icon (circle with a line through it) to mark their account as a "Do Not Contact - Email" account.
Select Lead Source: This is where you enter how the client found out about this business. You can choose either a Campaign (Marking effort), or an Account. In this instance, an Account is one of your existing clients who recommended your services.
Review: Flag this account for review. You can filter for review accounts on the account list.
Alert: You can add an alert to this account. To learn more about alerts click here.
Site: The site address, you can use the address helper to choose from a drop-down list of possible addresses.
Memo: Add in notes about the account that the client will not be able to see.
Possible Matches: As you type in information about the account, ServiceMonster will search through all of your accounts. Any possible account matches will show up there, and you can simply select the account from there if so. It will compare the name, company name, address, email, and phone number.
Details
In the details tab, you can edit or add optional additional details about your client. This can be for a variety of topics that might help with on-site work, future visits or marketing efforts as well.
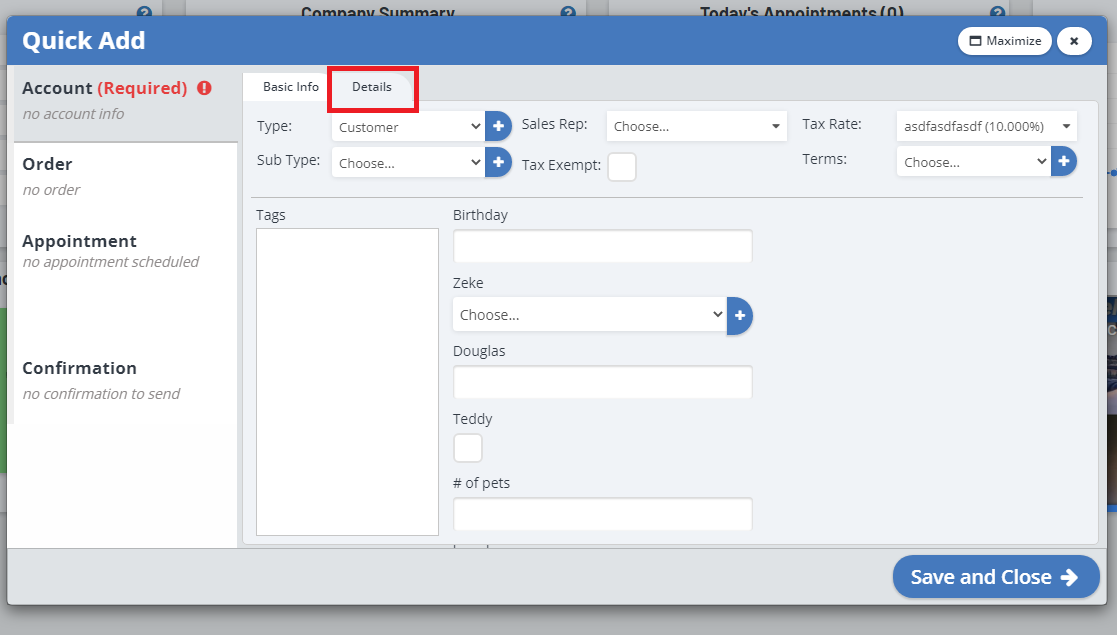
Type: Change the account type.
Sub Type: Change the account sub-type.
Sales Rep: Select a sales representative that is attached to this account.
Tax Exempt: Mark this box if this client is tax-exempt.
Tax Rate: Select the tax rate for this account.
Terms: Select the payment terms for this account (Select from Due Upon Receipt Net 15, Net 30, or Net 60)
Save and Close: Once you have filled out the account information if you click "Save and Close" the account will be made. If you want to continue on to make an order, you can simply click on the "Order" tab on the left-hand side to keep moving through the process.
Once you click "Save and Close" the account will be created.