
Click here to learn more about Accounts within ServiceMonster.
Where Is The Account Details Page?
Select "Accounts" from the Main Menu, then "Account List" and click on the account name you wish to view.
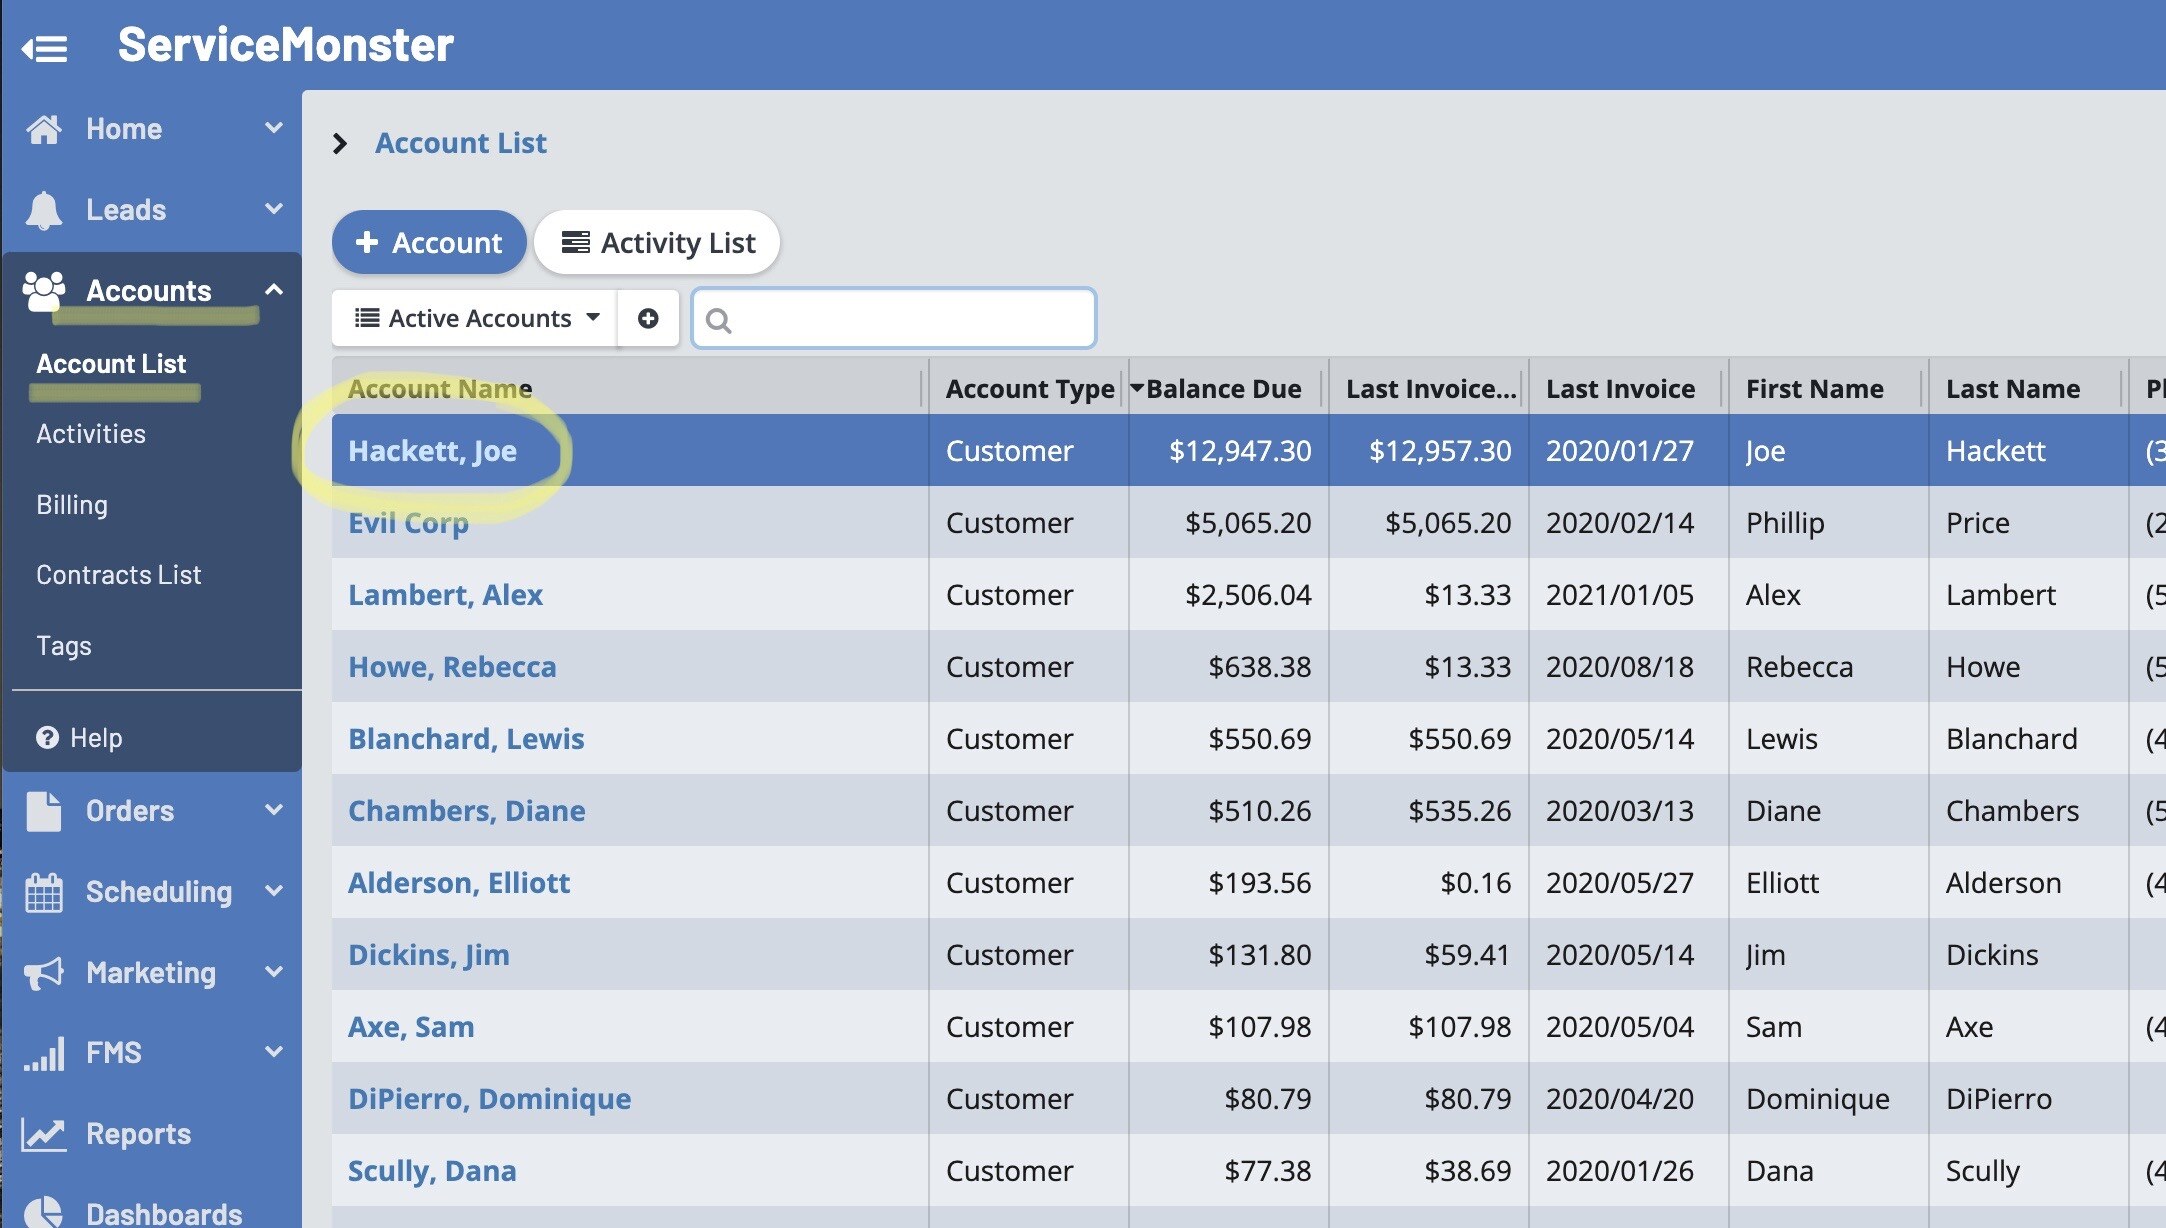
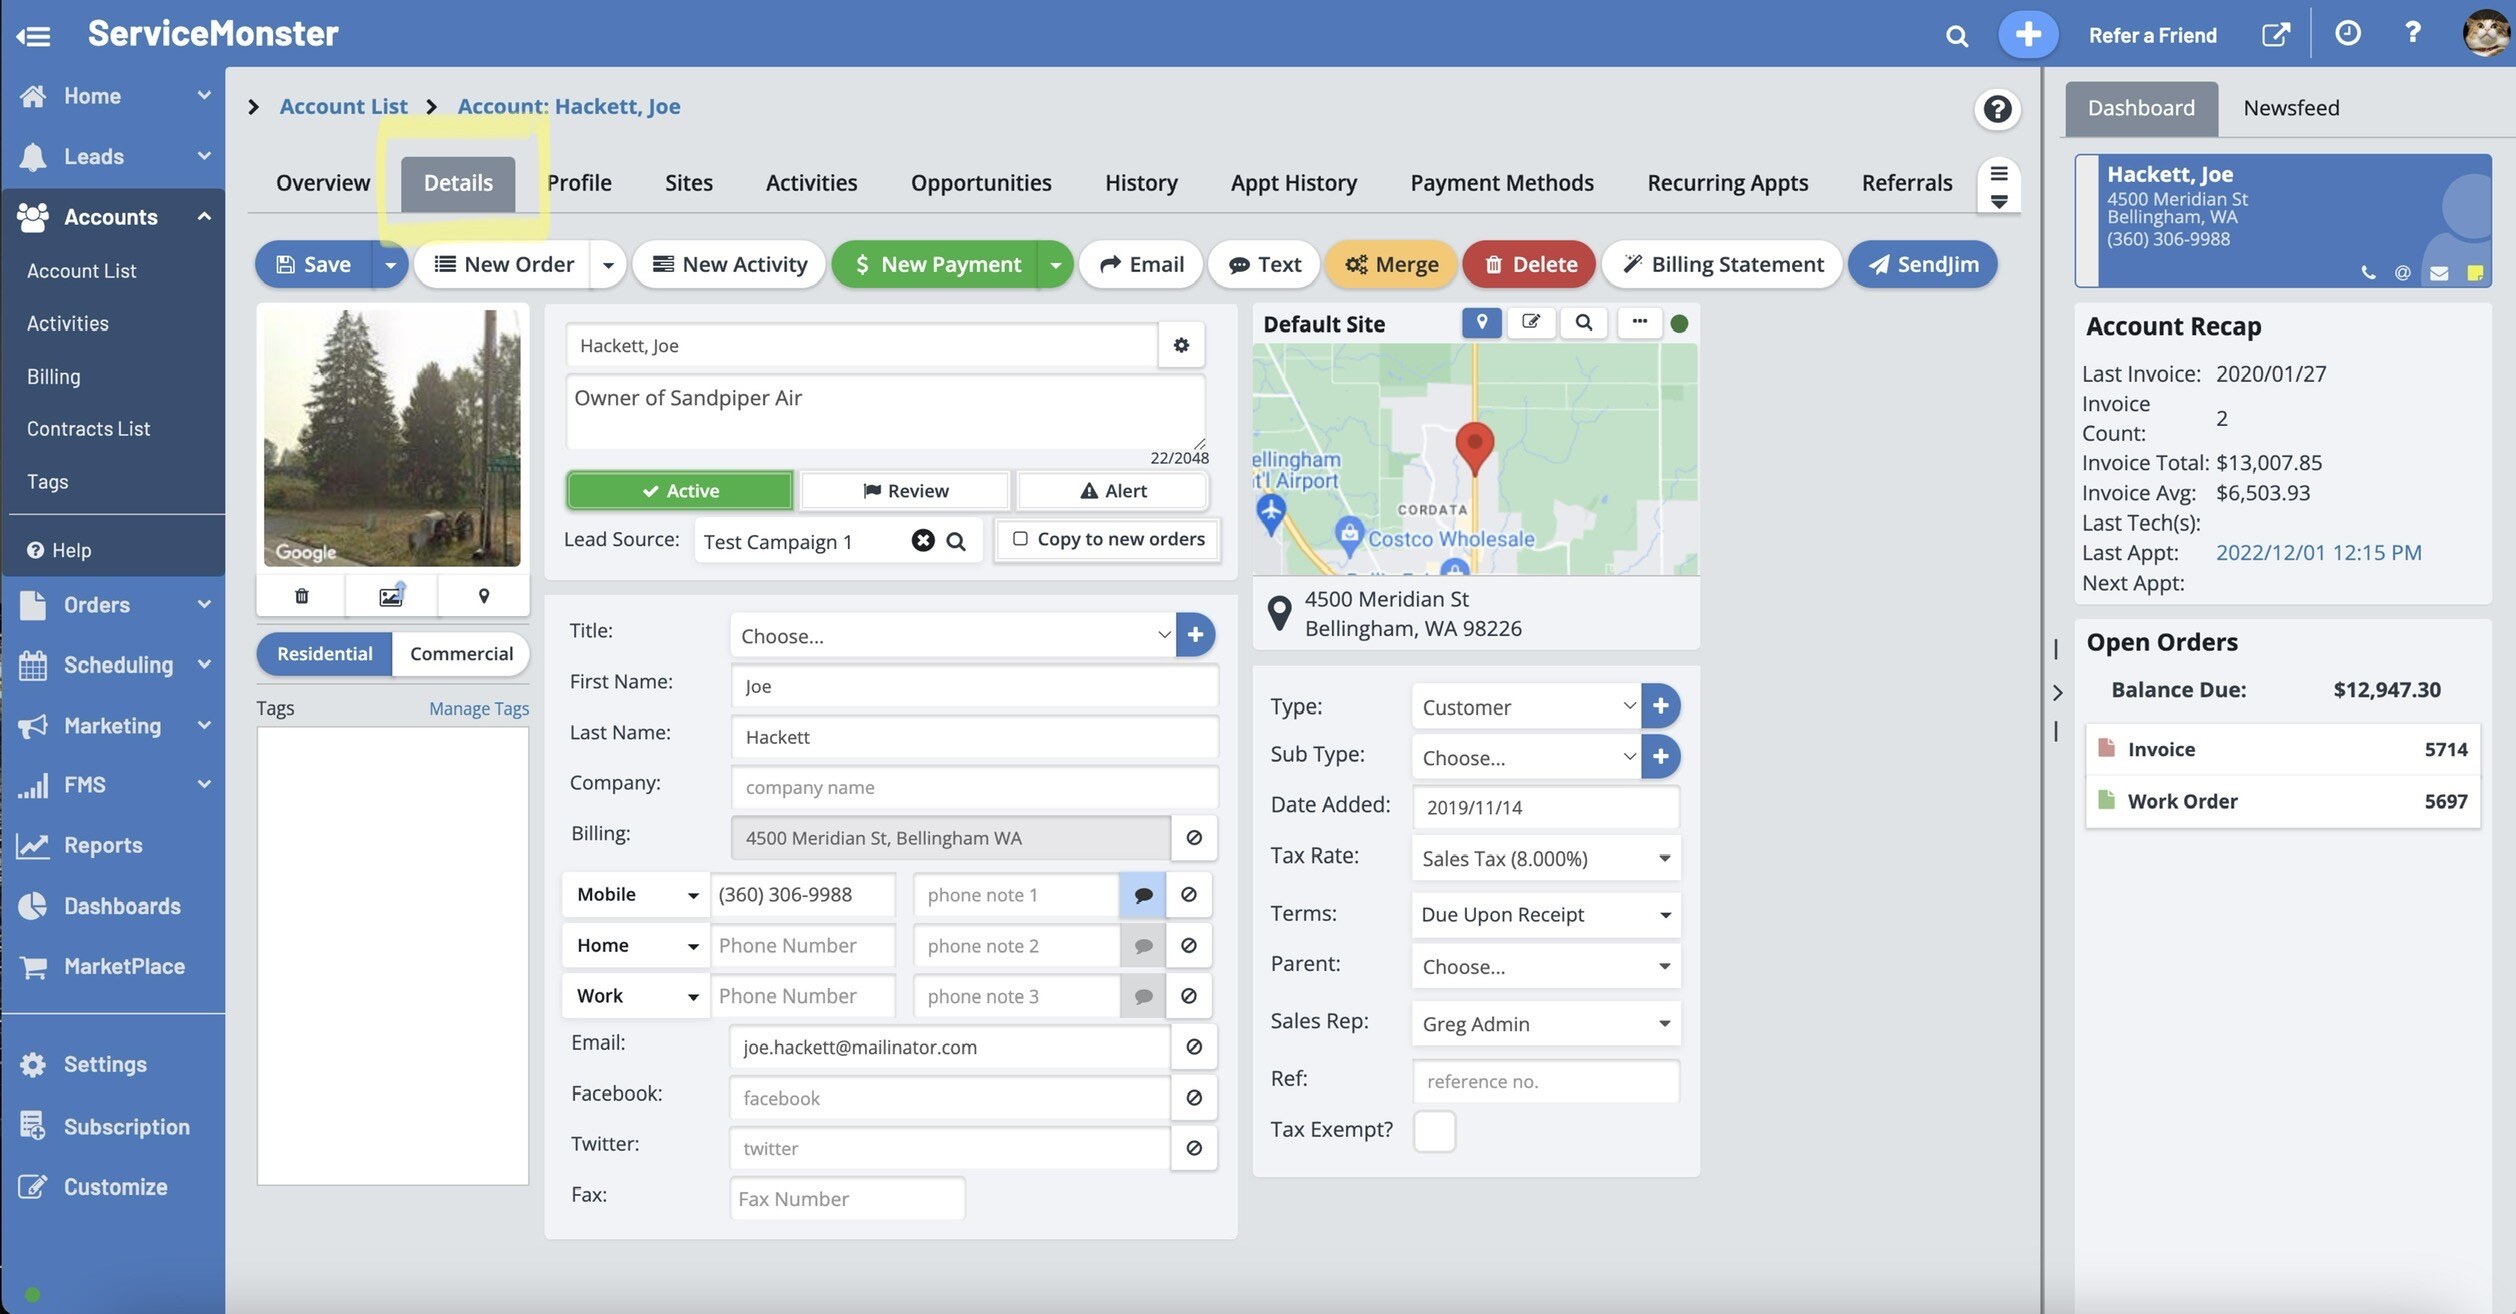
Click on the "Details" tab. This is the Account Details Page.
Left Side
Image: The left of the screen has the Google Street View of the location. As it's coming from Google, we can't guarantee the accuracy but it should be close. Use the image manager icon underneath the picture to upload your own picture.
Residential/Commercial: Select for the appropriate type of this customer.
Tags: Use Account Tags to help group clients together. Learn more here: Account Tags
Top Menu Bar
The Menu Bar across the top gives you quick access to key actions.

Save: Save any changes you've made. Also use the dropdown arrow to "Save & Close" and "Save & New" to start a new account.
New Order: Place a new order for the account. Also use the dropdown arrow to specify if it's an estimate, work order, cash sale, or a new contract.
New Activity: Make a note, call, task, or mail to this account.
New Payment: Select an order to apply a new payment to, or use the dropdown arrow to record a credit memo to the account.
Email: Open up the Email Editor to send an email to this account.
Text: Open up the Send Text window to send a text to this account.
Merge: Merge details from a different account into this account.
Delete: Open a window to either deactivate or delete this account.
Billing Statement: Open the Billing Statements window to generate a billing statement pdf to print and/or email for this account.
Account Details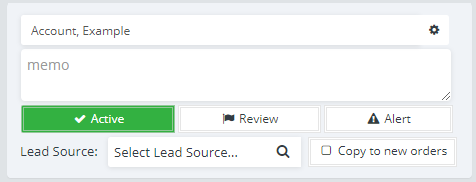
Account Name: The name of the account. For residential accounts this will be the first and last name of your main contact for the account for commercial accounts this will be the company name.
Gear Icon: Reformat this account's name schema from usually Last, First to Business Name. You can set the standard naming scheme in Company Settings.
Memo: Here is where you can add notes about the account that you want to see from the account page or from the Quick Add. Clients can not see these notes.
Active: If the account is active, leave this set on active. To deactivate the account click on the Active button and click save. If the account is deactivated it will not be available on the active account list and will not show up on the quick add.
Review: You can flag accounts for review by clicking on this button. You can see these in the Account List dropdown under "Review Accounts".
Alert: You can add an alert to the account.
Lead Source: The lead source for this account.
Copy To New Order: If that lead source should be used on all new orders check this box.

Title: You can choose a title, such as Mr. or Ms. for the account.
First Name: The first name of the person associated with the account.
Last Name: The last name of the person associated with the account.
Company: (Optional for residential accounts) the name of the company associated with the account. If this is a commercial account, this will be the account name.
Billing: The billing address on the account. This is the primary address on the account and will be pulled for letter campaigns. If you they have asked you not to send mail to this address, then click on the "No" symbol (The circle with a line through it). The standard address used is the Default Site, but it can be changed. Learn more here: Change a billing address
Mobile: Mobile phone number. You can also mark if the phone number is one you can send texts to (The little chat icon) or if they have asked you not to call that number for marketing purposes then click on the "No" symbol (Circle with a line through it). You can change the label by clicking the selector. You can also enter notes about this line into the phone note area.
Home: Home phone number. You can also mark if the phone number is one you can send texts to (The little chat icon) or if they have asked you not to call that number for marketing purposes then click on the "No" symbol (The circle with a line through it). You can change the label by clicking the selector. You can also enter notes about this line into the phone note area.
Work: Work phone number. You can also mark if the phone number is one you can send texts to (The little chat icon) or if they have asked you not to call that number for marketing purposes then click on the "No" symbol (The circle with a line through it). You can change the label by clicking the selector. You can also enter notes about this line into the phone note area.
Email: The email address for the account. To add multiple email addresses, simply separate them with a semicolon ";". If your client has asked you not to email them for marketing purposes, then click on the "No" symbol (The circle with a line through it).
Facebook: The Facebook page associated with this account.
Twitter: The Twitter page associated with this account.
Fax: Enter a fax number if available.
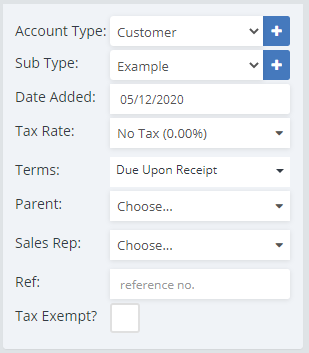
Account Type: Here you can choose the account type. Common options include customer and prospect. You can also add in your own options using the "+" button.
Sub Type: Here you can choose an account sub-type. You can add in your own options using the "+" button. This is optional but can be a helpful organizational tool for yourself to categorize your clients.
Date Added: The date the account was added into the ServiceMonster system.
Tax Rate: The tax rate being applied to the account. The primary tax rate on Orders is set to the Default Site, but this can be changed in Company Settings.
Terms: The terms of payment that are going to be applied to orders on the account, you may choose between "Due Upon Receipt", "Net 15", "Net 30", or "Net 60". Learn more here: Payment Terms
Parent: You can choose a parent account for this account.
Sales Rep: You can choose an employee that was the sales rep for this account.
Ref: Add a reference number for the account.
Tax Exempt: Mark if this account is tax-exempt.