
These templates are so customizable, you have the opportunity to wow you clients with your own personal branding while also utilizing Data Tags to make each email or text sent personalized for every client.
To learn how to make SMS (Text) Templates Click Here
To learn how to make Marketing Templates, Click Here
Click on one of these links to hop to a specific section on this page:
Creating an Email Template from Scratch
Creating an Email Template by Copying a Template
Turning A Marketing Template Into a Email Template
Toolbar Breakdown (Merge Fields, Insert Images, Hyper Links)
Creating an Email Template
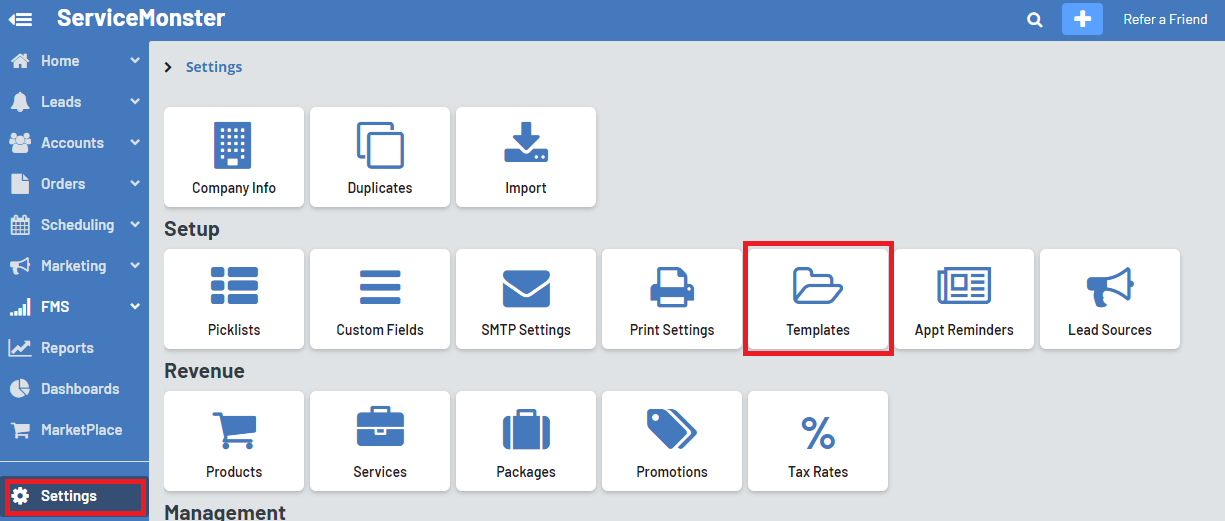
To find your Email Templates, click on “Settings” and then “Templates”
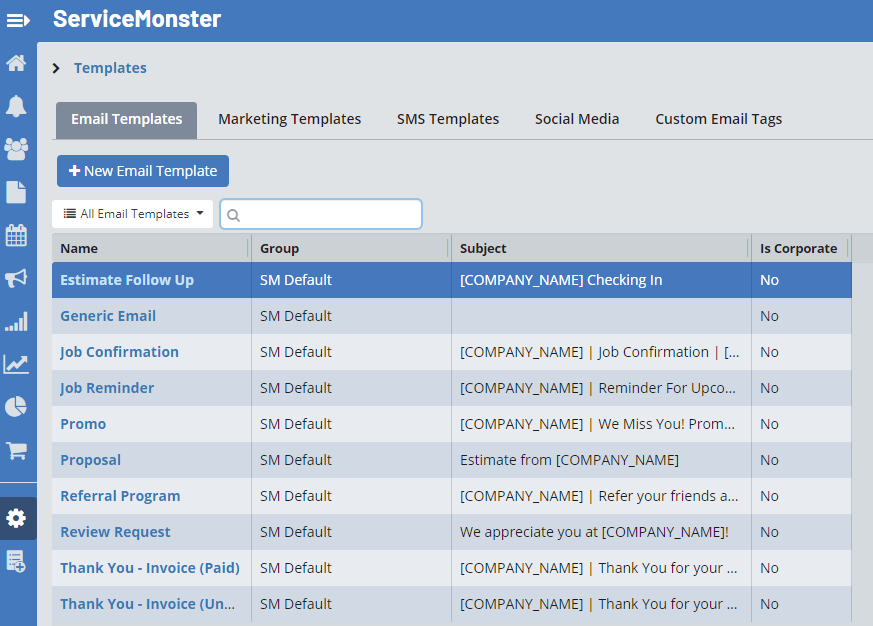
This will take you to the Email Templates page where you can view your current emails, edit them, or creating new templates. You will already have a few in your system created by ServiceMonster.
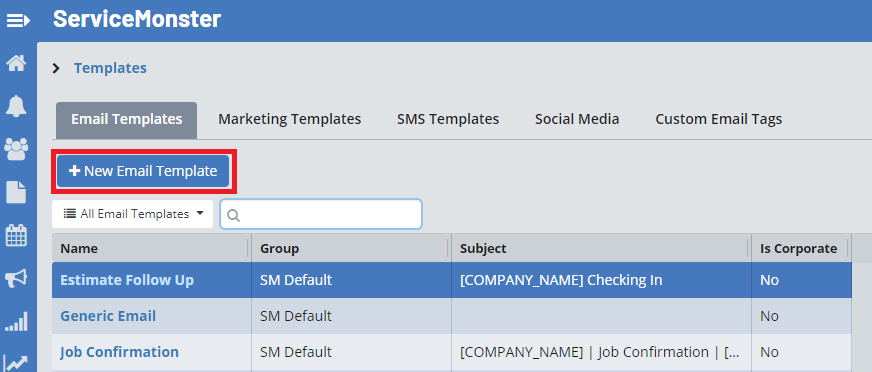
Starting From Scratch
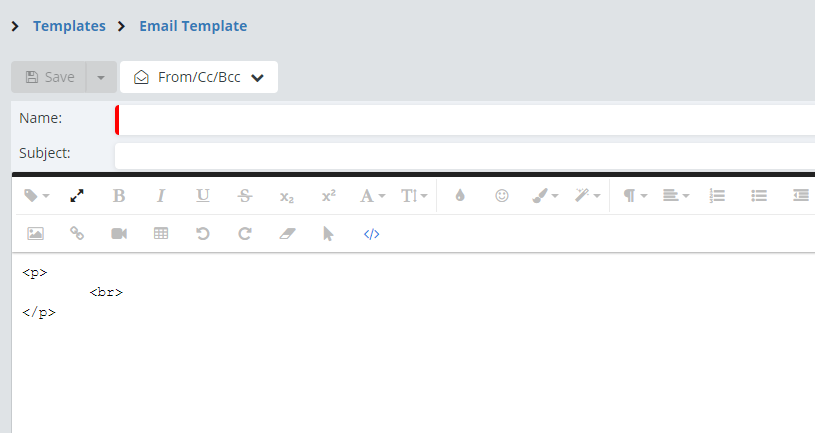
You can create a new template by scratch by clicking on the “+ New Email Template” button.
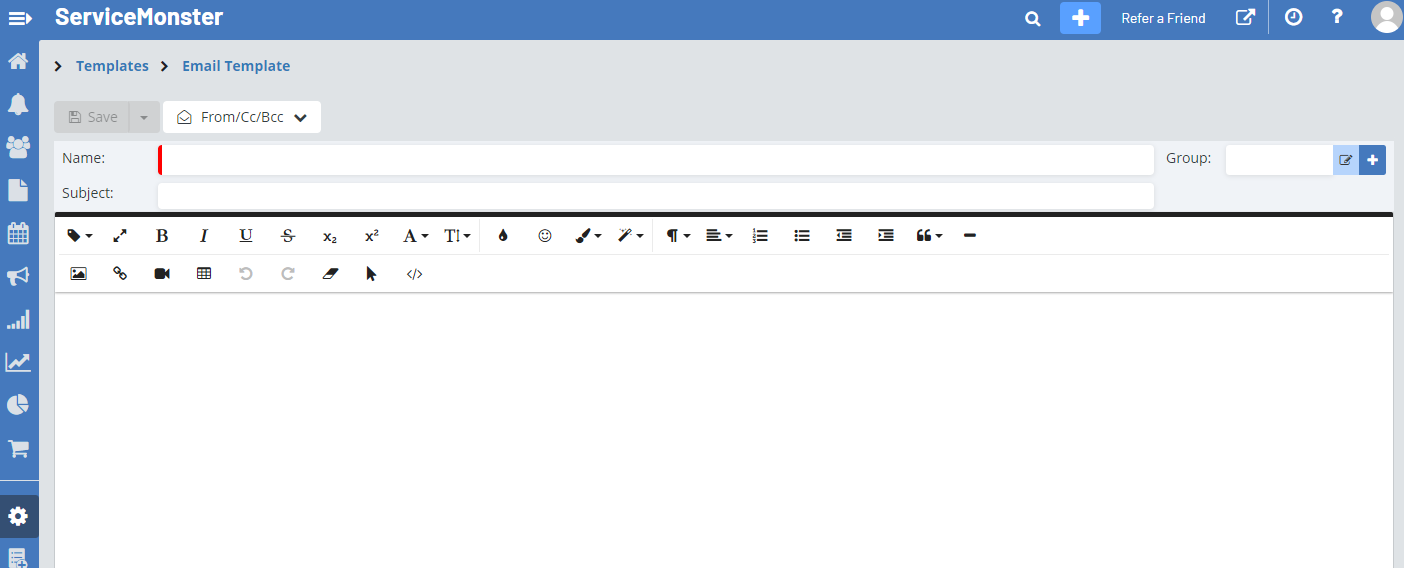
This opens a blank document you can use to create a new email template.
Copying Another Email Template
Instead of making a template from scratch, you can instead use a preexisting email template to create your new one. This saves time as the logos & icons are already in place.
To do that, simply click on the name of a template you want to use as your base for your new email Template.
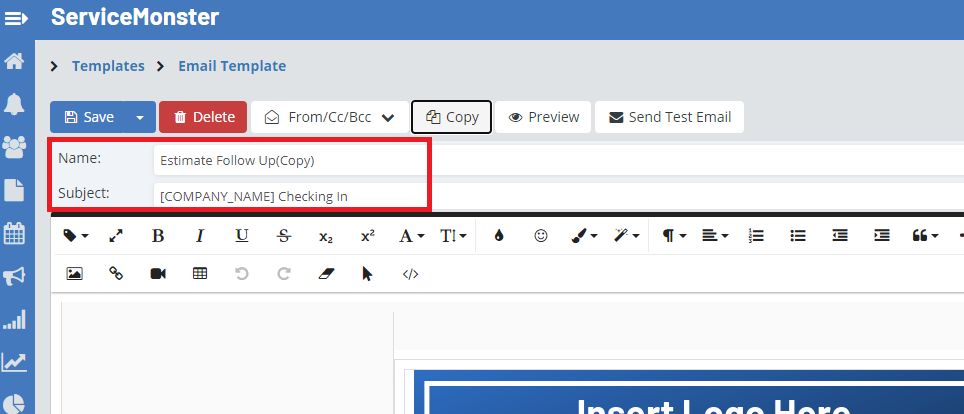
From here, click on the “Copy” button.

This will create a copy of the email template. You can rename it, save it, and start editing.
Turning a Marketing Template into an Email Template
You can also turn a Marketing Template into an Email Template. To do this, click on the Marketing template you want to use.
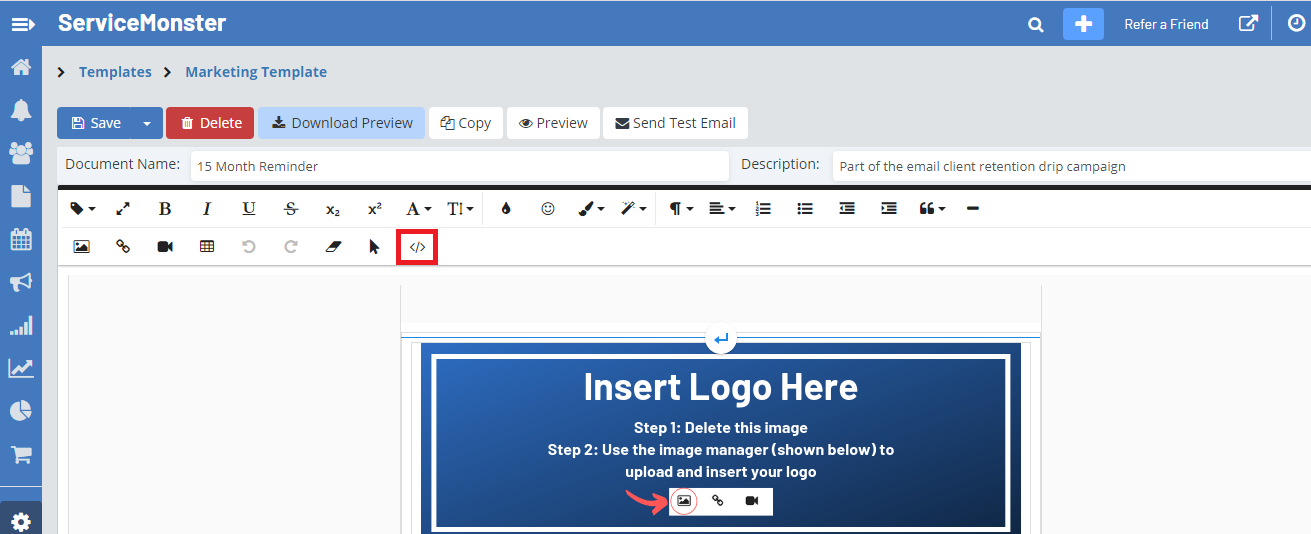
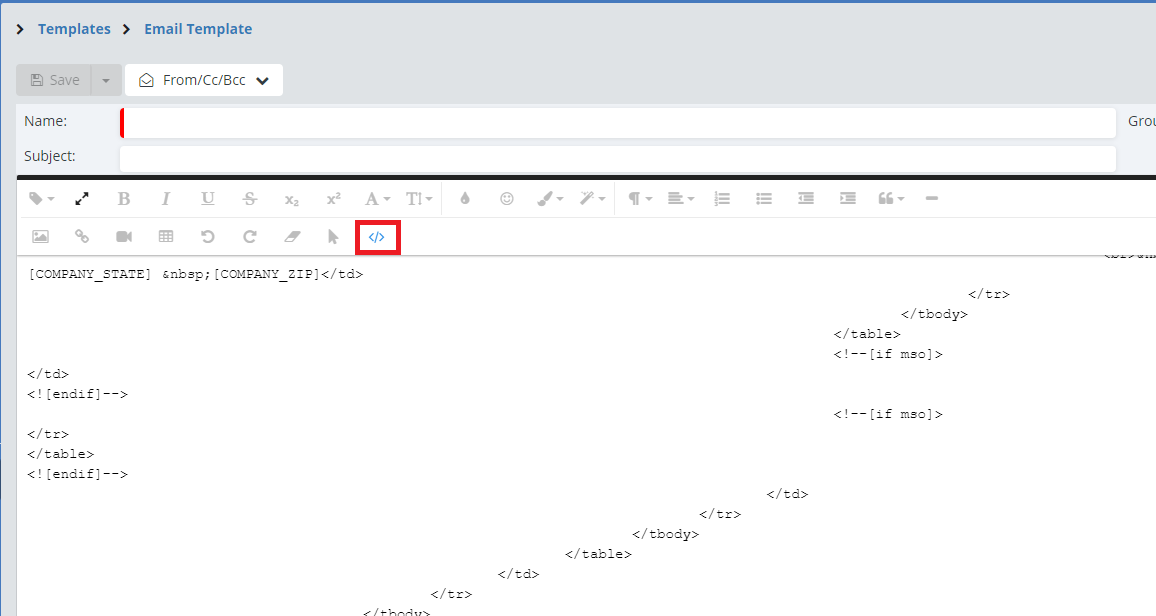
Click on the Code View button “</>”. That will let you see the HTML coding for the email.
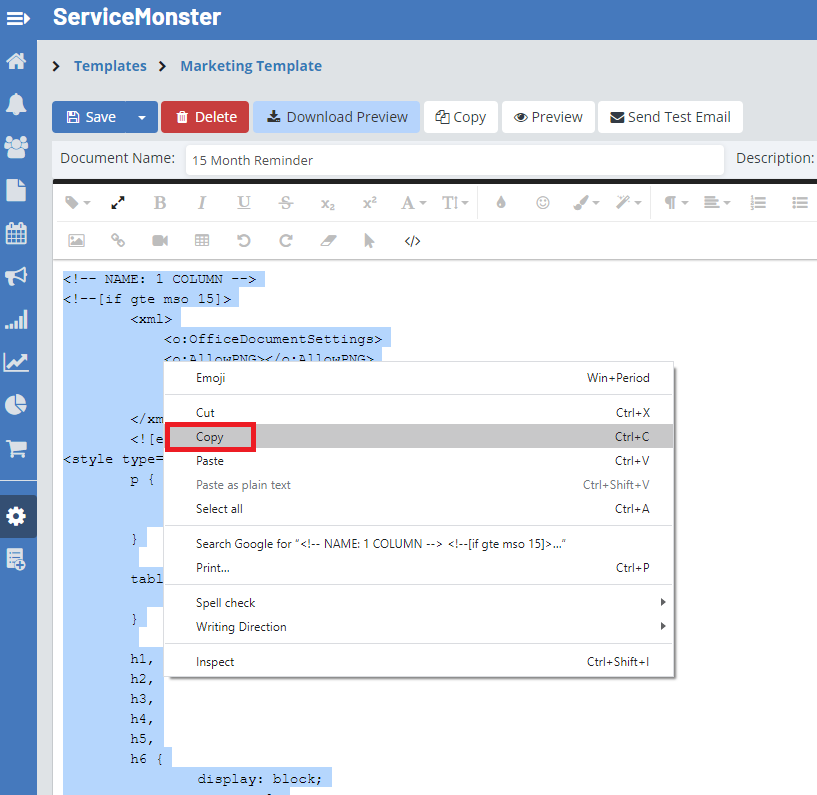
Here you will click and select all the text within the email template and click copy.
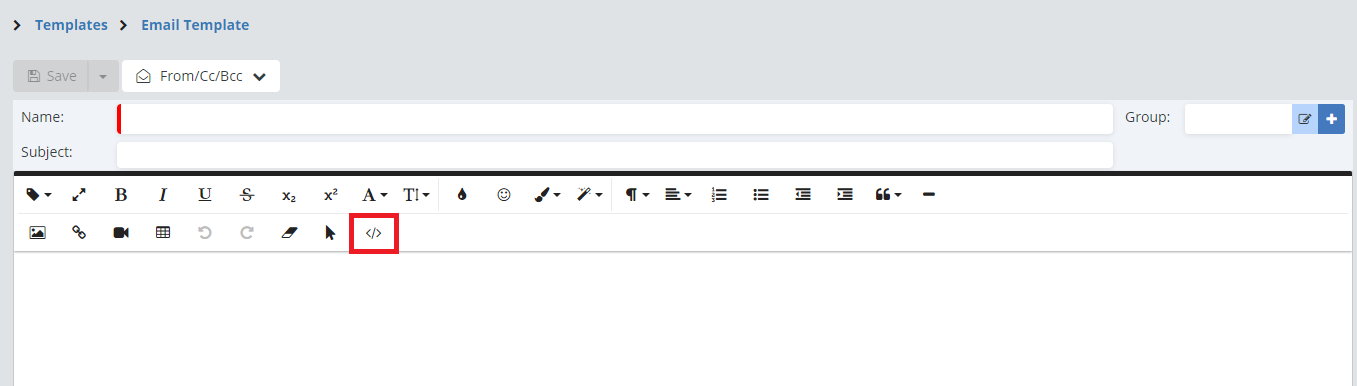
Go back to the Email Templates page and click “+ New Email Template”
Here, click on the Code View button “</>”
Remove all the text on the page currently, then past in the code from the Marketing Template that you copied.
Once the data is pasted in, click on the Code View button again.
The template will now appear! You can now name the template and save it.
You may now edit it however you see fit!
Tools To Use When Creating and Editing Templates
Personalize your templates to represent yourself and your business. Tools like the data tags, hyperlinks, and adding in images help to create a unique experience for your customer.
The Tool Bar
You can use the following tools when creating your templates.


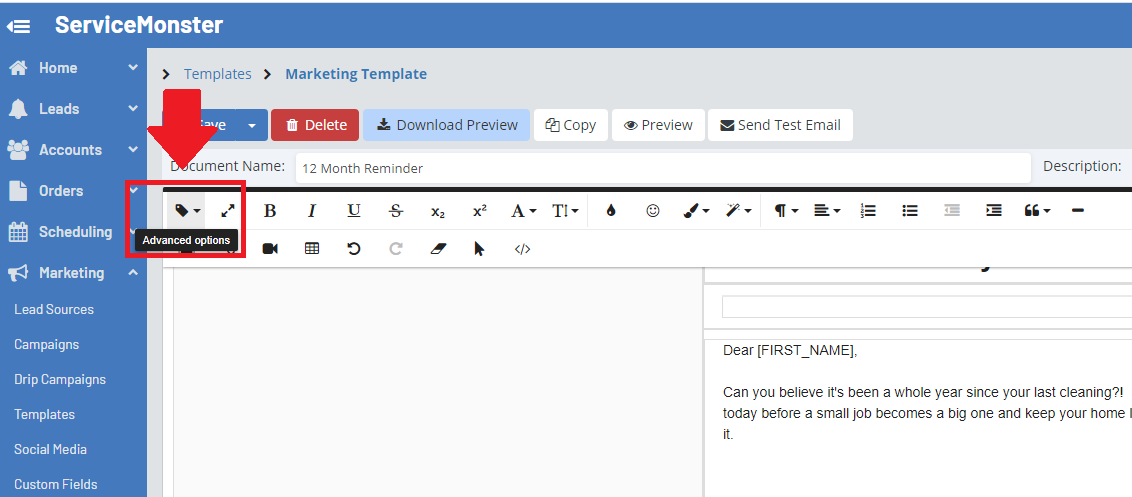
Advanced Options: You can use this to insert Merge Fields into the template.(Click here to learn more about using Merge Fields)

Fullscreen: This will change the view of the editor to fill the window.

Bold: You can bold text by highlighting it, then clicking on this button.

Italic: You can italicize text by highlighting it, then clicking on this button.

Underline: You can underline text by highlighting it, then clicking on this button.

StrikeThrough: You can but a strike through the text by highlighting it, then clicking on this button.

Subscript: You can subscript (The smaller text to the lower part of the text) your text by highlighting it, then clicking on this button.

SuperScript: You can superscript (The smaller text to the upper part of your text) your text by highlighting it, then clicking on this button.

Font Family: You can change the font used on in the template using this drop-down menu.

Font Size: You can change the font size using this drop-down menu.

Colors: You can change the color of the text or its background by highlighting the text and clicking here to pick the color you would like them to be.

Emoticons: Click here to open a menu of emoticons you can insert into your template.

Inline Style: Preset styles you can choose.

Paragraph Style: Use this tool for different spacing options for your paragraphs.

Paragraph Format: You can choose between different paragraph formats, between headings and normal.

Align: Change what way the text is aligned by highlighting it, then selecting the alignment you want.

Ordered List: To make a numbered list, use this button.

Unordered List: To make a dotted list, use this button.

Decrease Indent: Use this to minimize the indent on a section.

Increase Indent: To increase the indent on a section, click this.

Quote: Adjust quote settings.

Insert a Horizontal Line: You can insert a horizontal line into a template using this.

Image Manager: To insert an image into the template, use this button.

Hyperlink: To add a hyperlink into the template, use this button. This can direct your clients to certain websites for information of reviews.

Insert Tables: To insert a table into the template, use this button.

Undo: To undo the last thing you did, click here.

Redo: To redo what was changed when you click “Undo” click here.

Clear Formatting: To clear the formatting on a page or section use this button.

Select All: To select everything in the template, use this button.

Code View: To see the HTML code for the templates, click here.
Merge Fields
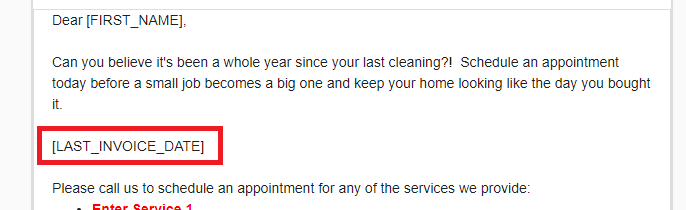
If you see words contained between brackets in a Template, that's a Data Tag.
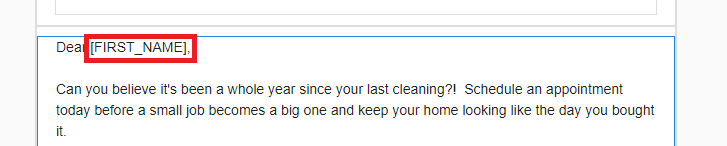
Merge Fields take all of your data that is within ServiceMonster, and pull information out and insert them into the templates for you, personalizing it for each client it’s sent to. You can insert Merge Fields into your templates by clicking on the "Advanced Options" button (Looks like a price tag)
Scroll through the drop-down menu until you find the information you want to add in, then click on it to insert it into the Marketing Template.

Click "Save" and then on the "Preview" button to see a preview of what the template will look like with the Merge Fields filled in. We also offer Data tags that can easily insert links to your social media into a template. To learn more about how to set these up click here.
Insert Images
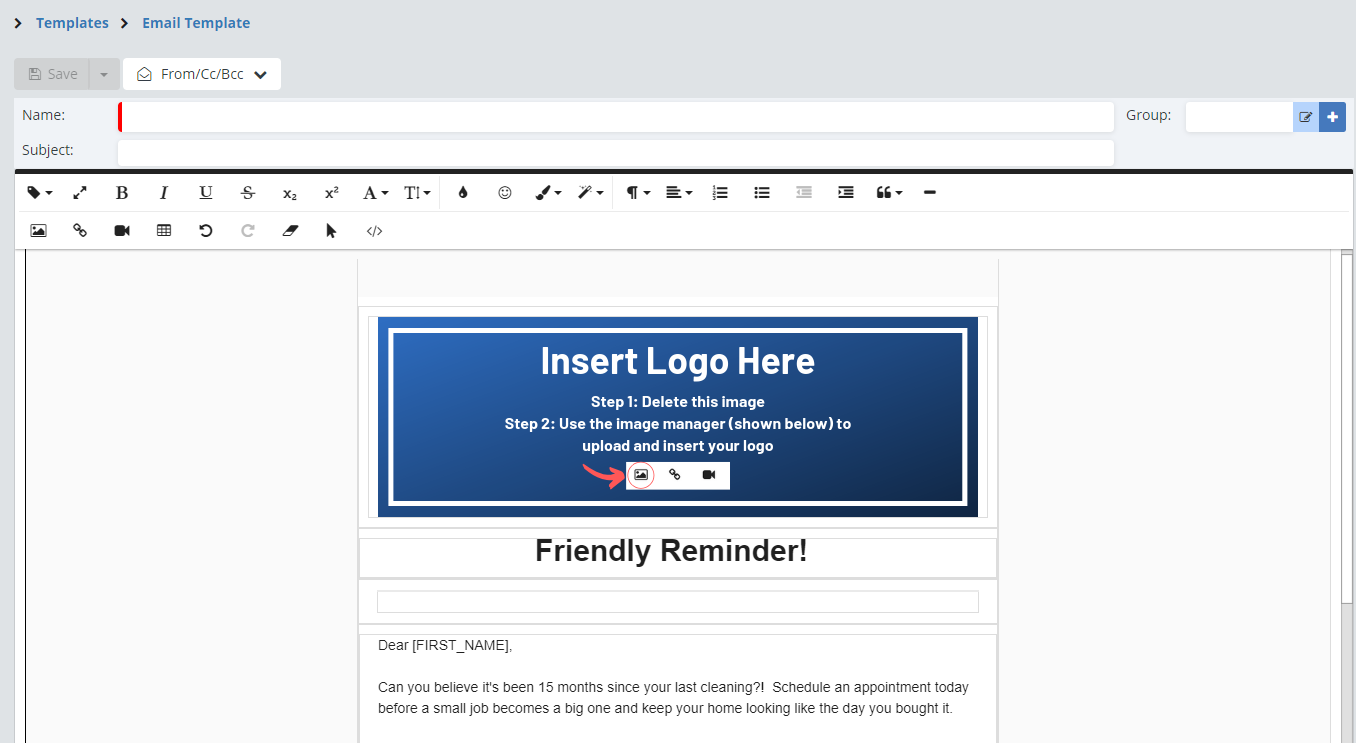
Images are a great way to customize your templates and make them truly unique to your business. They give you an opportunity to let your clients get to know you and your business. Consider adding in a team photo, an adorable pet, or before and after photos of the work you've done. Images can be added in by clicking where in the template you want the picture to go, then clicking on the "Image Manager" button on the toolbar.

Here you will be able to choose from a previously uploaded image or can upload a new photo by clicking on the "Upload Images" button.

You can either drag and drop in an image file or use the "Select Images" button to find the image on your computer.

Once your image is uploaded, simply click on it, then click the "Insert" button.

You can resize the photo by clicking on it, then clicking out the outer blue squares and dragging them out to make the photo larger, or in to make the photo smaller.

Hyperlinks
Hyperlinks work in Email Campaigns, and they are a great tool to utilize to get more traffic to your business's website or social media pages by giving your clients a simple link to click on. To add in a hyperlink to text, simply click and drag over what text you want to be a link, then click on the "Insert Link" button (Looks like a chain link)

Then paste in the URL and click "Insert"

You can add a hyperlink to an image by clicking on the image then clicking on the "Insert Link" button

Then paste in the URL and click "Insert".

Click Here to learn about our 5-Star Review Suggestion
Remember to be creative with your templates. You clients could be receiving weekly emails from other businesses, how will you make yours stand out? Use images, hyperlinks, and data tags to your advantage to make a personalized and interesting email or letter for your client to receive. Make sure to include the best way for them to contact you in case they do decide it's time to get some work done!