Click here for information on how to use the Schedule's Week View.
Click on a link to hop to a specific section on this page:
Single Route View vs Multiple Route/Group View
Navigation Menu
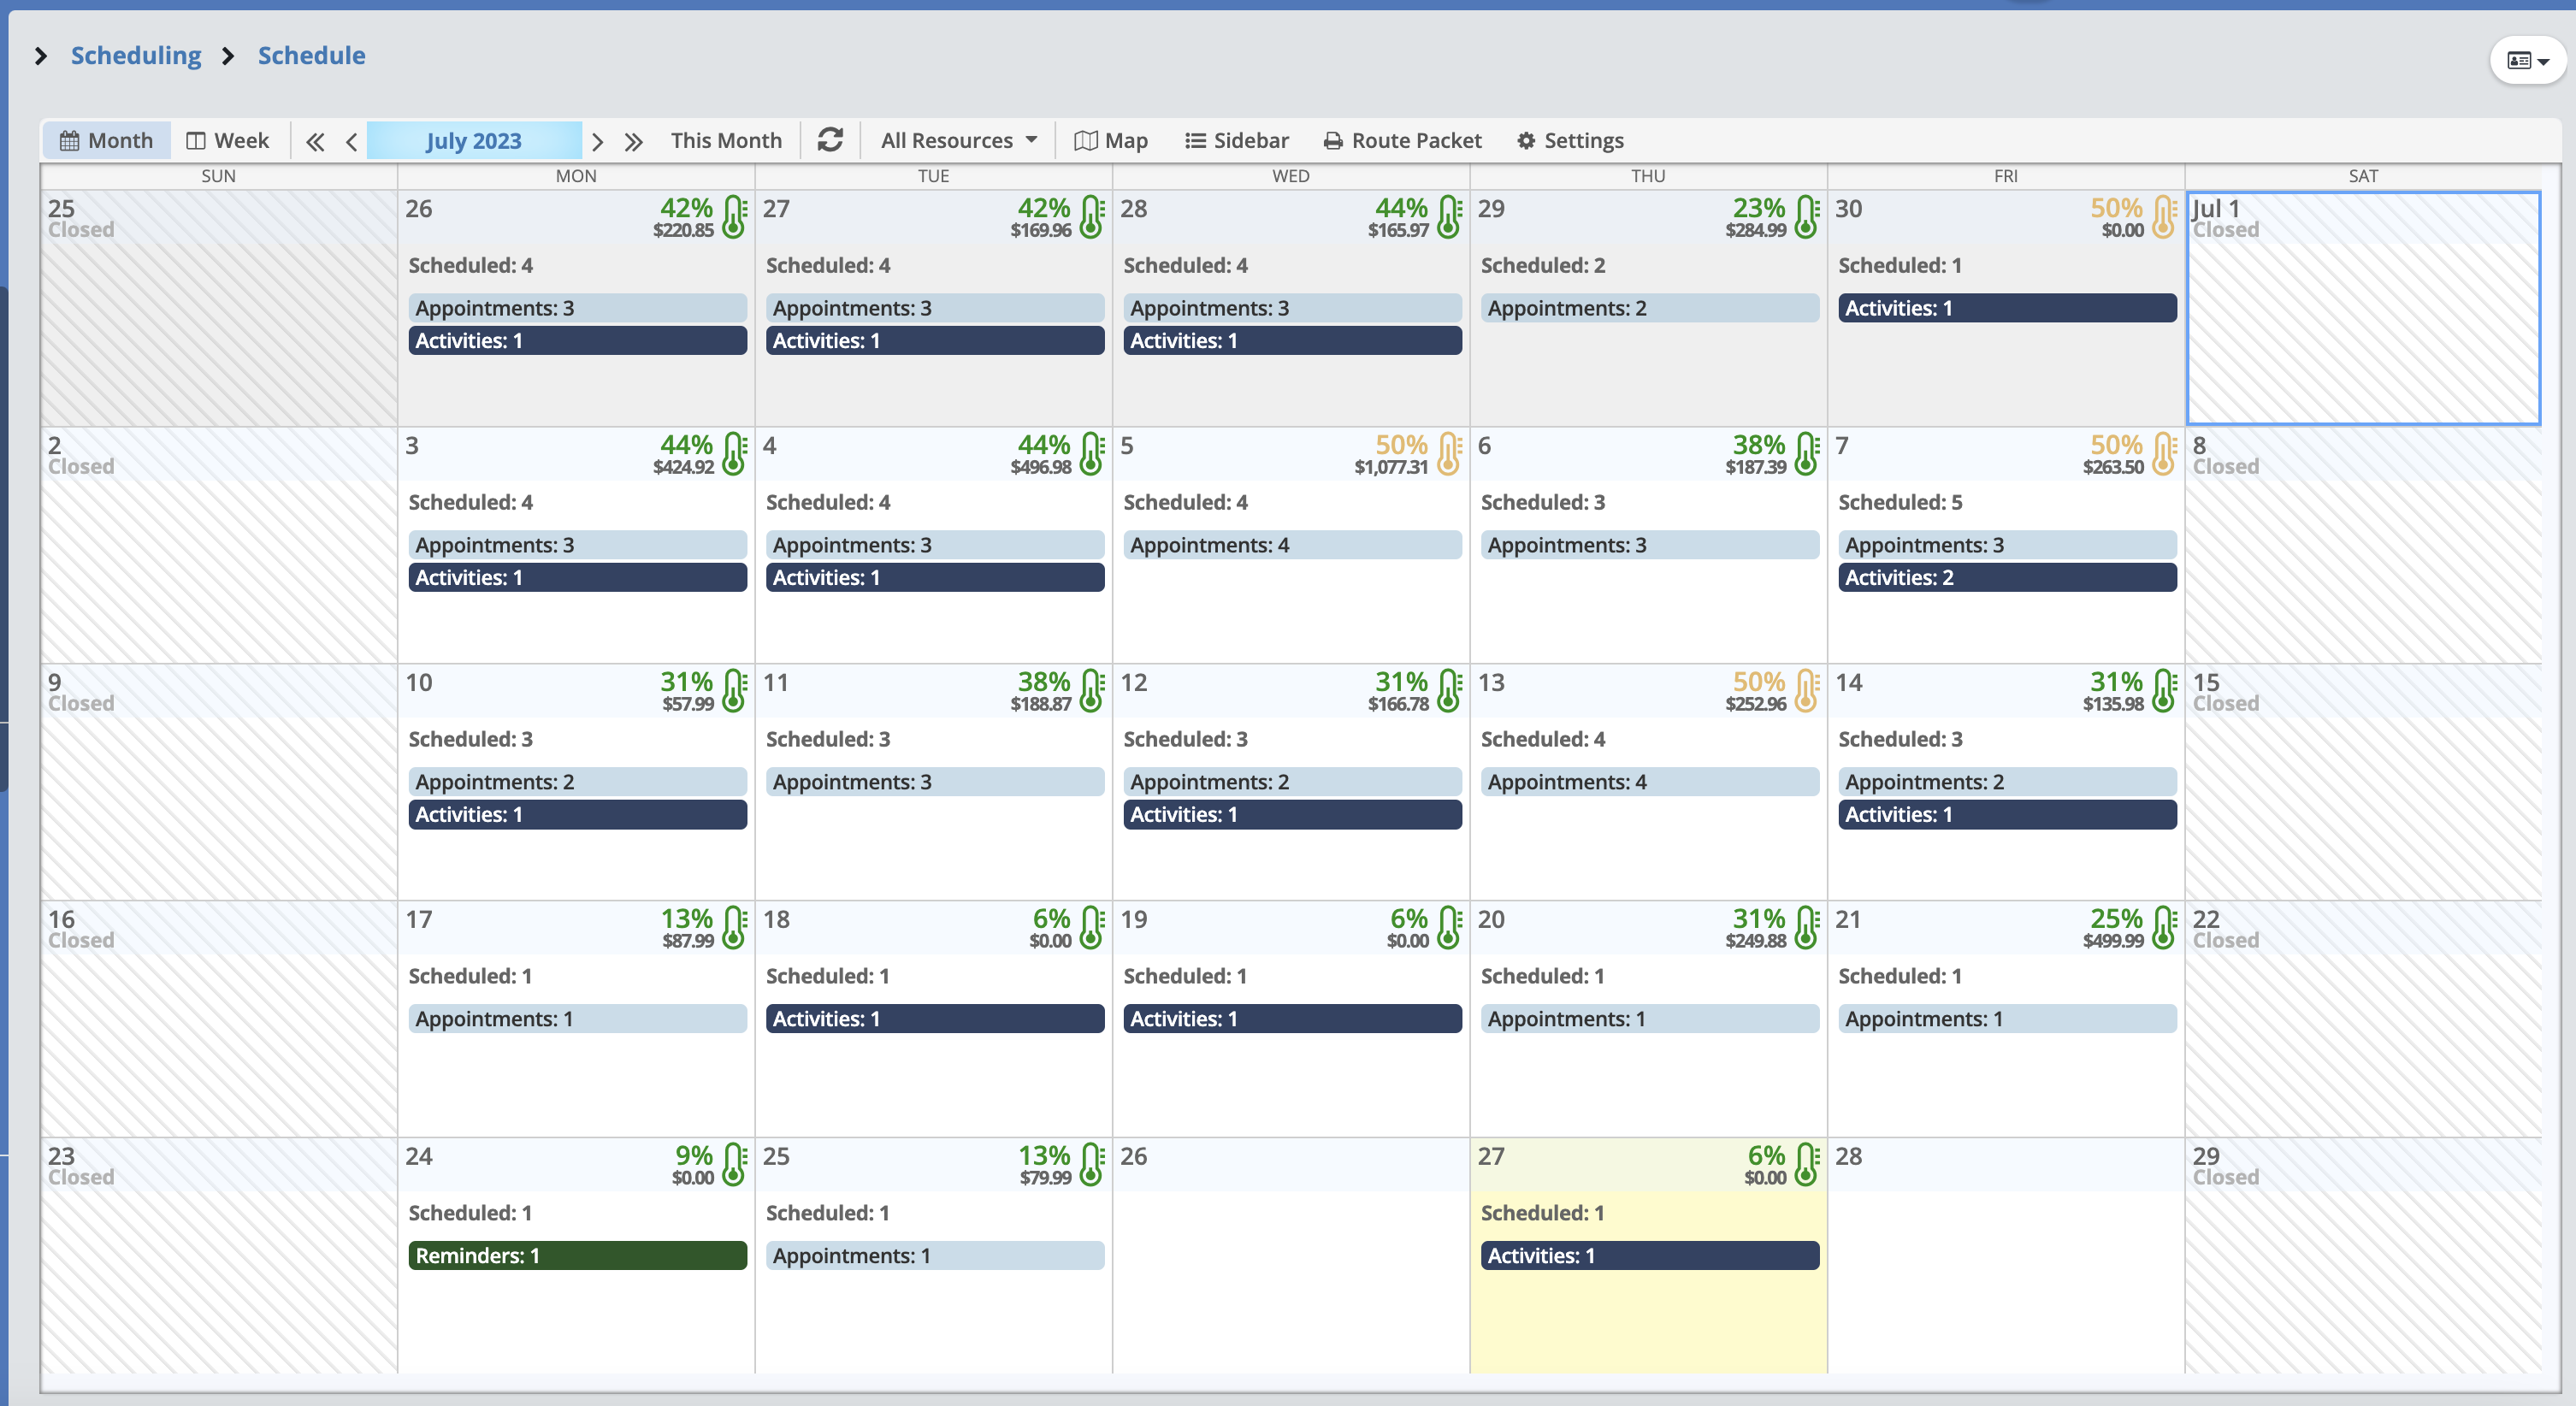
At the top of the Schedule you have the Main Navigation Tools:

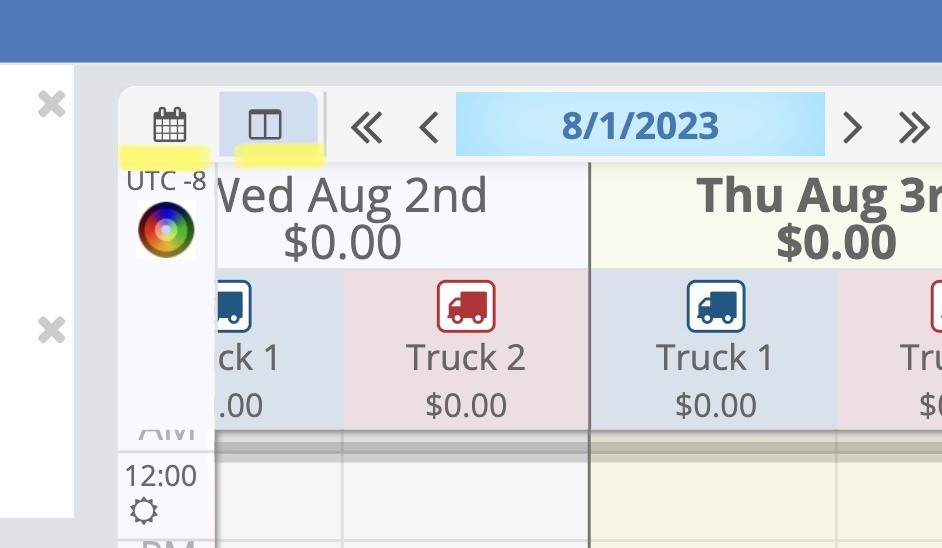
Month: Clicking this button will take you to the Monthly Planner. The system will remember the last used option (month/week) for each user when they navigate away and then back to the Schedule.
Week: Clicking this button will take you to the Week View. The system will remember the last used option (month/week) for each user when they navigate away and then back to the Schedule.
<<: Move back one year.
<: Move back one month.
Date: Clicking on the date will open up a calendar where you can skip ahead on the schedule to whatever date you click on.
>: More forward one month.
>>: Move forward one year.
This Month: Clicking this button will take you back to the current month.
Refresh: Clicking this button will refresh the schedule.
All Resources: Clicking this will open a drop-down menu where you can choose if you want to see all routes (All Resources), one specific route, or a specific group of routes.
Map: Clicking this button opens and closes a map where you can see your Dispatch Location (red triangle), and the stops your Route will be taking for the selected day.
Sidebar: Clicking this button opens and closes the Sidebar on the right, where you can view your Routes and Appointments for the selected day.
Route Packet: Clicking this button opens up the Route Packet Criteria where you can customize and create your route packets.
Settings: Clicking this button opens up the Schedule Settings where you can adjust all the settings for your schedule.
Single Route View vs Multiple Route/Group View
Selecting a Single Route from the "All Resources" drop-down will show you all the events for that day for the route (including event types, conflicts, start time, etc).

If no technicians are assigned to an event, it will show "No Tech(s)" in the tooltip hover and the row will be muted (more transparent) in color.

Conflicts will show as a red outlined circle around the event icons.

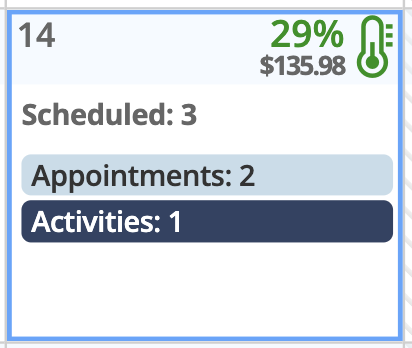
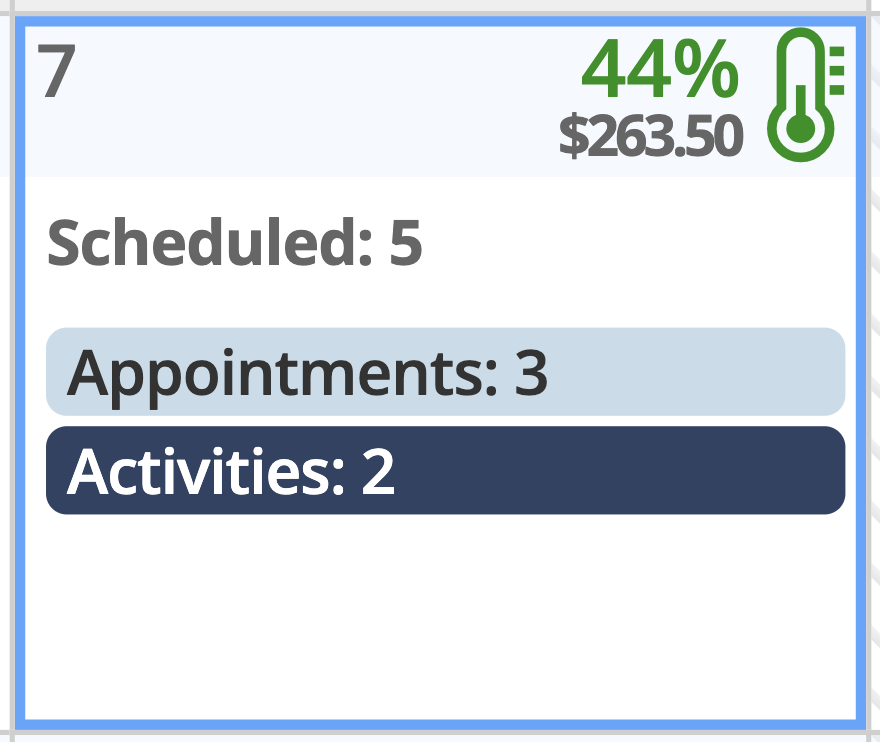
Selecting Multiple Routes from the "All Resources" drop-down will show you a total count of events for the day, broken down by event type.

The temp icon in the upper right corner indicates how filled your day is based on the current selected resources, and below that is the revenue total for All Resources (if enabled).
To view further details for the day you can select the day and then use the Sidebar to open and close the Appointment Cards to view the full details.

Double clicking or right clicking on a single day in either view type will take you to that day within the Week View.

Map
Clicking the "Map" button opens and closes a map where you can see your Dispatch Location (red triangle), and the stops your Route will be taking for the selected day. Appointments are marked with flags, and each Route is color-coded.
To change the day you are viewing on the map, simply click on a different day on the Schedule, then select the "Refresh" button that appears.

Sidebar
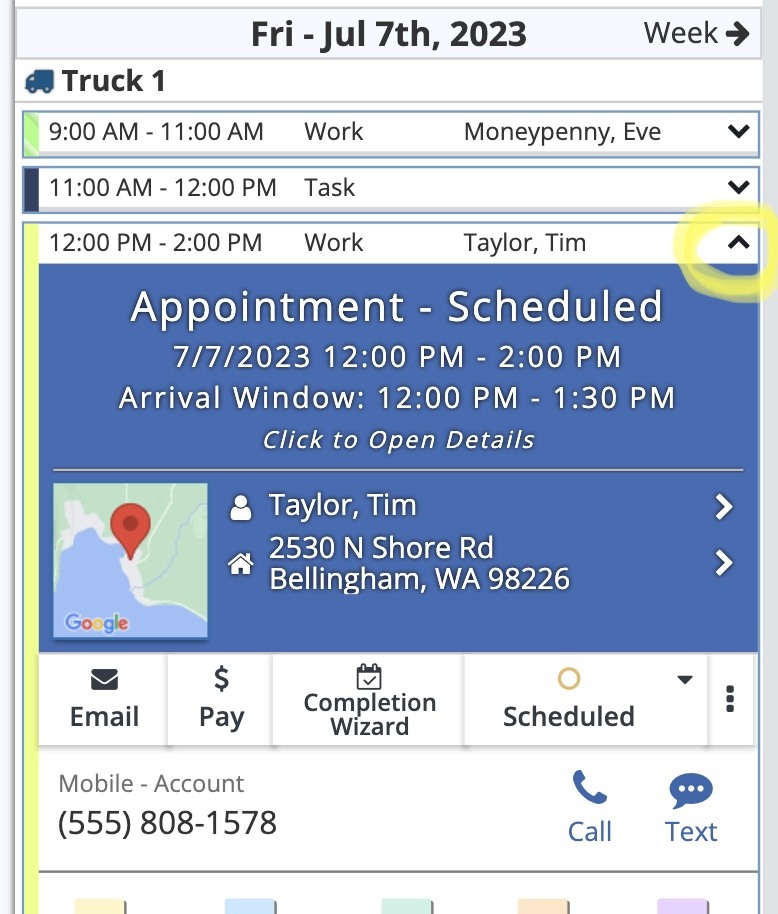
Clicking the "Sidebar" button opens and closes the Sidebar on the right, where you can view your Routes and their corresponding Appointments for the selected day.

From the drop-down menu in the upper right you can select either "Normal" or "Compact" view.

The Sidebar header will also show the total number of events scheduled for the selected day and selecting the date header will take you to that day in Week View.

Expanding the appointment card gives you full access to the appt tools (except for the Copy feature, as the Monthly Planner doesn’t allow direct scheduling).
Route Packet
Clicking the "Route Packet" button opens up the Route Packet Criteria where you can customize and create your route packets.
Click here for more information on Route Packets.

Settings
Clicking the "Settings" button opens up the Schedule Settings where you can adjust all the settings for your schedule.
Click here for more information on Schedule Settings.

Header Icons
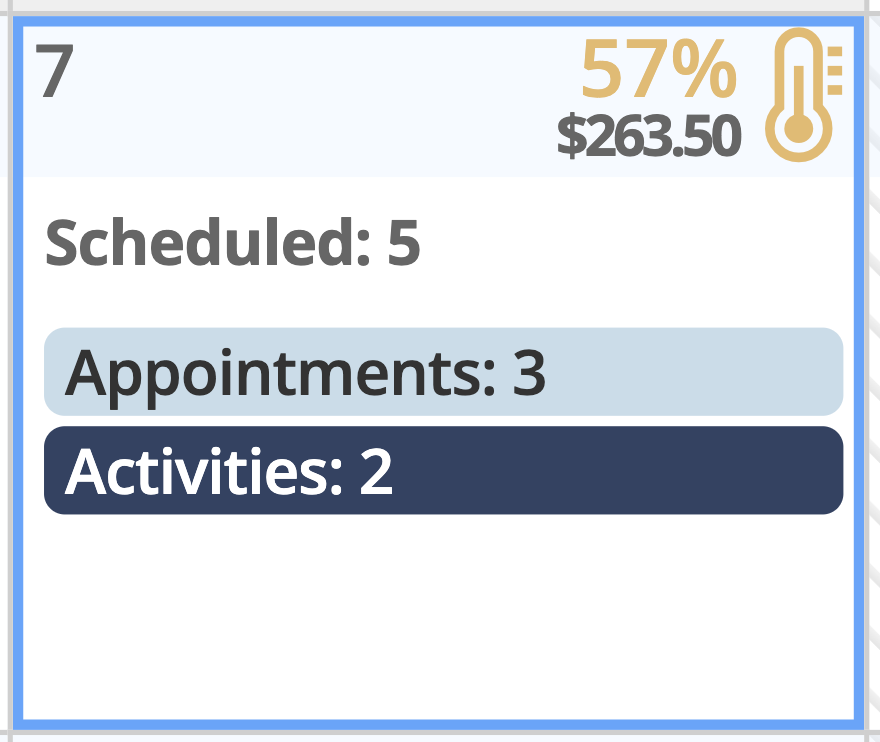
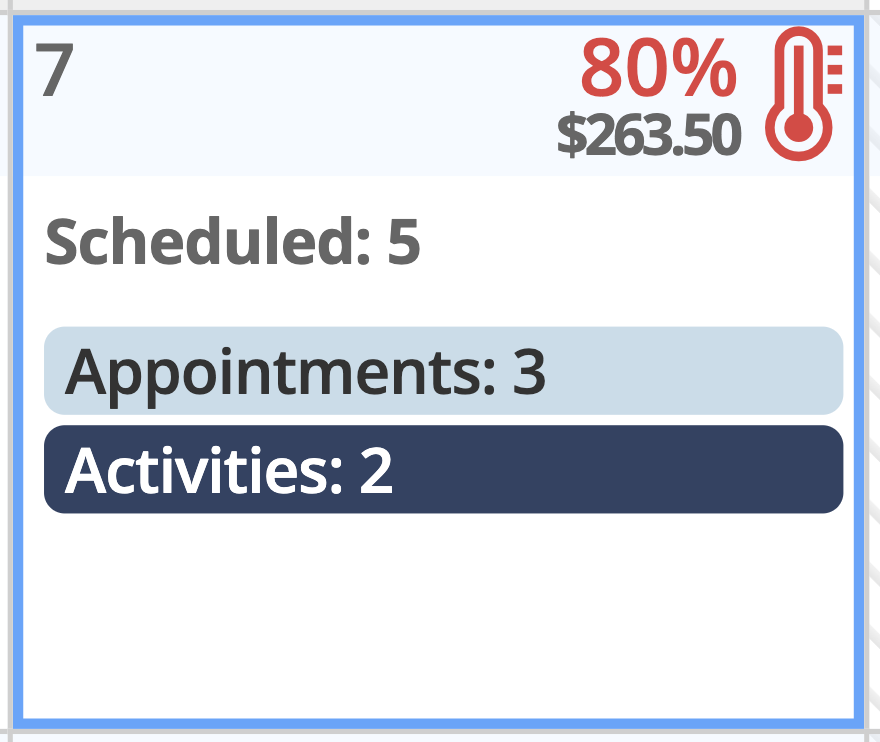
Regardless of view type, every day in the Monthly Planner has a header with a temp icon in the upper right corner, indicating how filled your day is based on the current selected resources, and below that is the revenue total for All Resources (if enabled). The temp icon appears in different colors for a quick visual reference of how full each day is.
Green = 50% and below full
Yellow = 50-75% full
Red = 75% and above full
Quick Add
The Monthly Planner can also be found in the Quick Add under the "Appointment" tab.
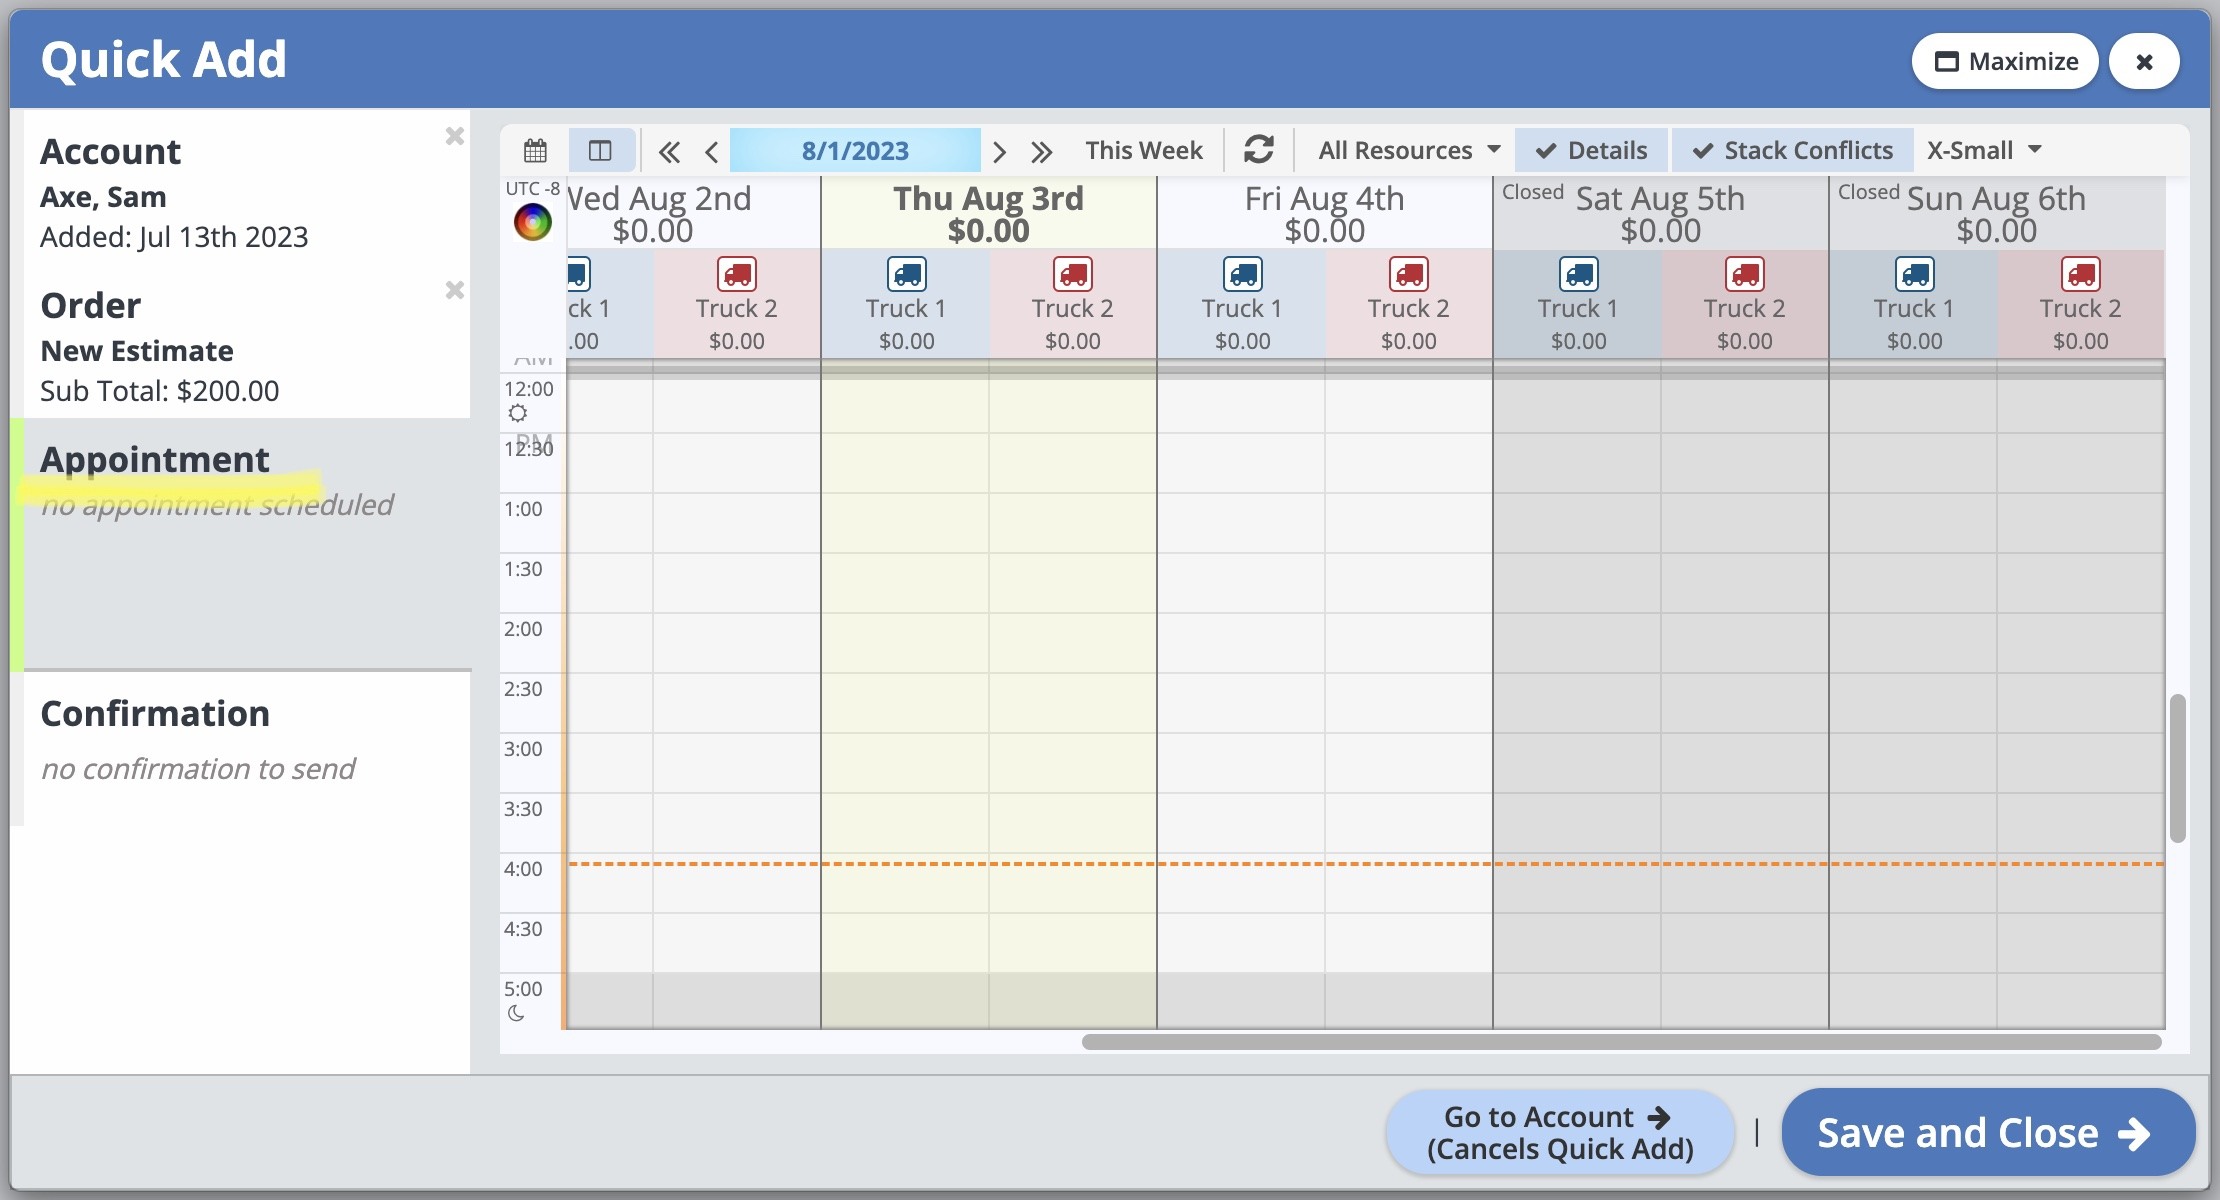
In the upper left corner you can toggle between the Month button and the Week button as you select your appointment day/time.
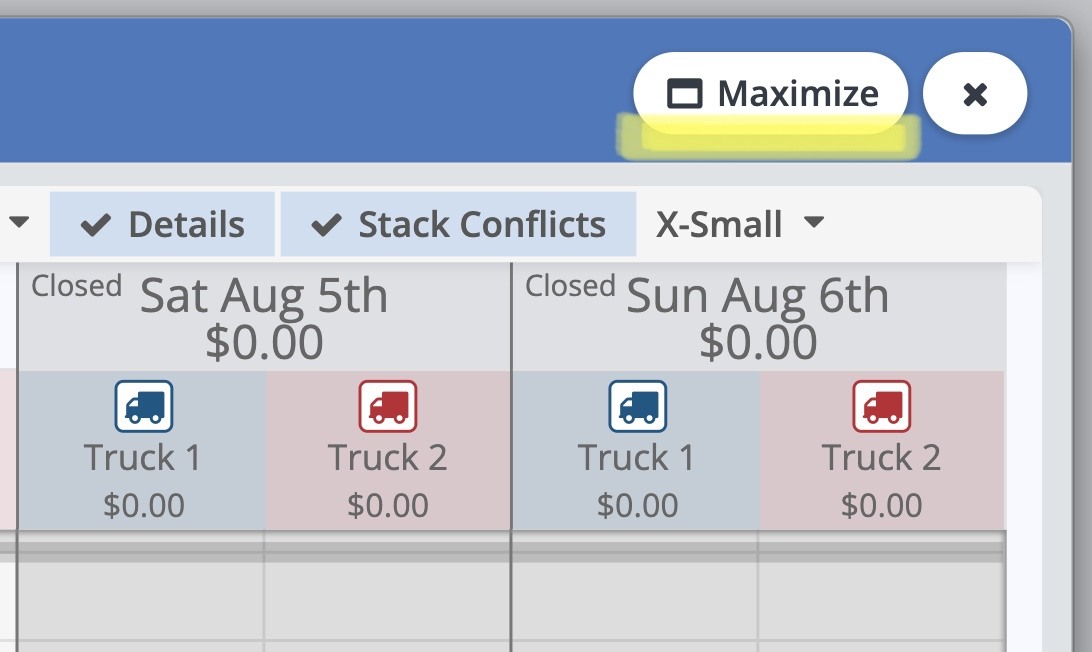
For a larger view of the Schedule, please click the "Maximize" button in the upper right, then click "Restore" to return to the original view.