Arrival Windows are a Schedule Settings feature that allows you to create a time range for the expected arrival of your technicians rather than an exact time. This feature can give users more flexibility when scheduling to account for various delays throughout the day (addons/up sales, traffic, etc).
Arrival Windows can be found under the “Schedule” tab within "Scheduling" in the Main Menu. From your schedule, open up the Schedule Settings by clicking on the "Settings" button in the upper right. From the Schedule Settings window, click on the “Arrival Windows” tab. This opens up your Arrival Windows.

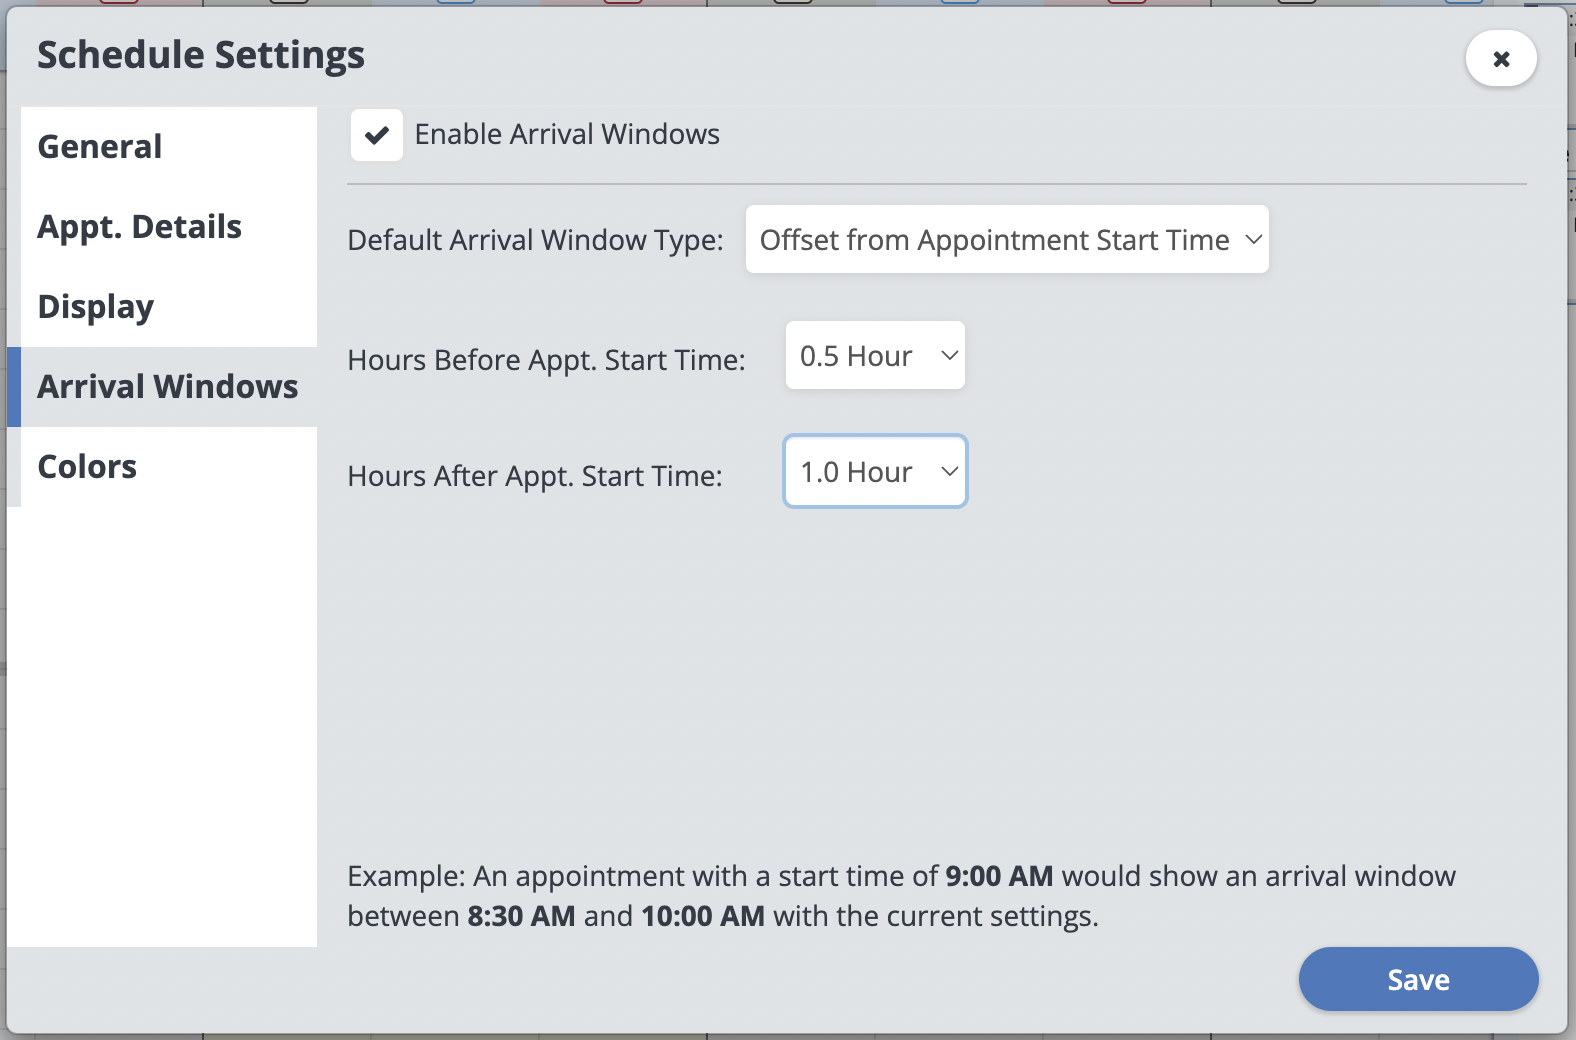
To use the Arrival Windows feature, first check the box at the top to “Enable Arrival Windows” and then select your arrival window type from the dropdown menu. There are two types of arrival windows you can select from the dropdown menu. One is called “Offset From Appt Start Time”, and the other is called “Fixed Time Windows”. Both of these are global schedule settings you can use to setup defaults for your company.
To use the “Offset From Appt Start Time” window type, please select how much time (listed in half hour increments) you wish to have before and after the appointment start time. The example shown at the bottom of the window will update in real time to provide further context so you know exactly what the Arrival Window will be shown as.
"Fixed Time Windows" allow you to create fixed windows across all scheduled appointments. Any appointments created within that fixed window will show the same Arrival Window.
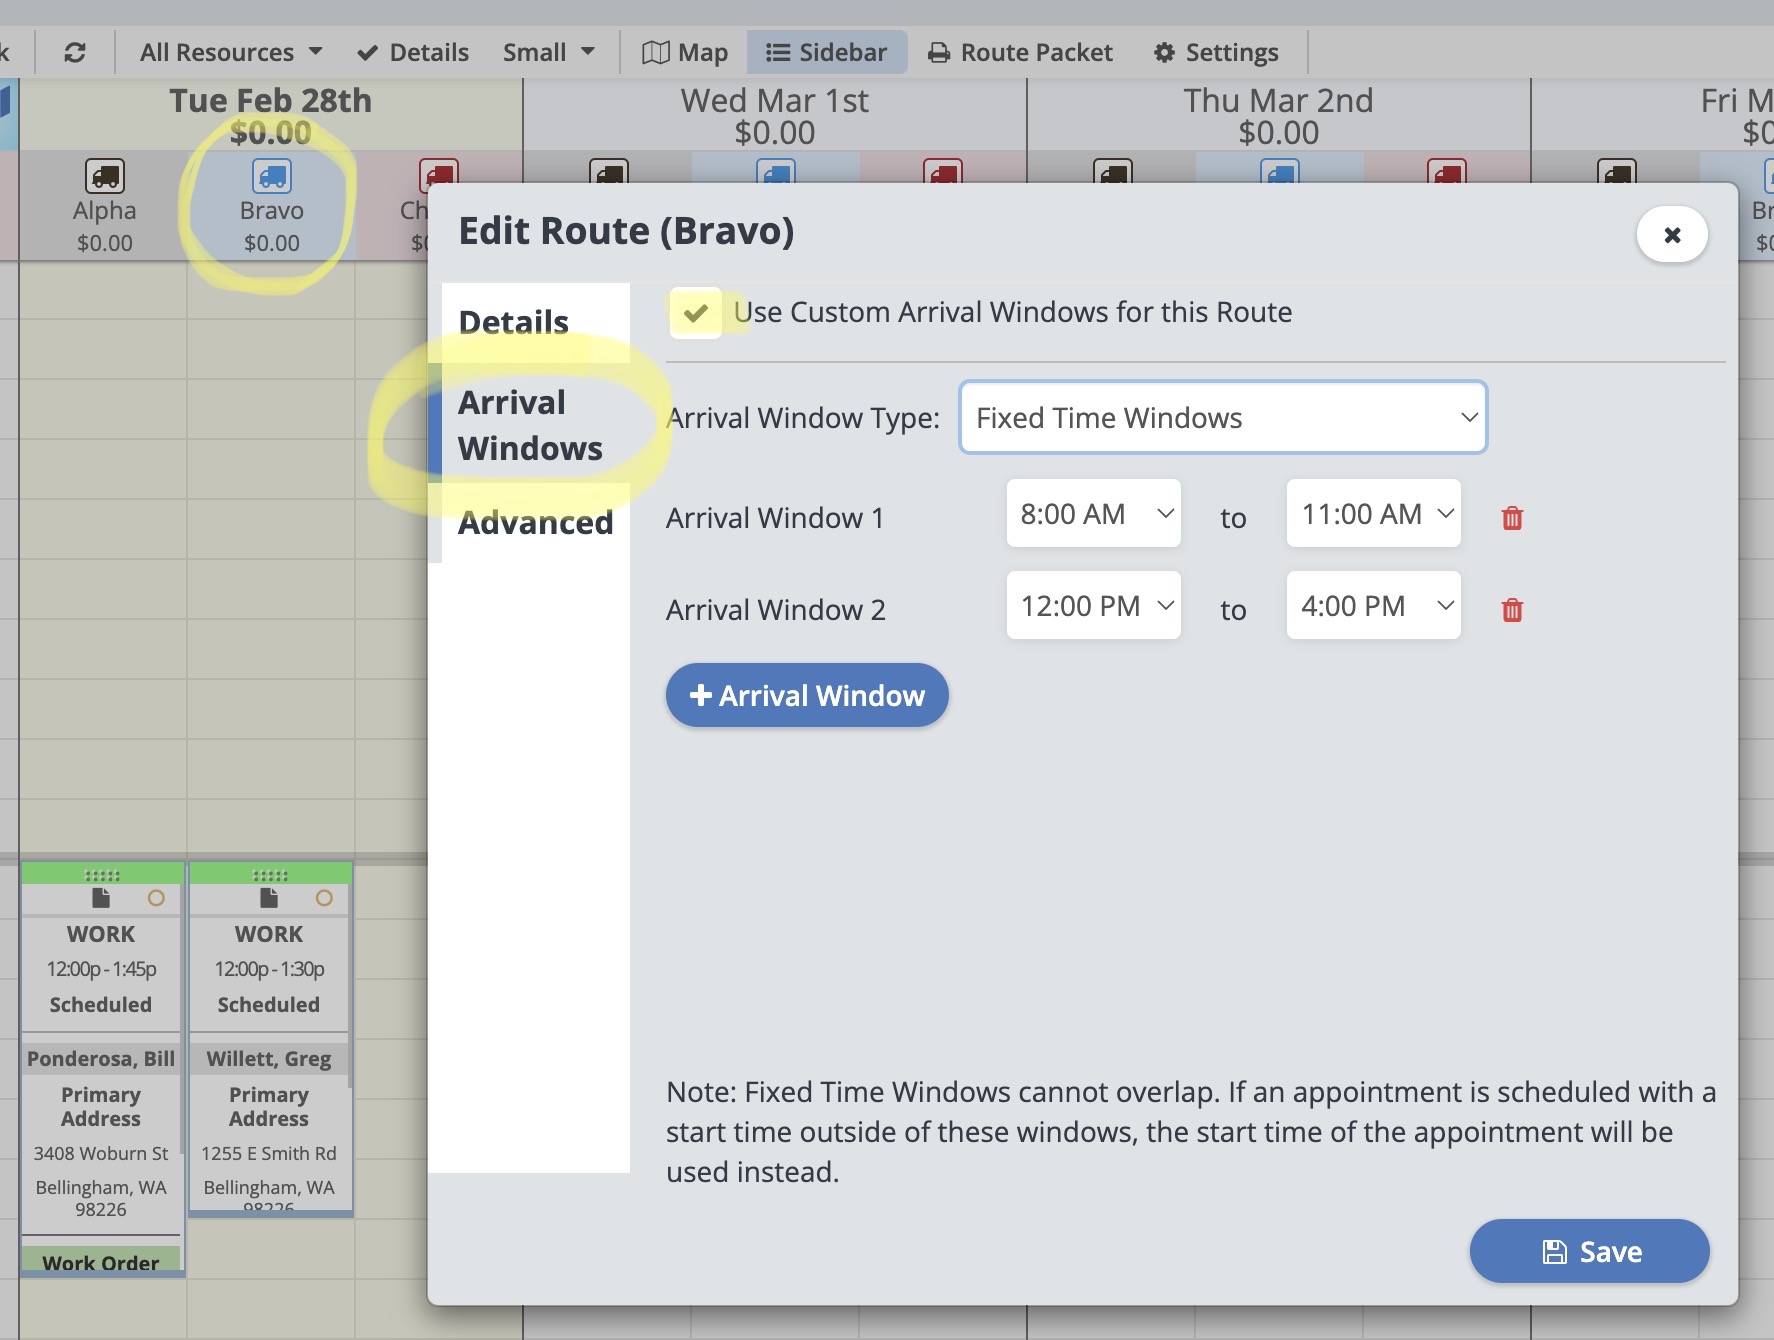
To use the “Fixed Time Windows", select this option in the "Default Arrival Window Type" drop down menu, and then create your windows with a start and end time. To add a new Arrival Window simply click the blue “+ Arrival Window” button, and to delete simply click the little garbage can beside the Arrival Window you wish to delete. You can create up to 6 different Fixed Arrival Windows.
Please note that your “Fixed Time Windows” cannot overlap. If you do have an overlap you will notice that you cannot “Save” your changes. Also, if you happen to have an appointment start time that does not fall within any of the “Fixed Time Windows” the appointment will just showcase the standard start time of that appointment as an "Arrival Time". Click “Save” when you are finished.

After setting up these global defaults for your Arrival Windows you can further customize them on a per route basis. This can be particularly useful if you have heavily diversified services split between different routes.
To do so, simply select a particular route on the schedule to open the "Edit Route" window and then click the “Arrival Windows” tab. Toggle on the "Use Custom Arrival Windows for this Route" to override the default settings and then update the custom Arrival Windows as needed.
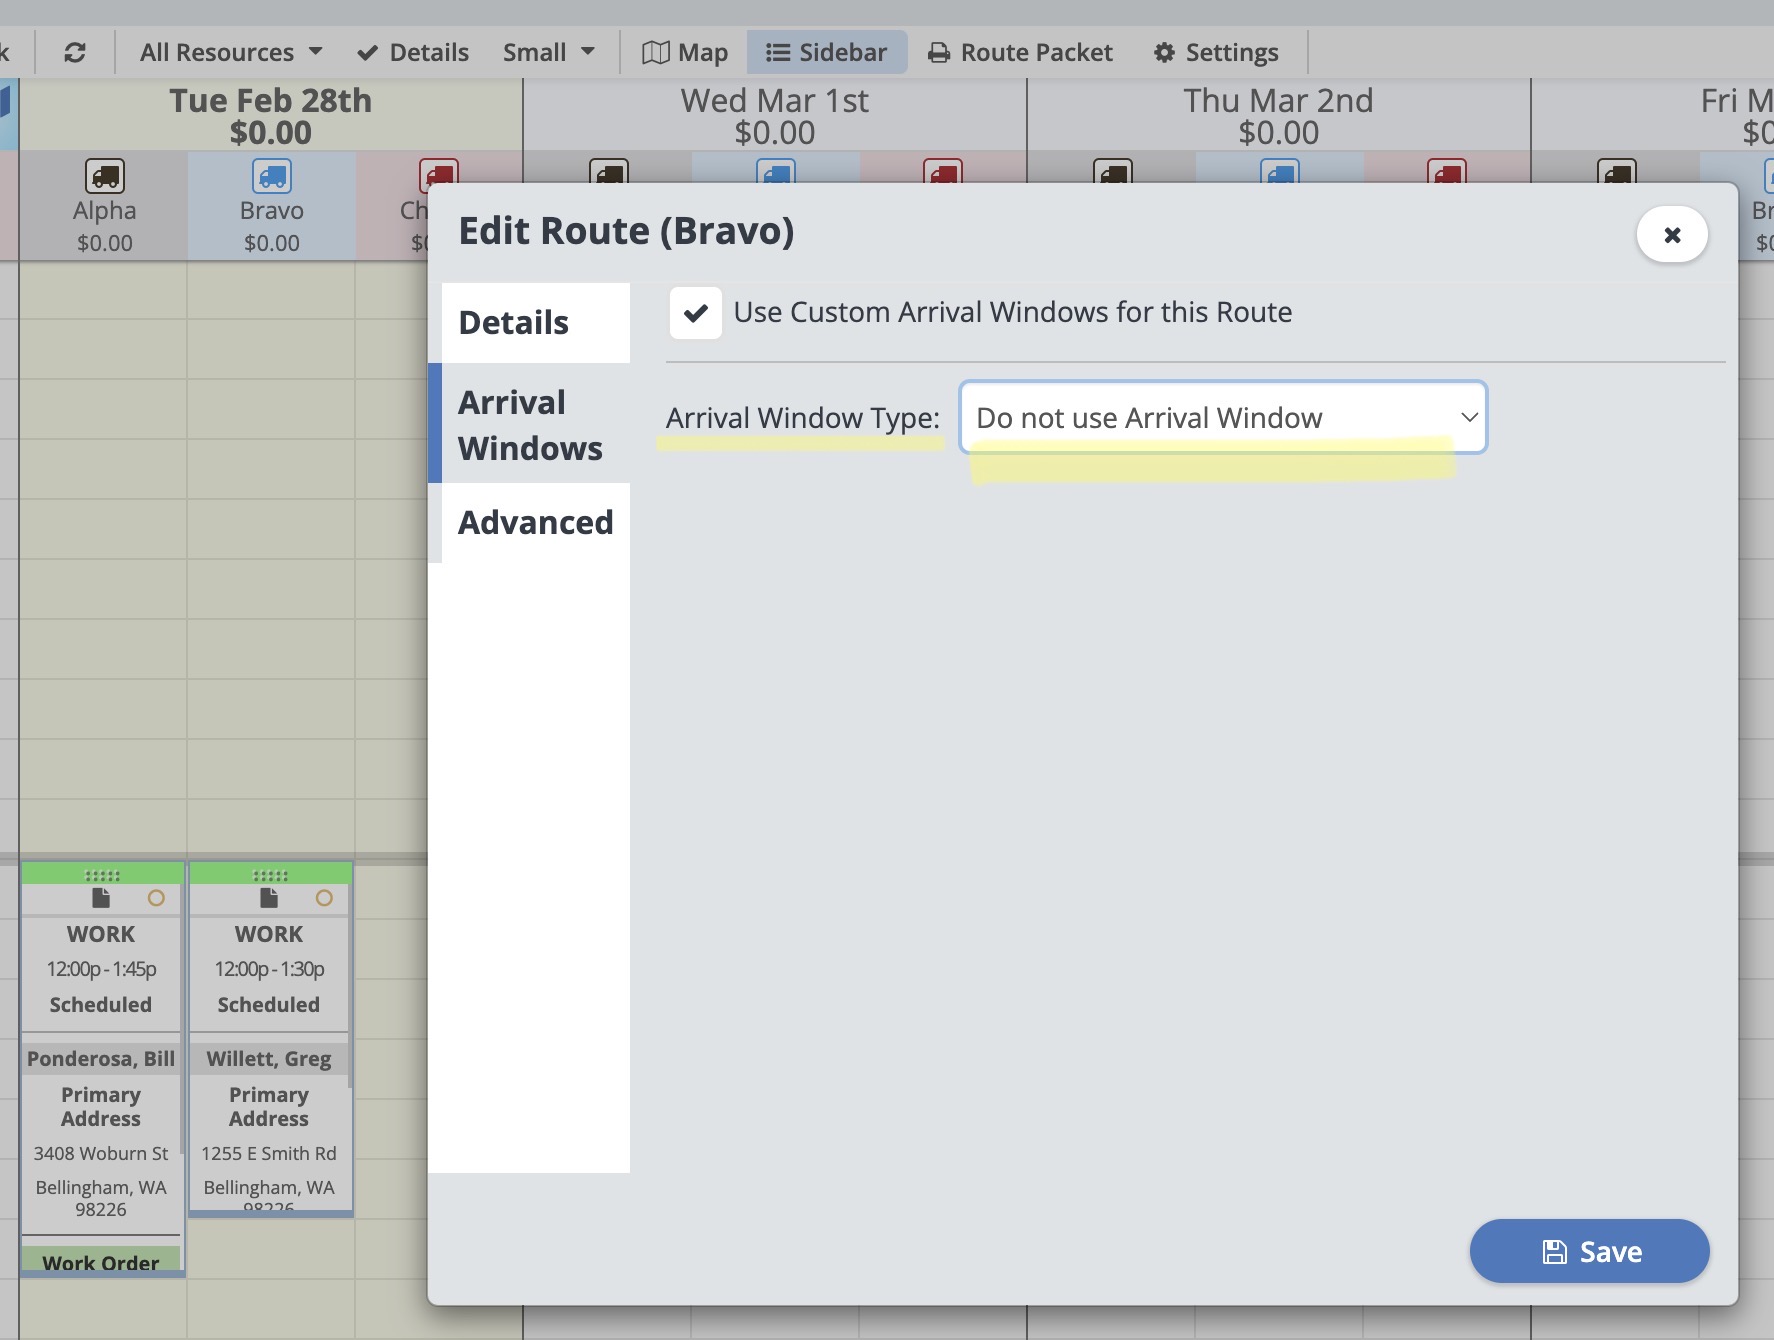
You can also disable Arrival Windows for a particular route by selecting the "Do Not Use Arrival Window" option in the "Arrival Window Type" dropdown. Click “Save” when you are finished.
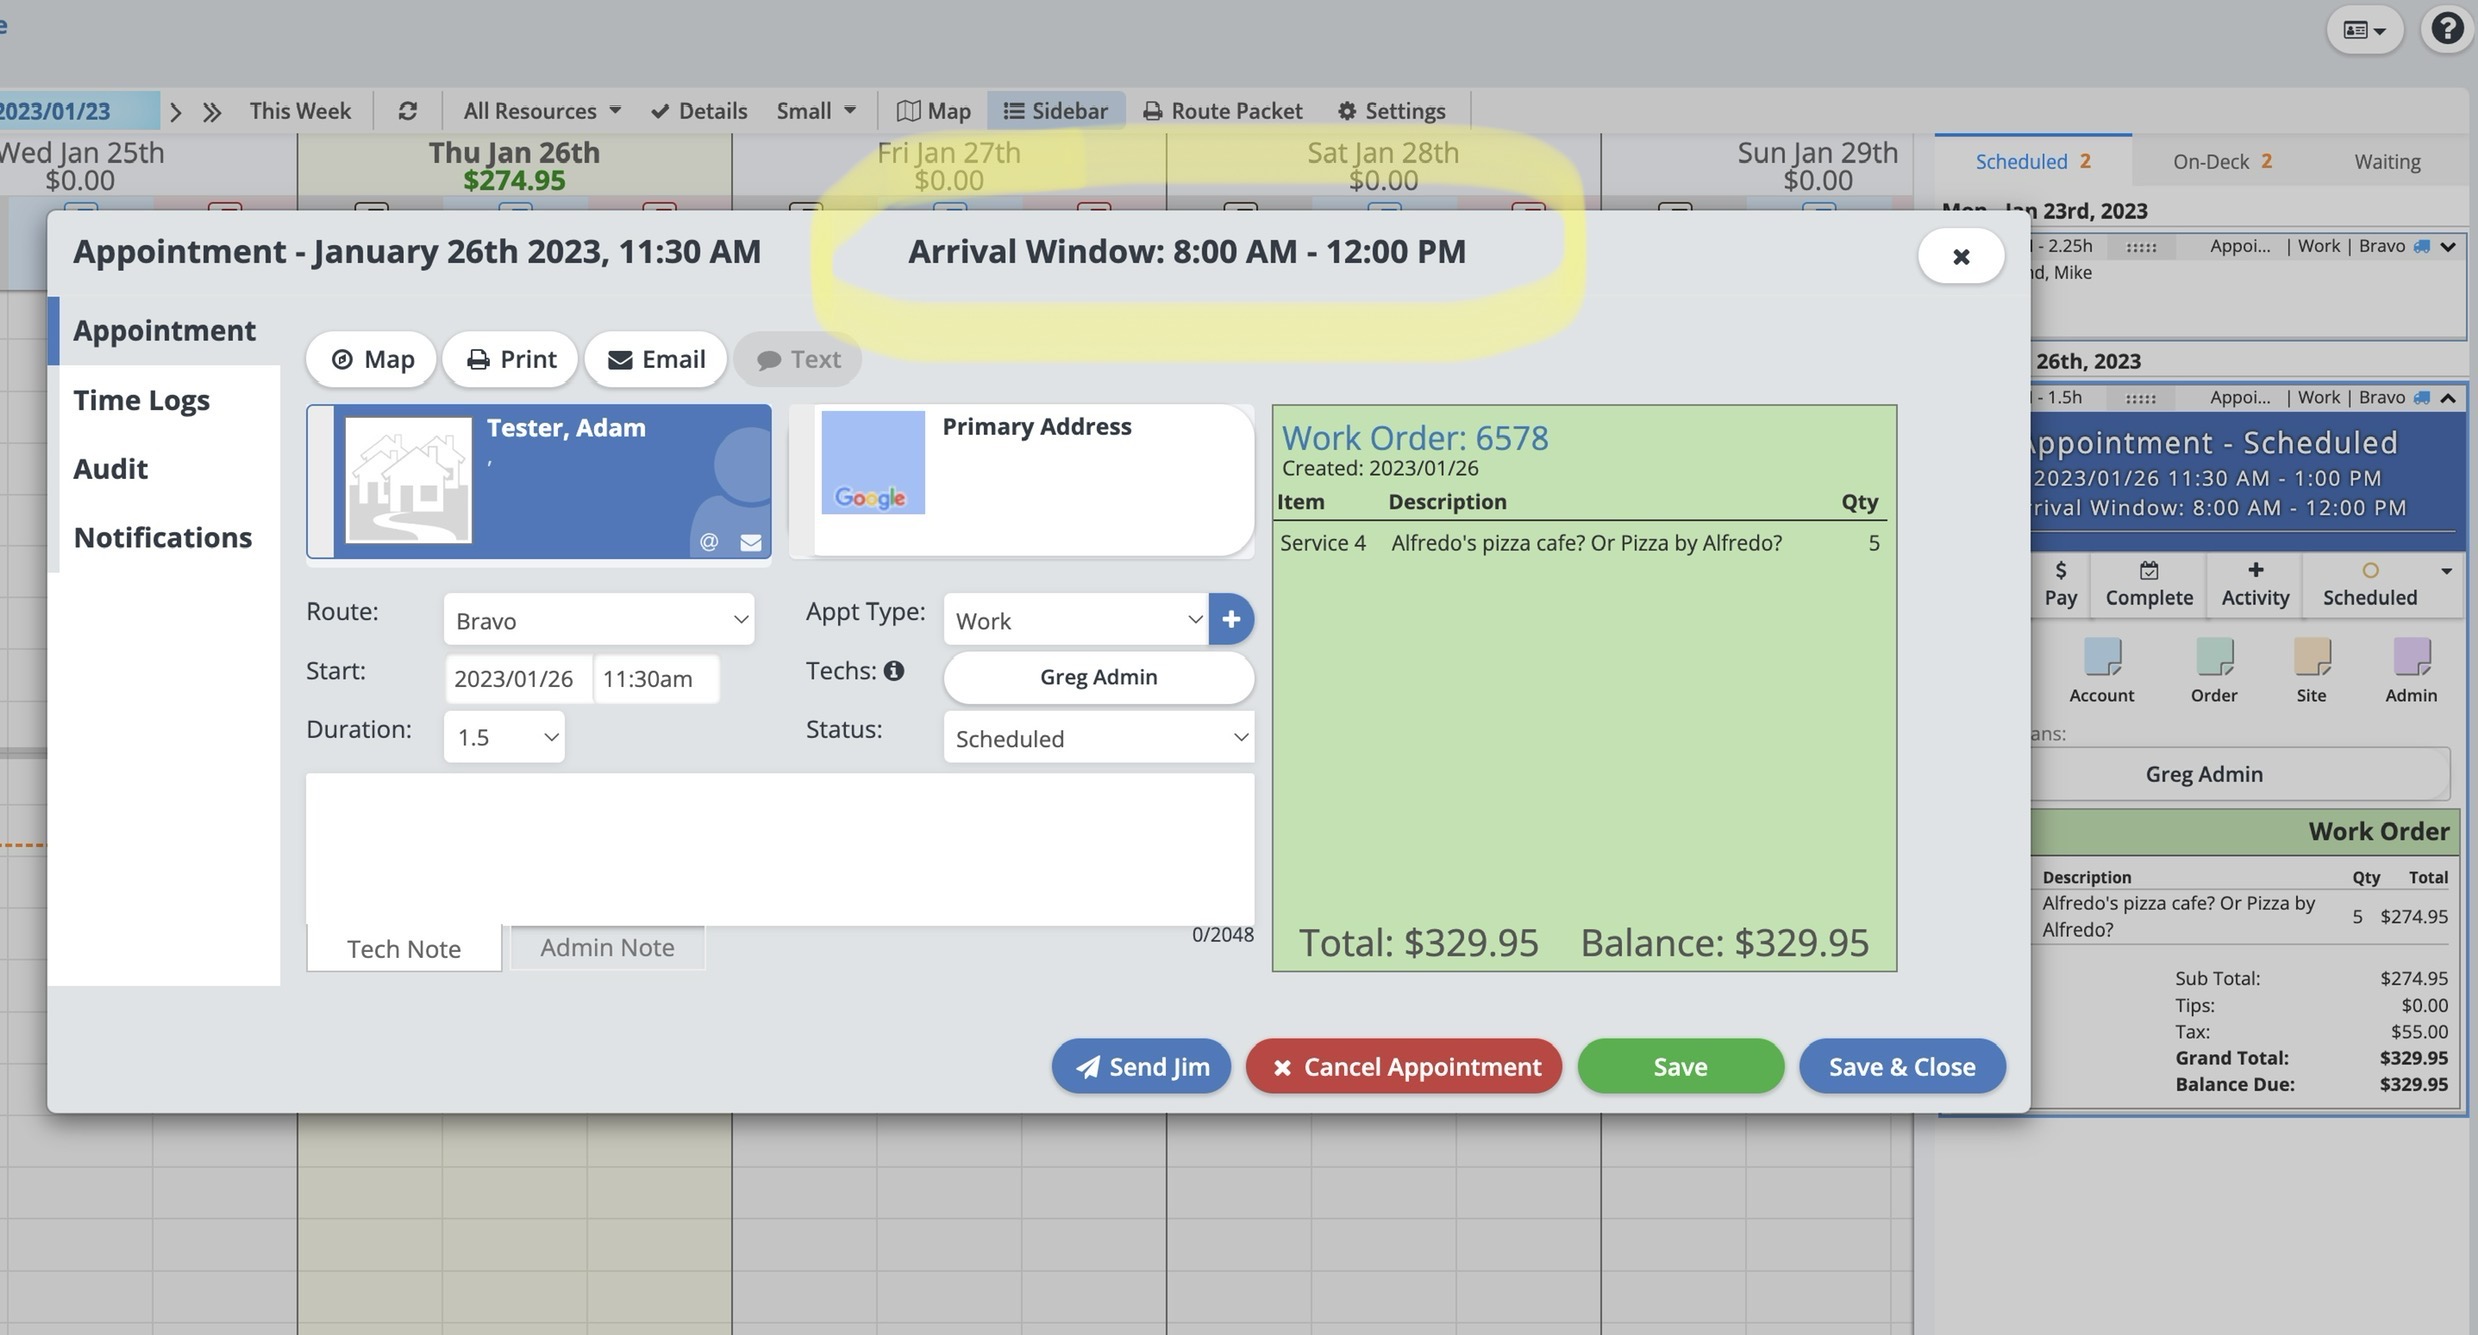
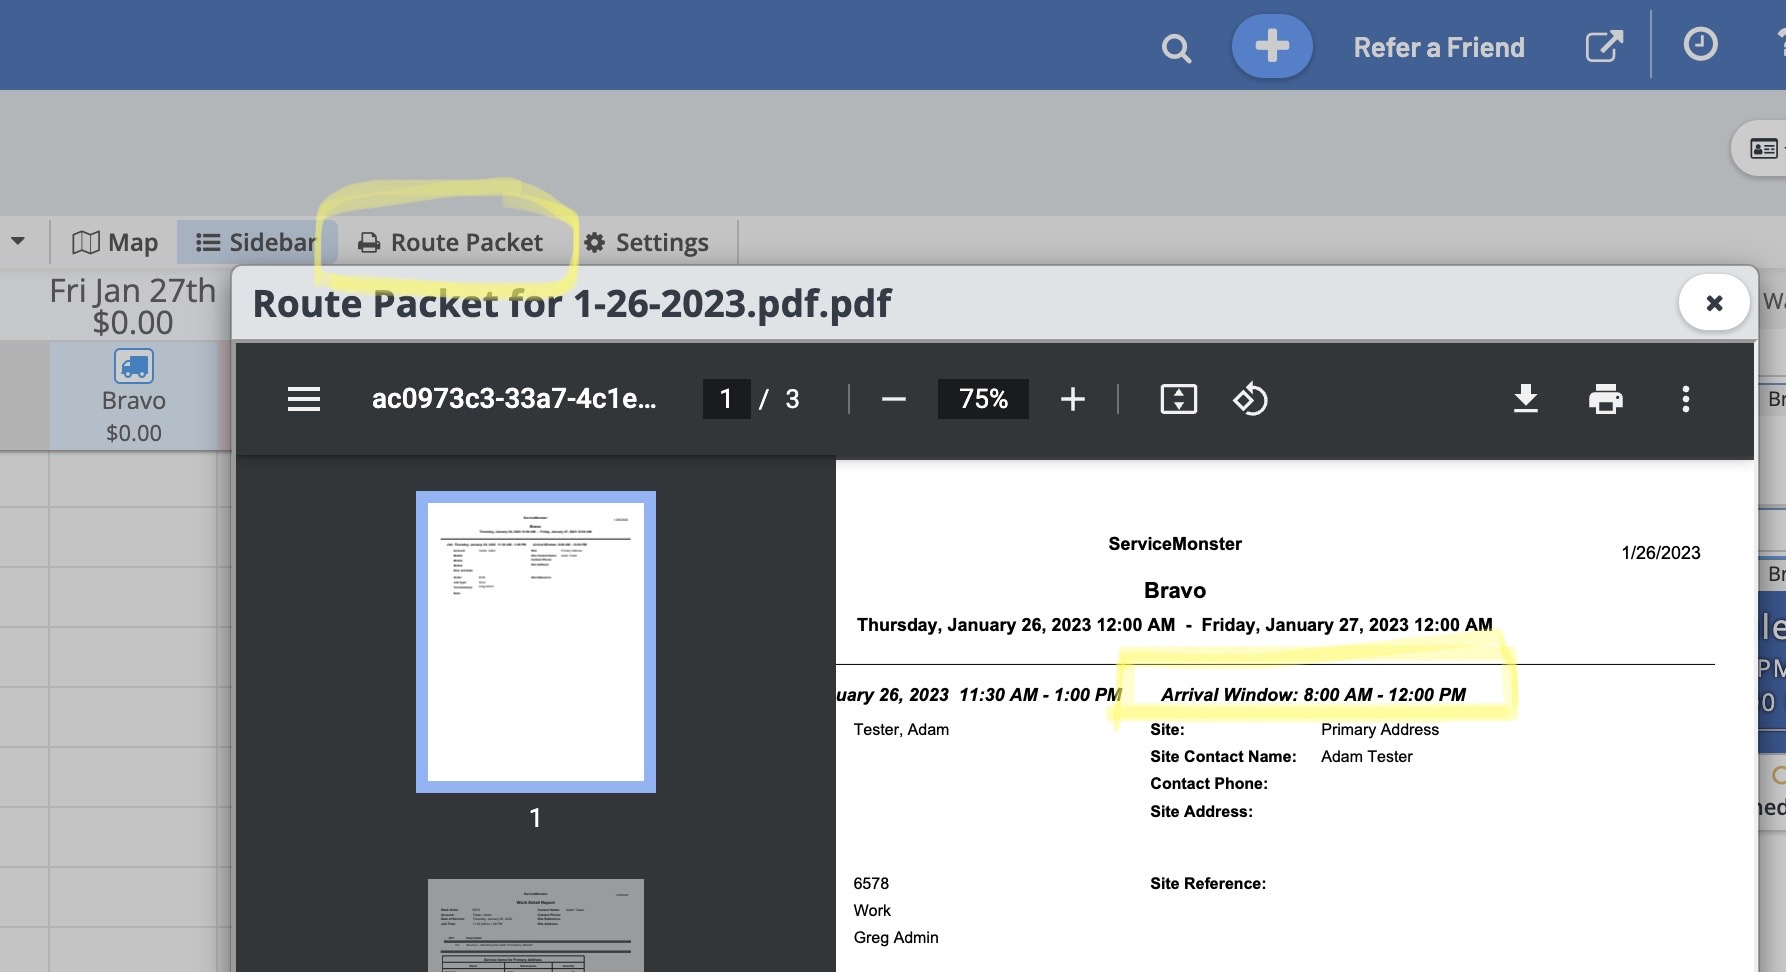
You will be able to see the Arrival Window in four places.

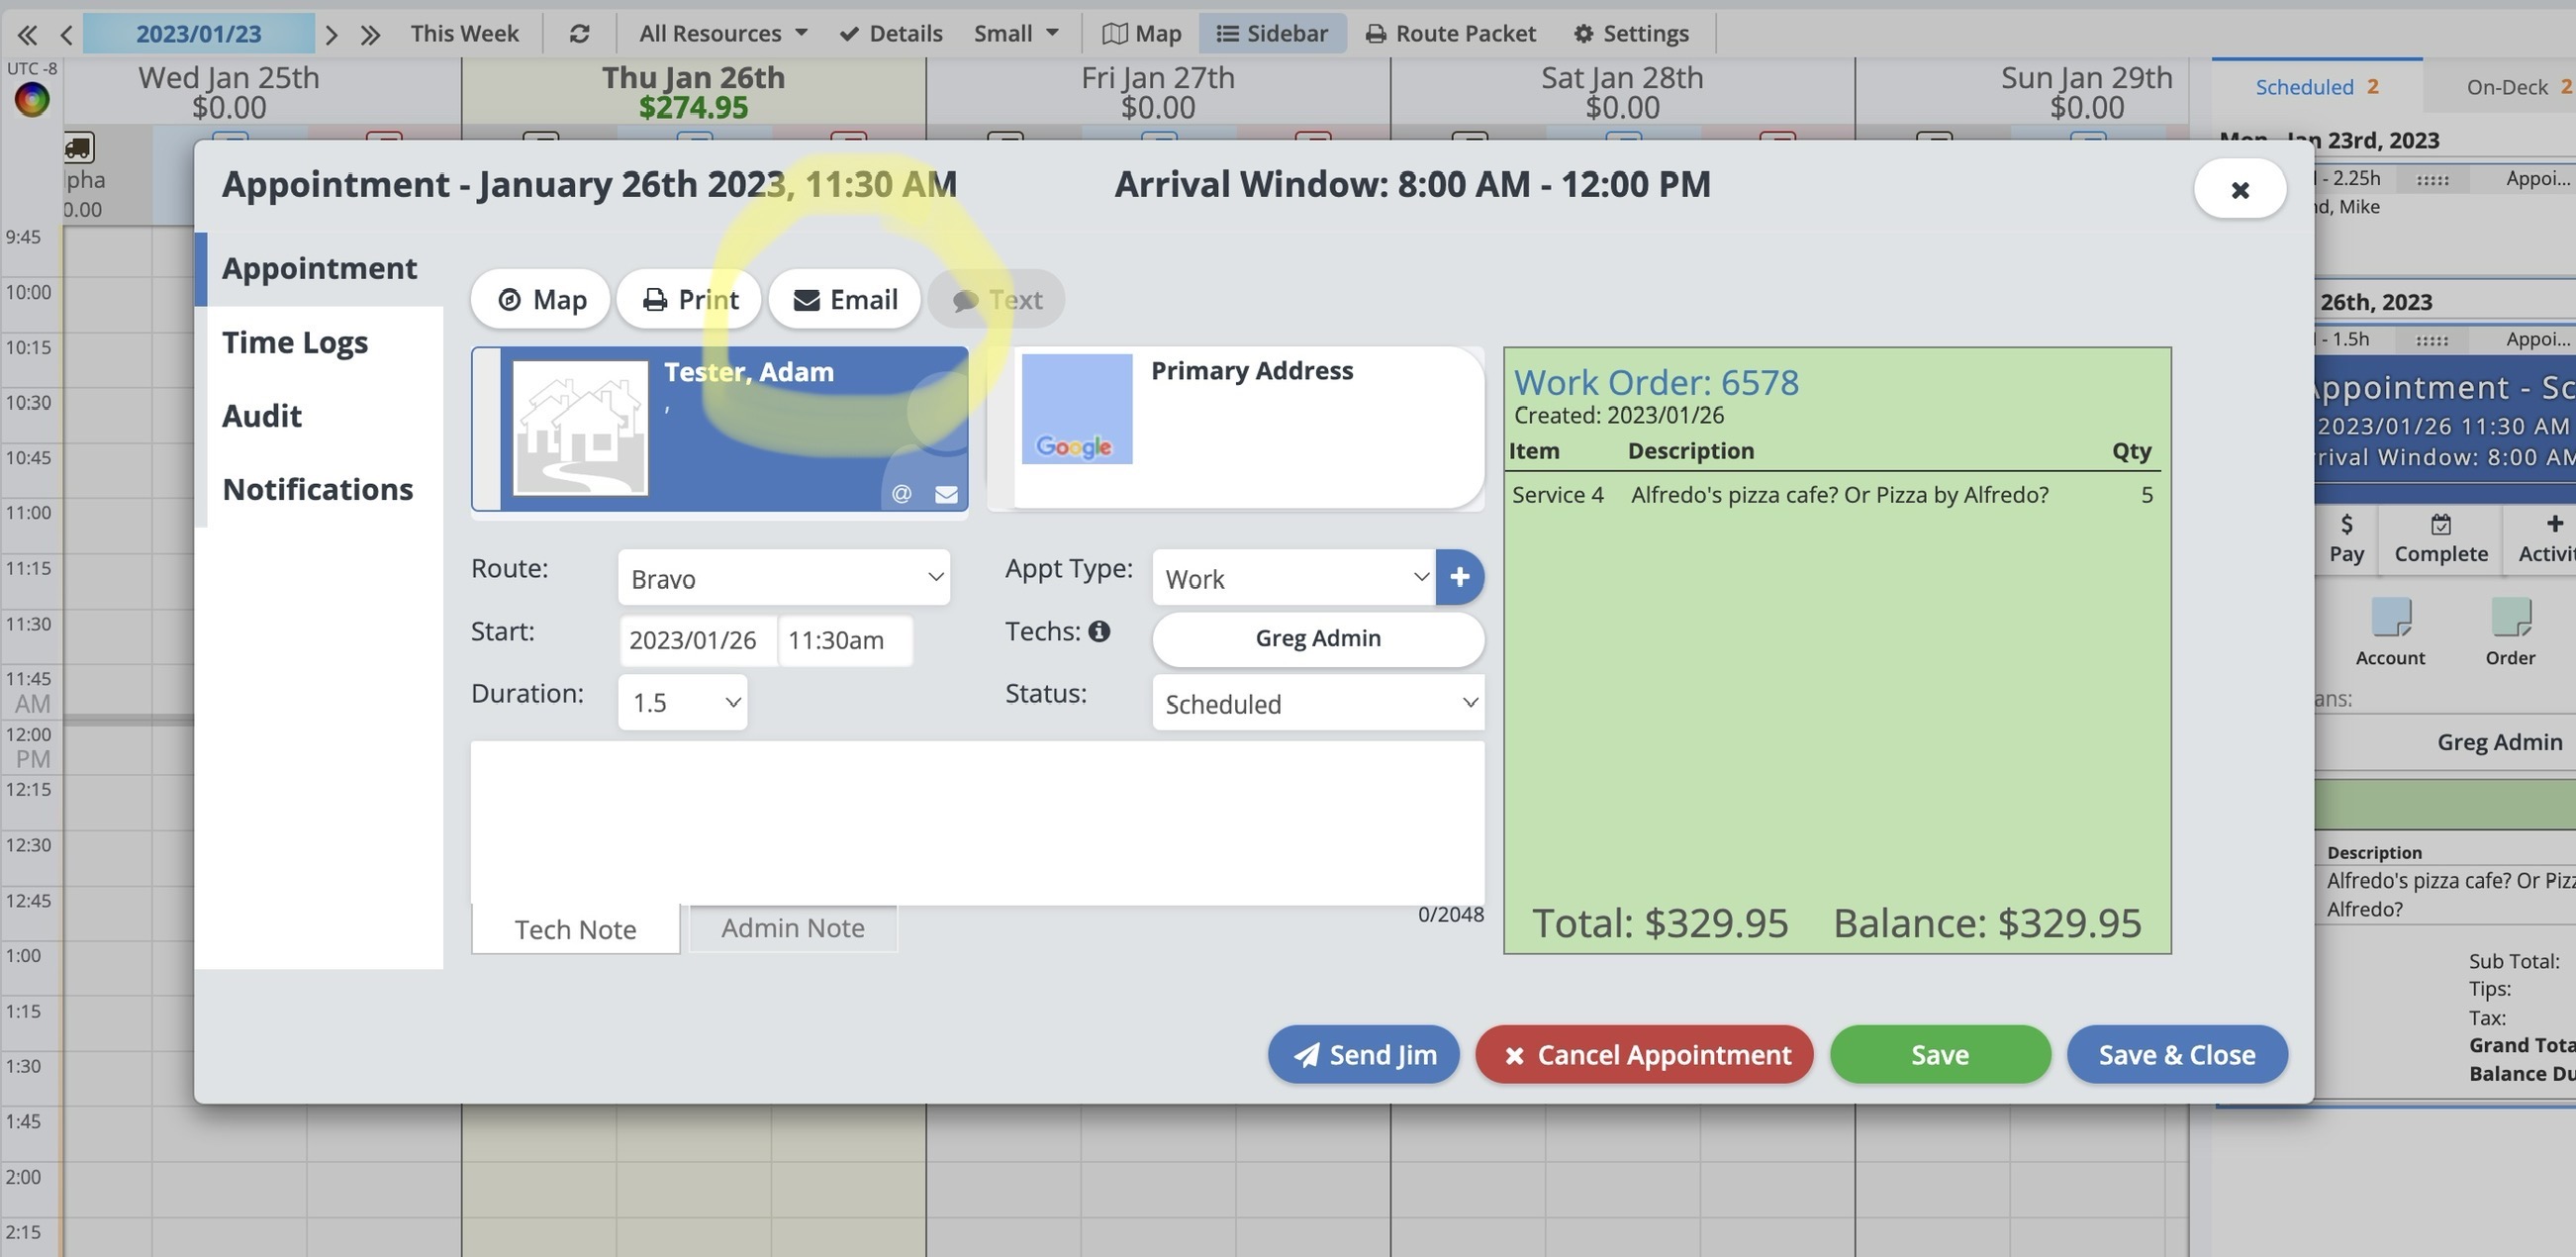
Most importantly, communicating the Arrival Windows for scheduled work to your clients is simple to do. Both email and SMS templates have a new merge field in the dropdown list called [APPT_ARRIVALWINDOW] that you can add to any template (or to a specific, one-time message). To learn more about building templates, click here.
Here's an example of sending an email:
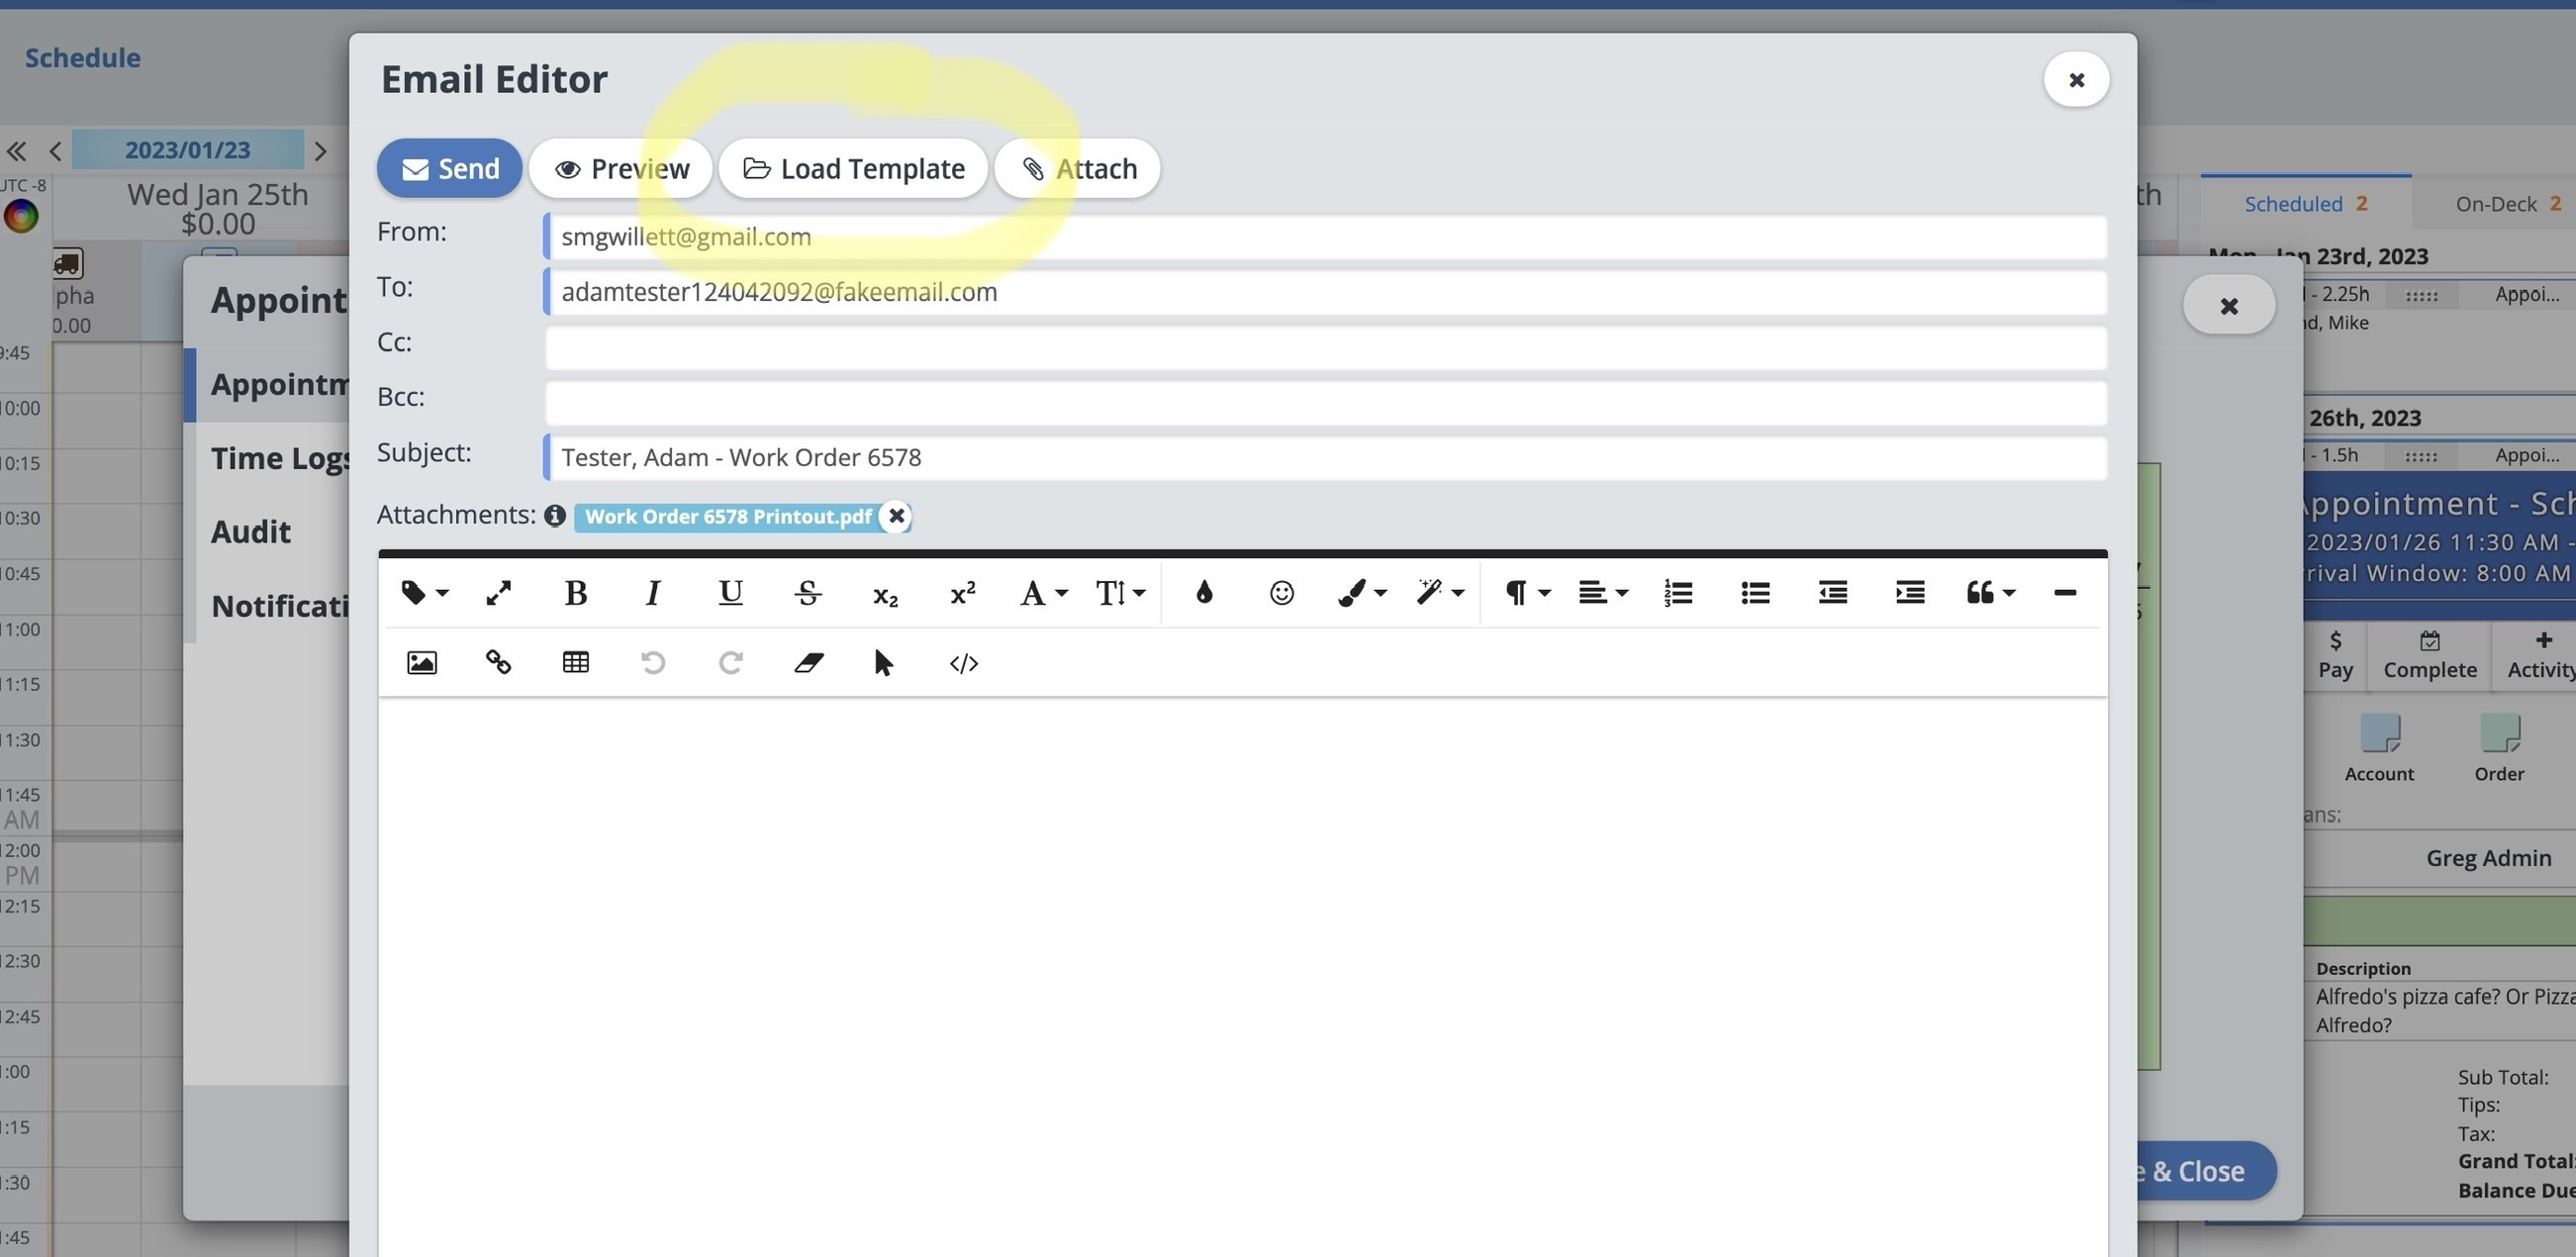

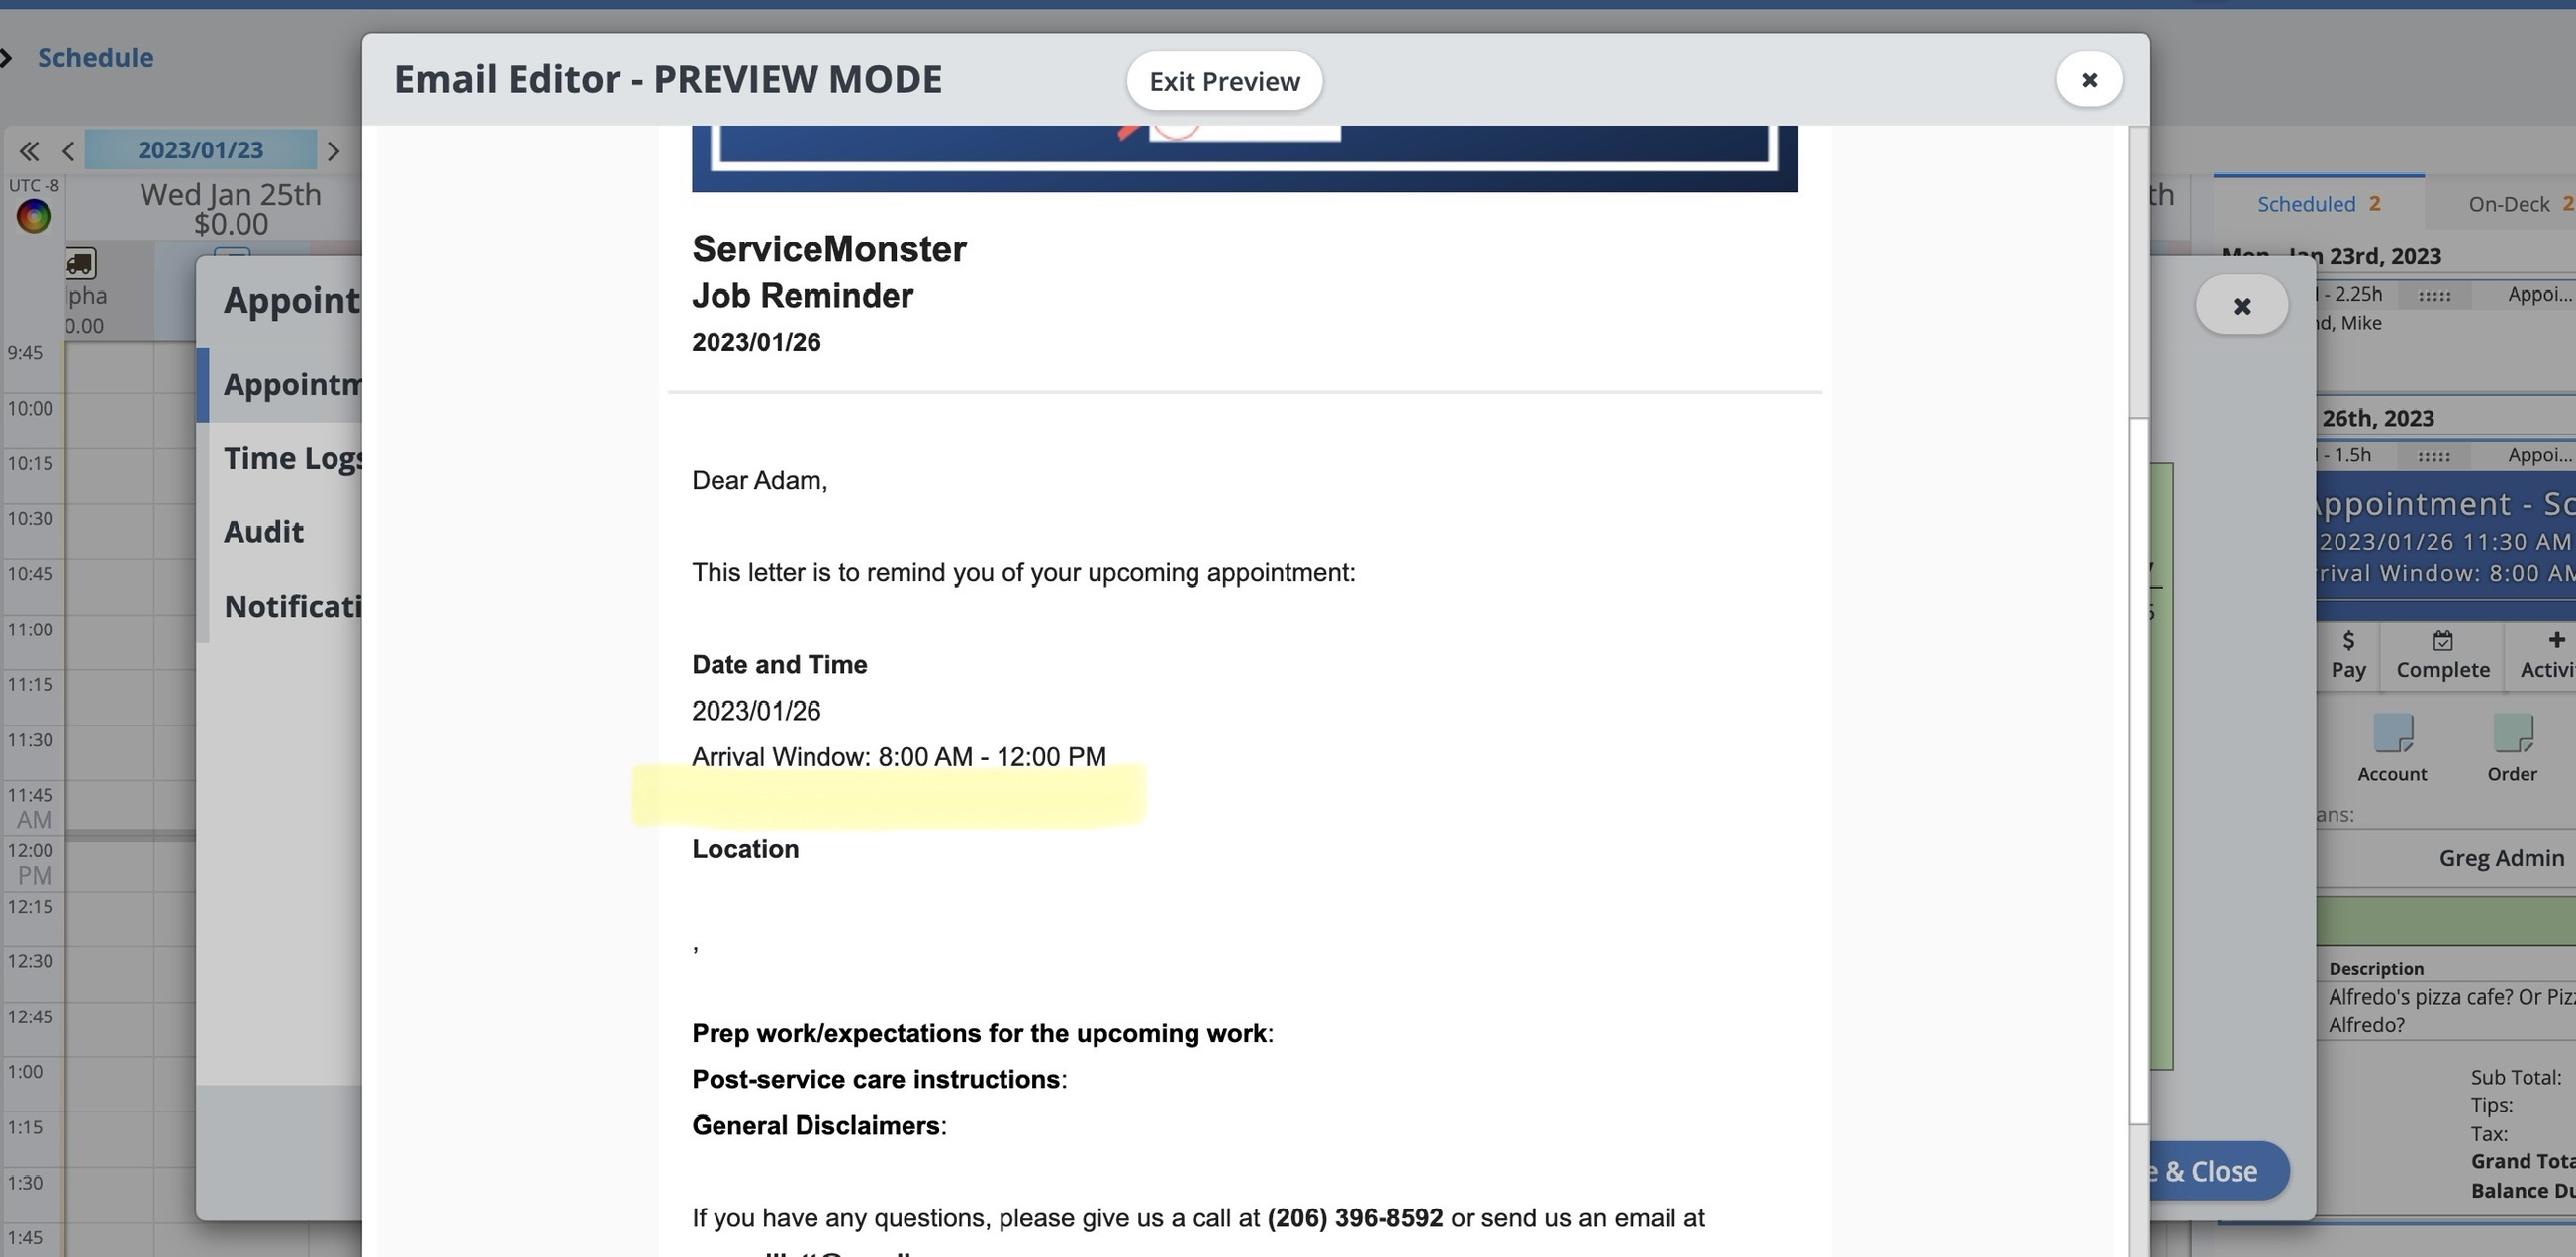
If the email preview looks good, then simply exit the preview and hit "Send". Otherwise, continue the process of making edits until you are satisfied with the results.
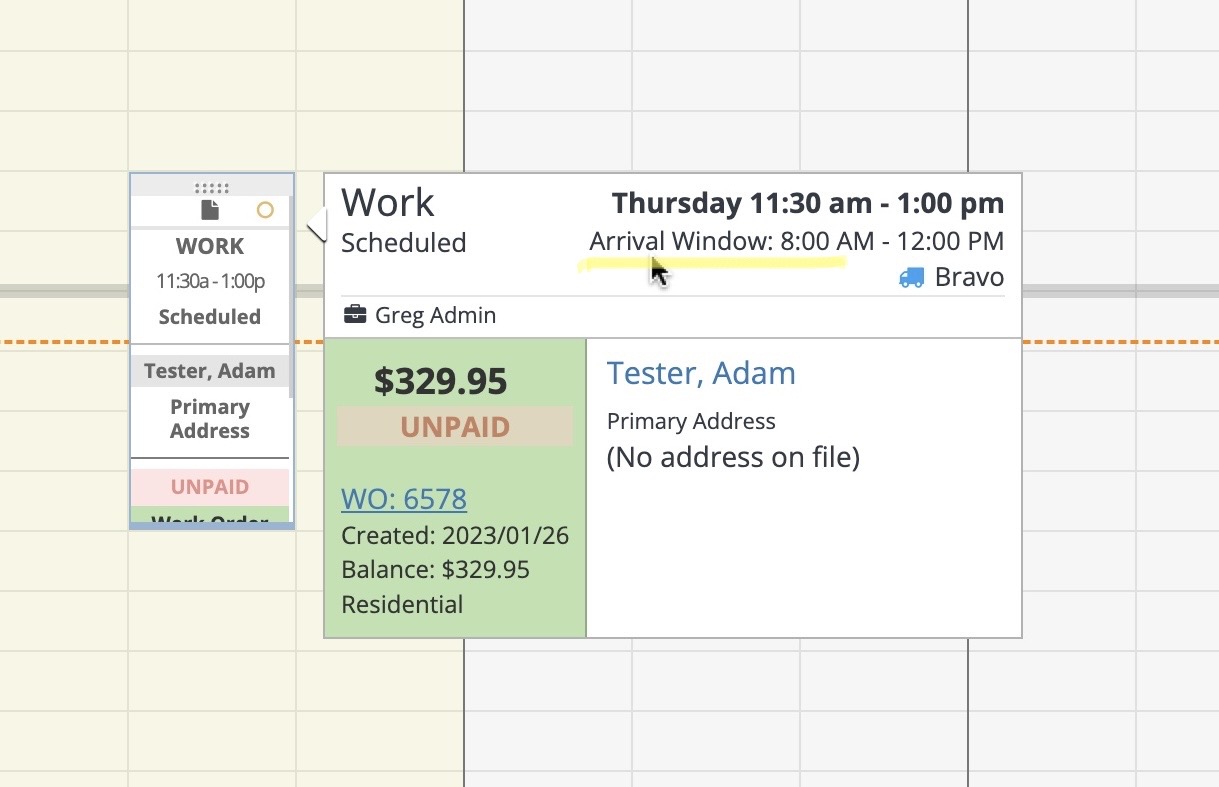
As an additional benefit, the [APPT_ARRIVALWINDOW] merge field has built-in precautions so that it will function even if the Arrival Window setting is turned off OR if you schedule an appointment outside of your created Arrival Windows. If there's an Arrival Window set for the appointment, the merge field will say "Arrival Window: x:00 - x:00" (such as in the photo above). If there is either no Arrival Window set for an appointment OR if the setting is turned off entirely, the merge field will just say "Arrival Time: x:00" and will display the scheduled appointment start time.

