
Gone are the days of waiting for a client to print off your proposed order, sign the document, and then either scan or fax the signed copy to your office before work can be done. Now, simply send your estimate/order electronically via ServiceMonster and allow your client to view and either approve or decline your proposed work! This feature also creates a simple email notification after approval/decline that then allows instant follow up to either schedule or update the order.
Lastly, enjoy tracking your current approval status within ServiceMonster to always know what stage in the process your approval is in! If this excites you then learn more below!
Click on a link to hop to a specific section on this page:
The 3 Options For Setting Up The Link
Option 1 - Send Email From A Template
Option 2 - Send Email Without A Pre-Made Template
Option 3 - Send SMS With Templates
How To Send The Templates To Your Customers
What Happens After You Send The Link
Once The Customer Accepts Or Declines - What Now?
Setting Up
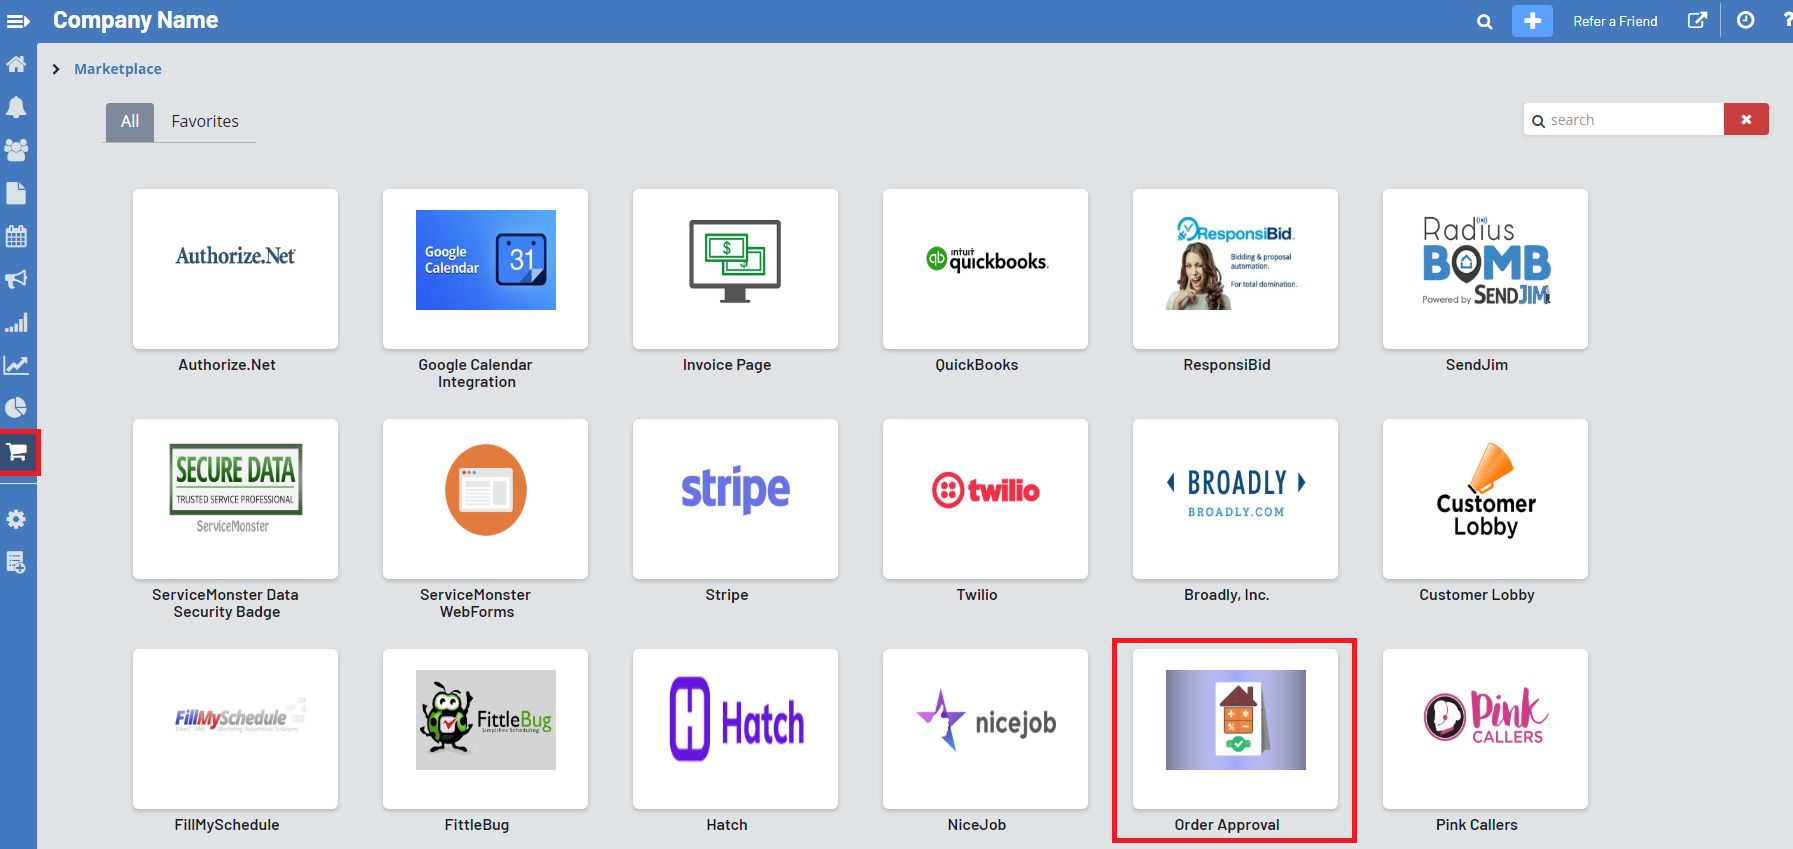
Navigate to the Marketplace, and click on Order Approval.
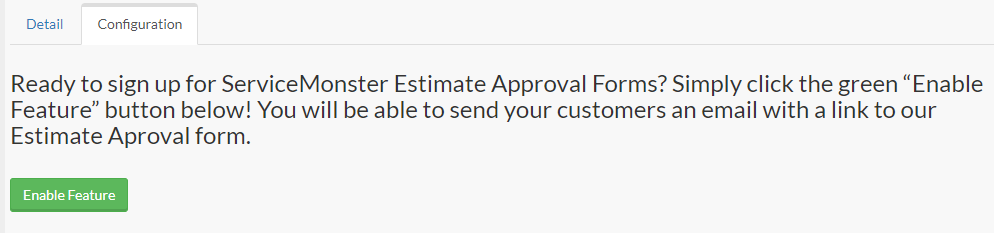
Click on the Configuration settings tab and select Enable Feature to activate the approval page.
Once enabled, you'll have various configuration options.

Enabled/Disable: This shows that the online approval links are enabled. If you choose to Disable, you'll deactivate the tool and disable any existing approval links you've sent out.
Preview: Clicking this button will open an example form with your currently selected config settings.
Length of Time Approval Links are Valid: How long the form will remain active after sending to a user.
Terms and Disclaimers: Choose to show disclaimers of your choice at the bottom of the form (no disclaimer by default). To learn more about setting up disclaimers, click here.
Show Line Item Quantity: Toggle hiding the Quantity column on the form (off by default).
Show Line Item Price: Toggle showing the Line Item unit price column on the form (off by default)
Show Order Note: Toggle showing the order note/memo on the form (off by default).
Show Company Name: Toggle showing the written company name at the top of the form (on by default). Note: There MUST be a logo uploaded to your company settings in order to toggle this off. To learn how to upload your logo, click here.
Notifications: Toggle on to send email notifications when orders are approved or declined. Multiple email addresses can be used, separate with a semicolon.
The 3 Options For Setting Up The Link
Option 1 - Send Email From A Template
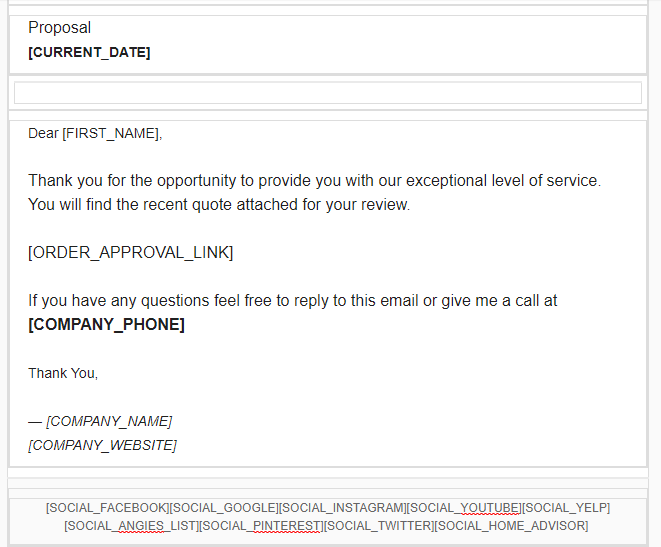
Create or edit an email template to send to customers using the ‘ORDER: APPROVAL LINK’ merge field. The merge field will send a link that says ‘Click here to view and approve your order’ to the customer with their invoice information, and a page for them to fill out their credit card and billing info.
Create an Email Template
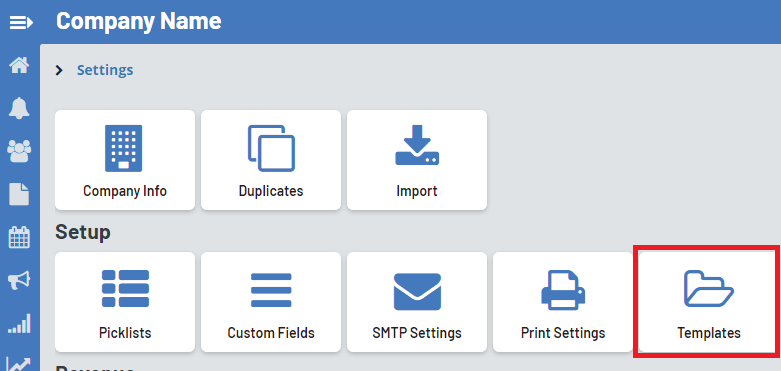
Go to the Settings page and select select Templates
Select the Email Templates
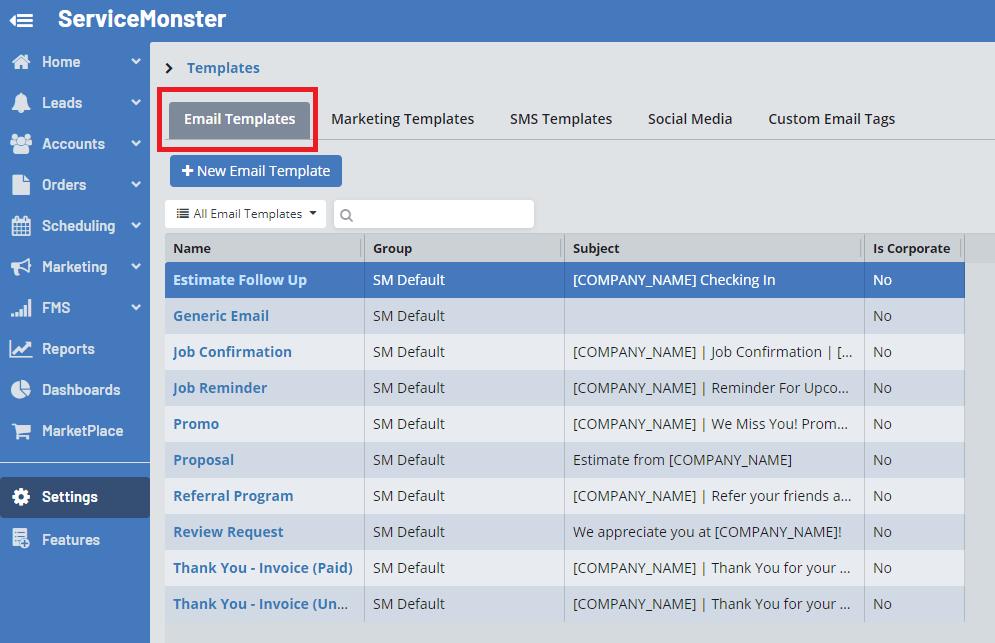
Choose an email you would like to add the approval link to, or create a new email template to do so.
Create or modify your phrasing to introduce the approval link
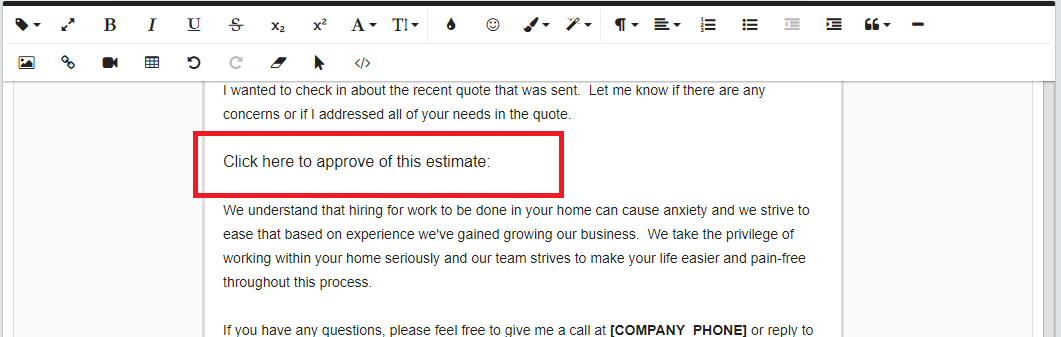
Leave your cursor in the desired spot of your template
Select Advanced Options (looks like a tag)

From the drop-down, select Order: Approval Link
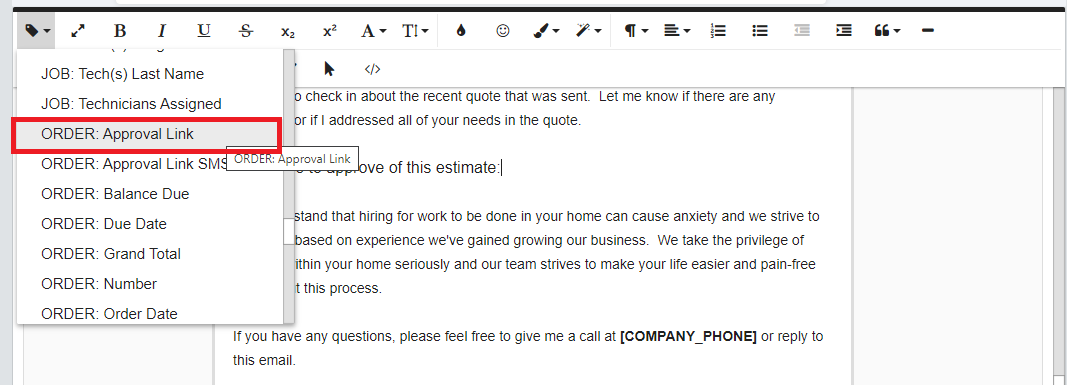
The link will now be inserted into the template
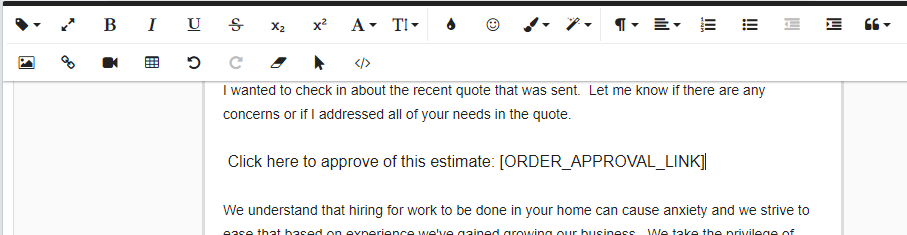
Save
Example Template
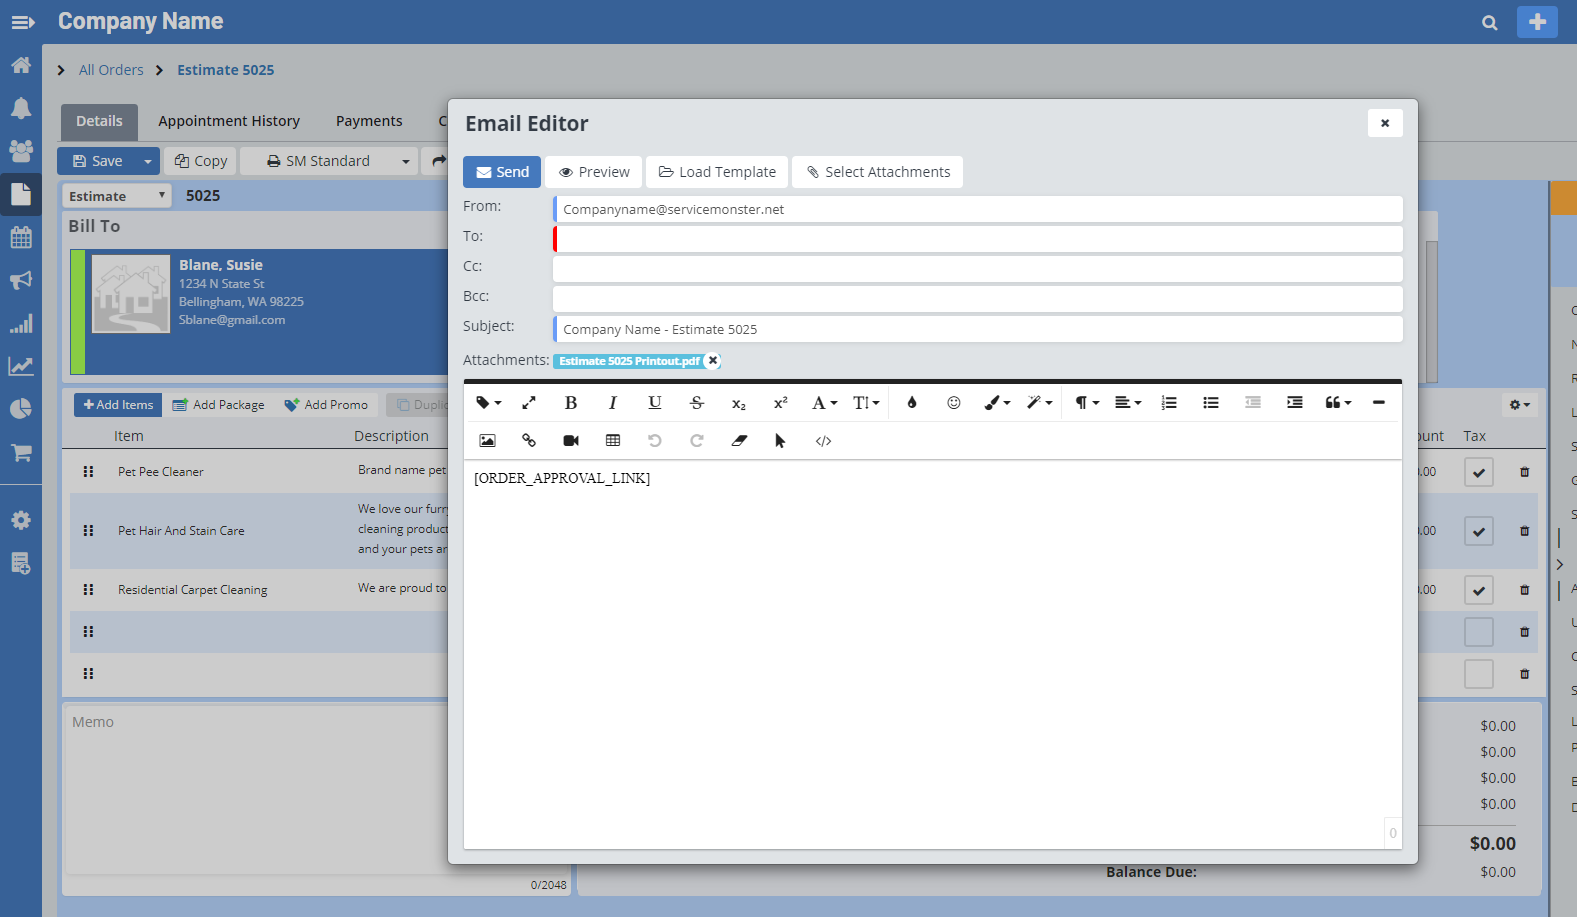
Option 2 - Send Email Without A Pre-Made Template
If you choose not to create an email template, you can just add the same merge field [ORDER_APPROVAL_LINK] directly to an email from the order screen, and it will email the customer with a link that says ‘Click here to view and approve your order’. Always be sure to preview the email before sending to verify formatting.
Option 3 - Send SMS With Templates
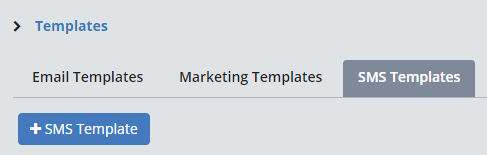
Open Settings, then click on Templates
Select SMS Templates Tab
Select New SMS Template Button or edit an existing template.
Create the template
Name the Template, type in your message, add the appropriate Merge Field For the approval link use: Order: Approval Link SMS
See the example below:
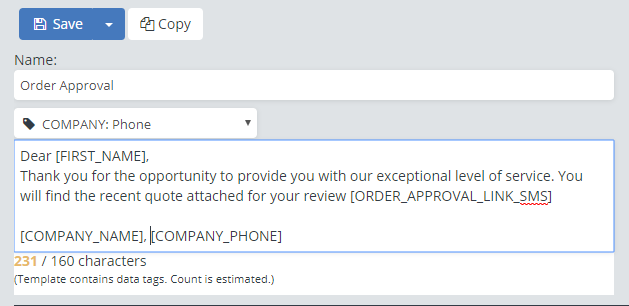
or copy (Ctrl + C) this messaging from here into your template:
Dear [FIRST_NAME],Thank you for the opportunity to provide you with our exceptional level of service. You will find the recent quote attached for your review. [ORDER_APPROVAL_LINK_SMS][COMPANY_NAME], [COMPANY_PHONE]
5. Save! There you have it! Your SMS template is all set to go.
How To Send The Templates To Your Customers
Here are the locations where you may send the templates from.
Email:
Desktop ServiceMonster 6 or onTrack 6: Send from the Order or Schedule (Job box)
Mobile App: send using the email template from the Order or the Job screens (email button)
SMS Texting:
Desktop: From the Schedule (Job box)
Mobile App: From the texting order or job page click the text bubble icon next to phone number desired and select your SMS template.
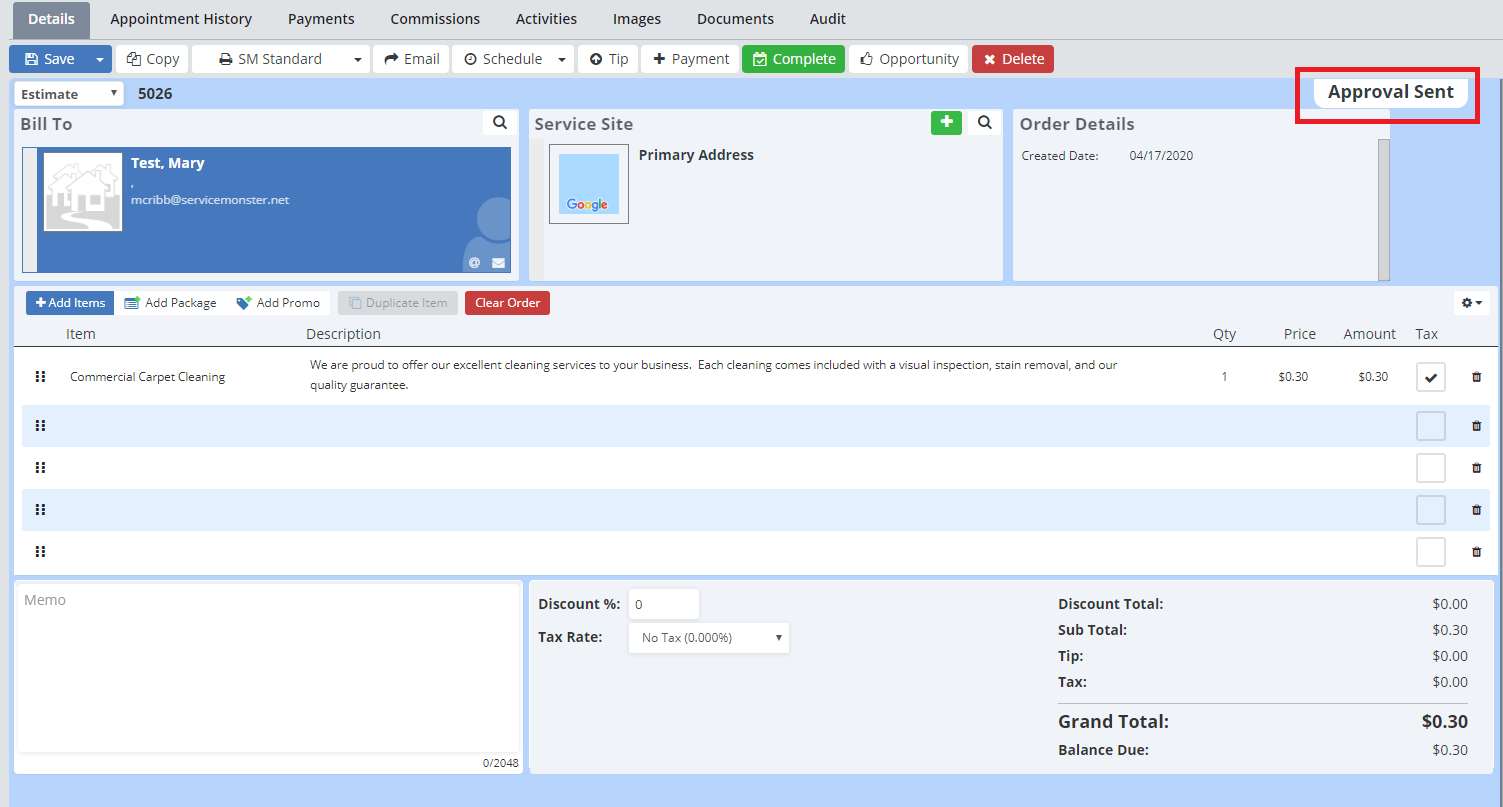
What Happens After You Send The Link
First and foremost, your approval status will show as "sent" both on the order and on the order list.
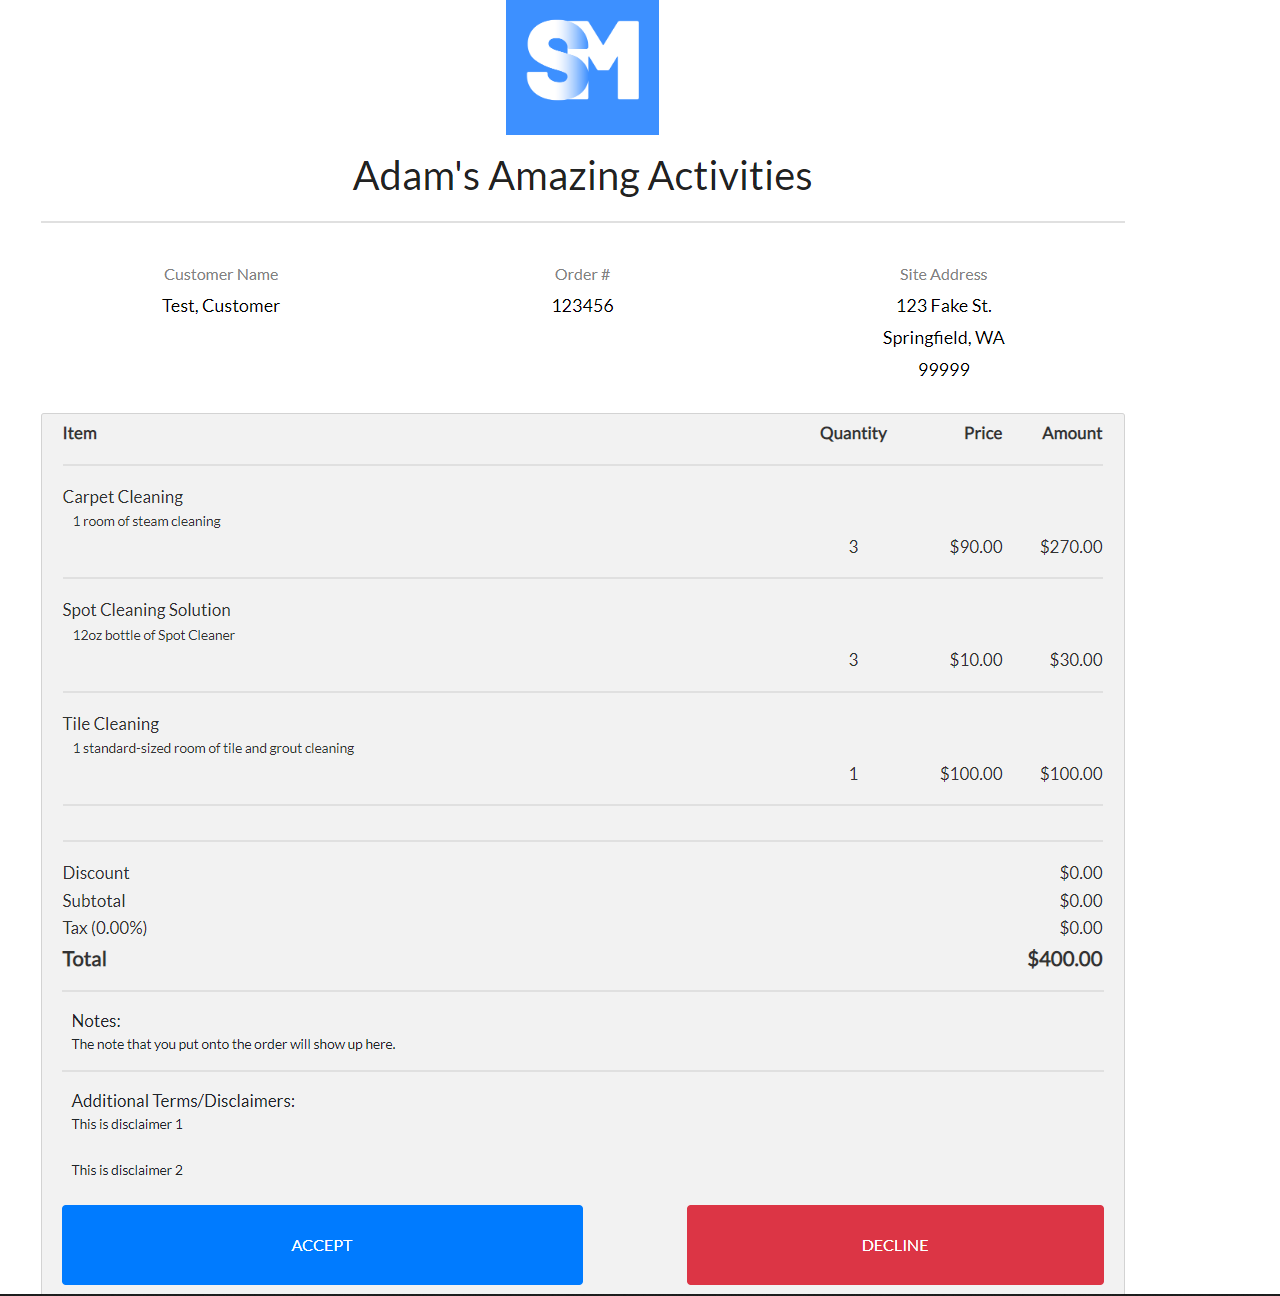
Your customer will receive the email or text message. When they click the link they will be taken to a page showing them their order, which will include any discounts and tax, if applicable. After viewing the order they then will have the option to either accept or decline the work.
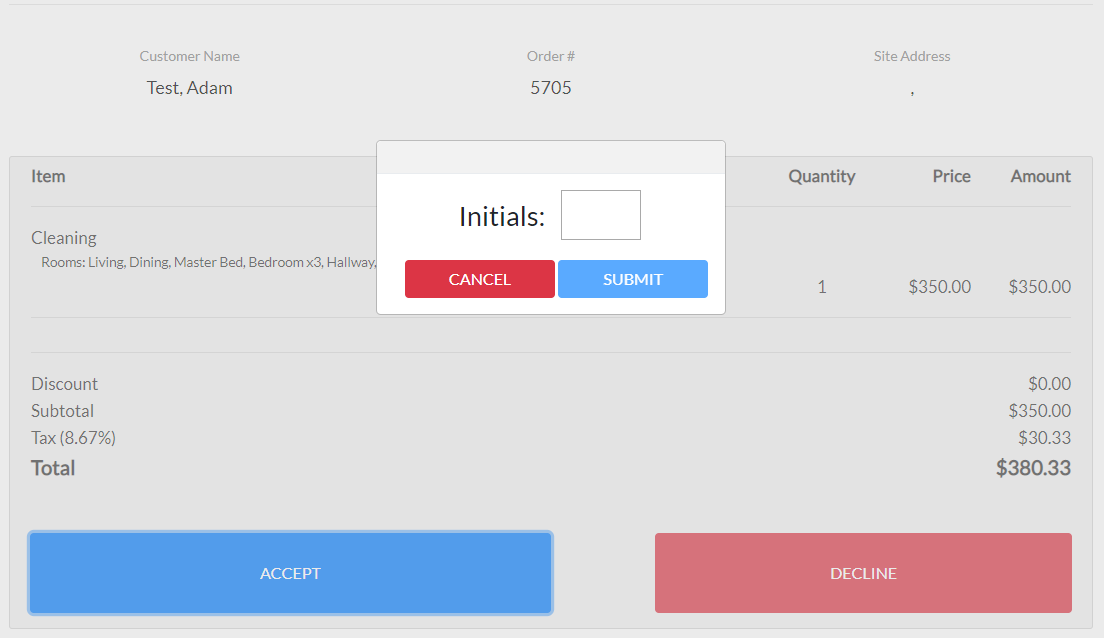
If they accept, a separate screen will pop up requiring initials to be entered as another layer of verification.
Once The Customer Accepts Or Declines - What Now?
When an option is chosen:
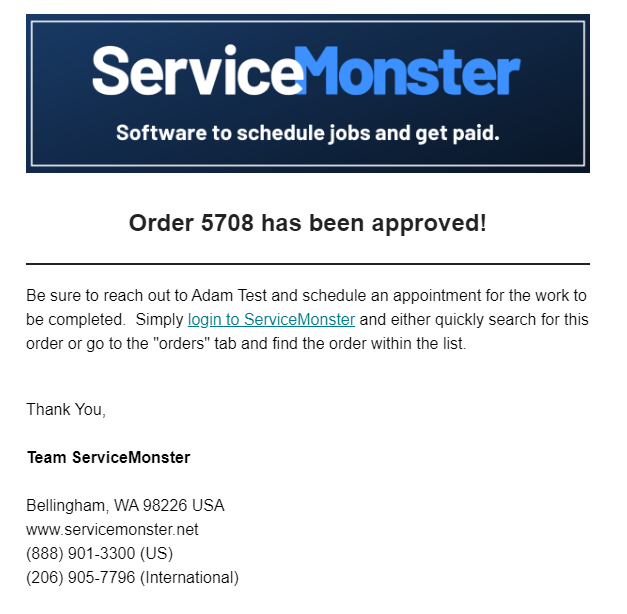
If you have chosen to receive an email notification back in the setup (first step at the top of the page), then you will be notified of the status change so that you can follow up asap!
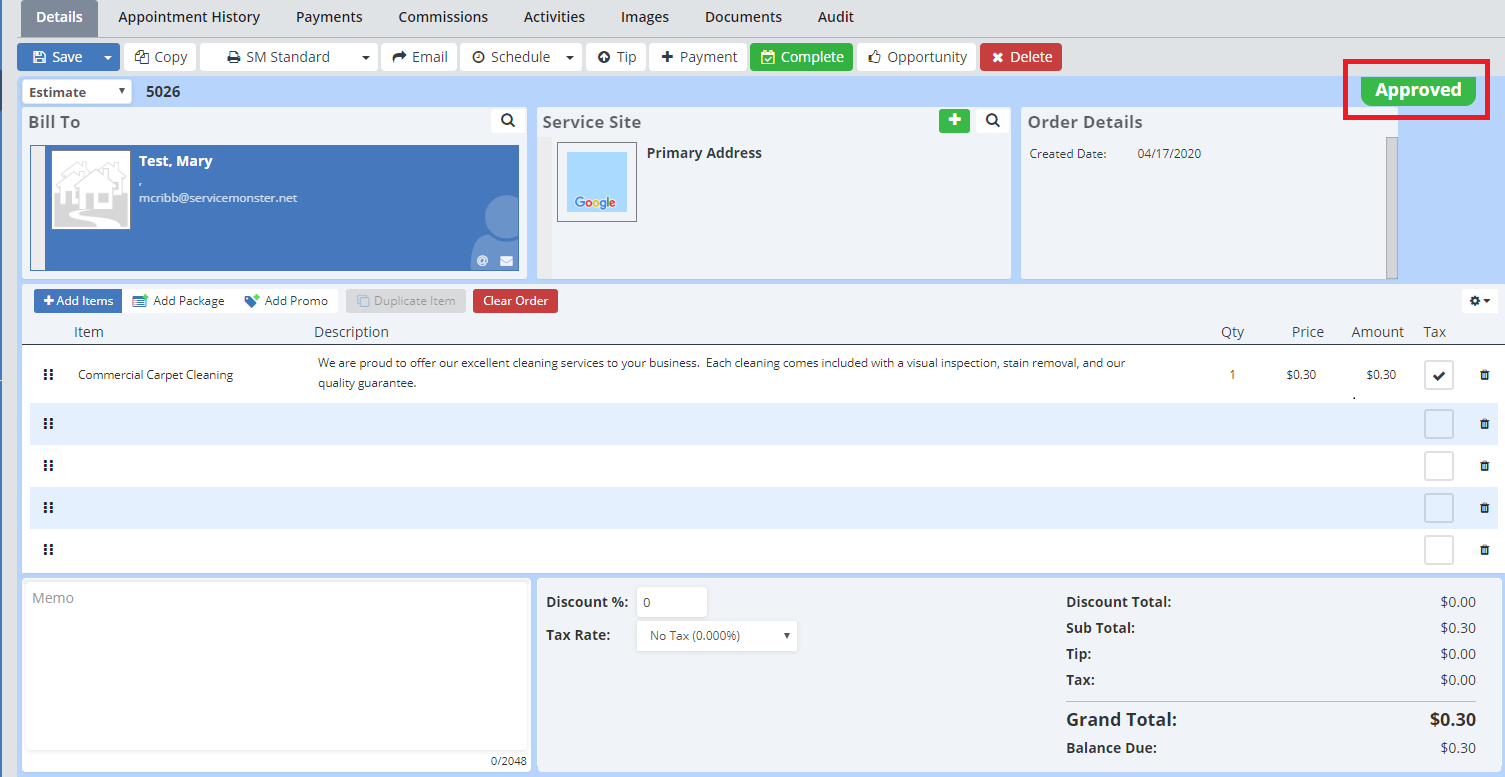
The approval status will also update on both the order itself and the order list.
Order page:
Order Grid:
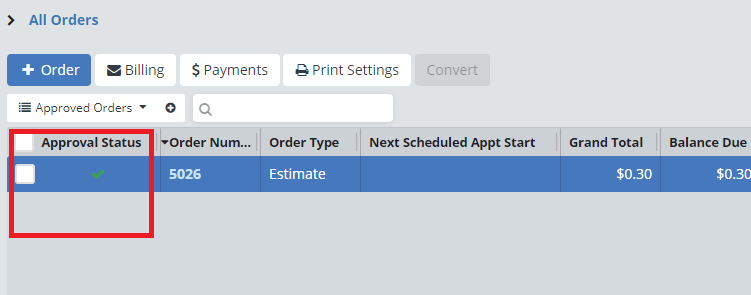
Different symbols can appear in the Approval Status grid, including:
The eyeball: Shows that the Estimate has been "Viewed"
The letter: Shows that the Estimate has been "Sent"
The checkmark: Shows that the Estimate has been "Approved"
The red X: Shows that the Estimate has been "Declined"
You're good to go! Now your orders can be approved online and you save valuable time that can be spent on pursuing more sales opportunities!