ServiceMonster Pay is an in-app payment processing system you can use to process credit and debit card payments within ServiceMonster. Currently ServiceMonster Pay is only available for US and Canadian users.
Application Status and Microdeposit Account Verification
To sign up for ServiceMonster pay, go to the Marketplace within ServiceMonster.
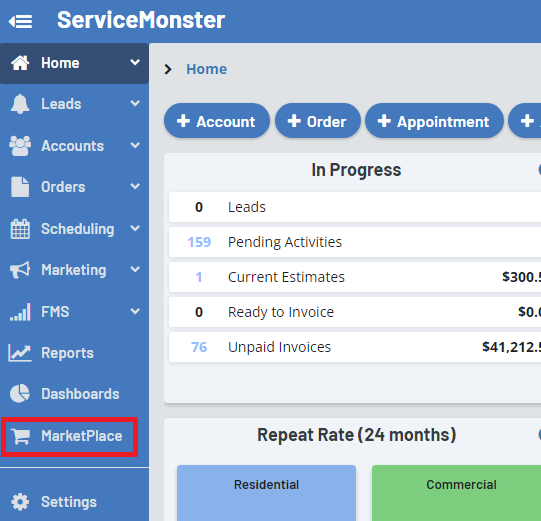
Select ServiceMonster Pay from the list of options.

Click on Configuration tab and then the “Sign Up Now” button.
Note: If you do not have a company address listed, there will be a prompt to do so first as ServiceMonster Pay is only available for US and Canadian users. If you are outside of those countries, you will not have access to the configuration tab.

Once you've started the application process, the first page will ask for your business information as well as creating your Back Office user. The Back Office will be where you can run reports, check your settlement account balance, offer refunds, and more.

Business Info:
Legal Name: Business legal name
Category: Category code for the business, select your business’s category from Cleaning Services, Professional Services, Repair Services, or Miscellaneous Services.
Phone: Your company phone number.
Email: Your company email address.
Website: Your company website.
Yearly Volume Range: Estimated yearly volume of the business in terms of individual transactions, select from: “Low - 0-50K”, “Medium - 50k - 100k”, “High - 100k - 250k”, or “Very High - 250k+”
Average Transaction Amount: The average amount of each transaction processed.

Business Type: Select your business type.
Federal Tax Number: Your company federal tax number.
Busines Description: A description of the work your company does (Carpet cleaning, pressure washing, ect)
Username: Unique user name that will be created to access the Back Office portal
Password: Password created to access the Back Office portal (see requirements when creating)
Recovery Question: Select a question that will be asked if password recovery is needed to verify account owner.
Click on the “Save and Continue” button to continue.
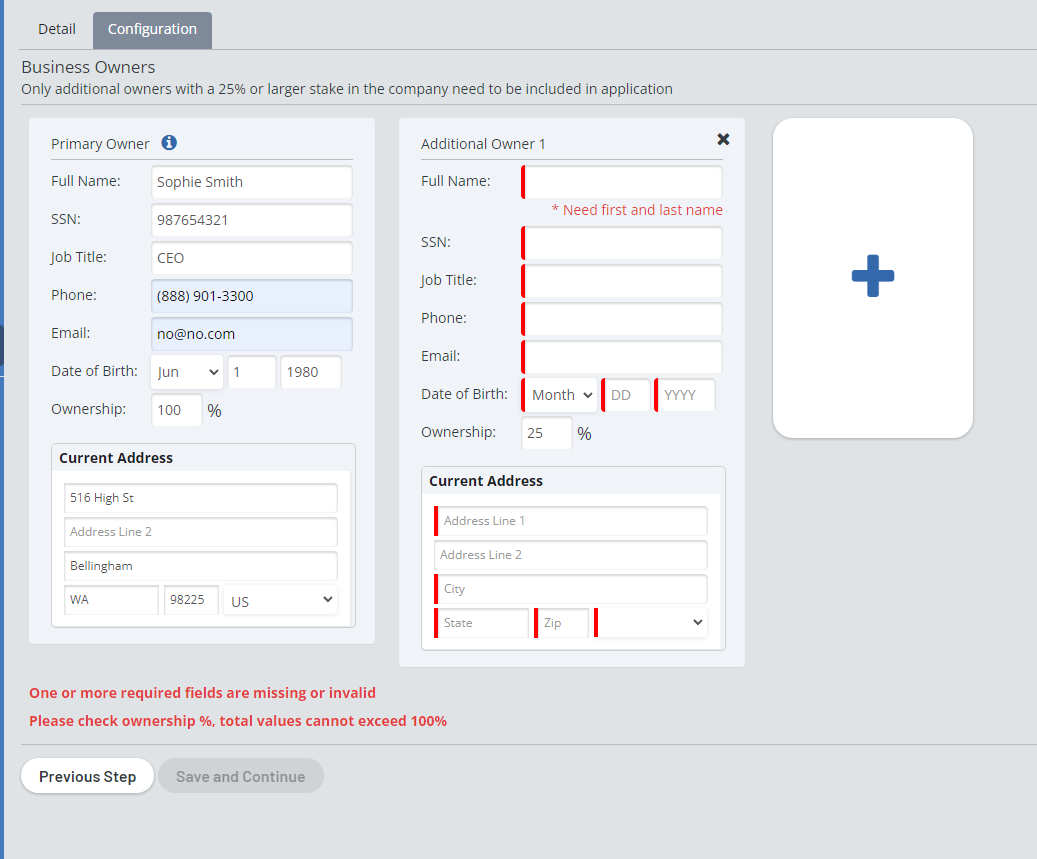
Here you will enter in the information about the owners of the business. This only needs to include those who have a 25% or larger state in the company.
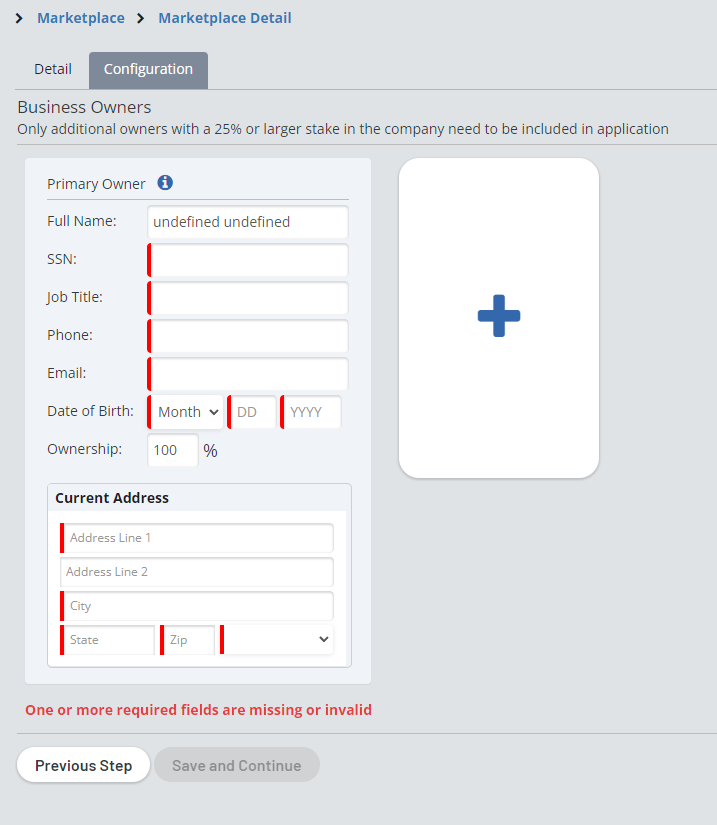
Full Name: First and Last name
SSN: Social Security Number
Job Title: Job title at company
Phone/Email: Primary phone and email address for contact
DOB: Date owner was born
Ownership: What % of ownership is owned by the business owner. IMPORTANT NOTE: Only business owners with a 25% or greater stake in the company need to fill out the application. If multiple owners, then the total ownership stake cannot be greater than 100%
Current Address: Most recent address for business owner. If current residence has been lived in for less than 2 years, a previous address will also be required
Click on the “+” button to add another owner if necessary. If not, click on the “Save and Continue” button to continue.
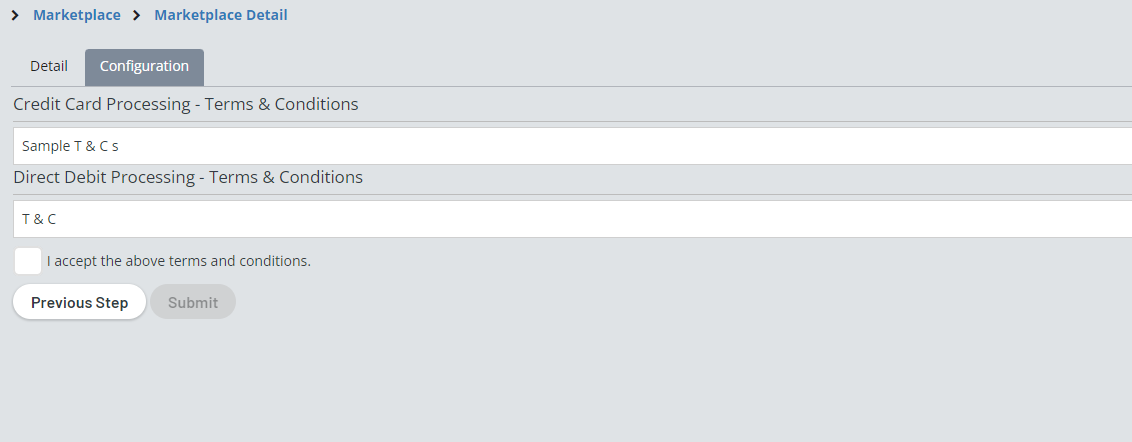
This is the account you wish funds to be deposited into from your merchant accounts.

Please read the terms and conditions carefully prior to accepting.
In many cases, you will be able to begin processing payments within 5-10 minutes. However, in some cases, your application will need to go through further review. You can see the status of your application from the Configuration page of the SM Pay MarketPlace link. When the application is approved, you will see green check marks and the "approved" status. You will also get an email from ServiceMonster to welcome you.

Possible Status Codes:
As a final step, you will need to verify your settlement bank account before you can receive deposits for your settled transactions. Simply click "Proceed" to start the verification process, log into your settlement bank account to find the microdeposit amount deposited, and then enter that amount here and click "Verify." Note that it may take 1-3 business days to see the deposit transaction, if it has been longer than that please contact support.

The main purpose of the Netbanx back office is to allow you to view your transactions, run reports, process refunds (credits), and view your settlement account details.
When you first login you will see the Accounts section. This will show you the status of your application and other details. Take note to be aware that one account is created for credit card transactions and one for direct debit transactions.

Reports are the primary reason you will login to the Back Office. From here you can lookup specific transactions, run reports for a time period, lookup chargeback history, and schedule automated reports to be emailed to you.
This is where you can lookup specific transactions or transactions over a date range. You will need to swap the payment method from Credit Card to Direct Debit when looking up transactions from one or the other. When looking up a specific transaction, you can simply copy the transaction id from the payment within ServiceMonster and paste it in the lookup search bar.

Once you've pulled up the report, you can sort through the request types and expand them to view more info. Once you have expanded the view, you can click on any of the transaction ids to pull up more details.
When viewing a transaction record, you can see the details of the transaction as well as the settlement and/or refund (credit) status. You can also issue a refund (credit) against the transaction by clicking the little green plus in the settlement details. This will open a pop-up window that will have you verify the amount being refunded and ask for the merchant transaction id as a safety precaution. You can view this on the transaction details and simply copy/paste that info in. Once a refund has been requested, you have the option to cancel the credit, by clicking the little red "x" in the credits section. This request can only be made while the credit is in the "pending" status.

You can setup automated reports to be run when you wish by clicking Reports -> Schedule Reports.
From here you can view reports already created or click "Add" to create a new one. From here, select which report you wish to run, give it a name, set a frequency of when the report should be sent and a time period that the report should cover, select a few other options and then click the "Add" button next to email destinations to select where the reports should be sent. You can also set the format to be csv, excel, or html. Most users will want to use csv for simplicity. Hit Save to save your results.
When you want to start running the report, ensure the "enabled" option is checked on. If at any point you wish to disable a report, simply enter the report and uncheck the "enabled" option.

To view the balance of your settlement account, simply click "Account Statement." From here you can your current balance information or update the date range to generate an on demand statement. You can also view past monthly statements by clcking "monthly statement."

If you need further help in the Back Office, you can reach out to our support team, view the Netbanx help documentation, or reach out to the Netbanx team directly for assistance. Click the help link to open up basic help documentation options or click "contact us" to create an email ticket. If the question involves a specific transaction, then you will want to copy that transaction id into the help ticket for faster response.


