Authorize.Net is a payment processing service. Whether you’re out in the field or at your desk, you can process charges right in your ServiceMonster account using your customer’s credit card details! Your customers will appreciate the convenience of being able to use their credit card, instead of having to use cash or check.
It’s completely free to enable or use the Authorize.Net integration through your ServiceMonster account.
Setting up Authorize.net as a gateway only
Adding the new Public Client Key
Setting up Authorize.Net as a merchant and a gateway
Using Authorize.Net In ServiceMonster
You can set up Authorize.net as either a gateway or a merchant, but what is the difference?
A Merchant is a go-between that connects your business (namely your bank) to your customer’s credit cards. In a retail setting, they provide the terminals the store uses to process the payment. That payment is authorized by the financial provider (Visa) and the Merchant ships the funds to your bank account.
A Gateway is another layer of technology which acts as a virtual terminal. It could come in the form of an online payment form or Application Programming Interface (API). The Gateway simply relays data to the Merchant, which in-turn processes the payment.
Authorize.Net is a good example of a company that provides both Merchant services and Gateway services. If you use Authorize.Net directly, the list price is 2.9%. This price reflects the Authorize.Net Merchant services which includes a Gateway option. However, you can also utilize them as a gateway to another merchant (such as your bank) to process the payments.
If you’d like to use Authorize.Net as a gateway only (the gateway from Authorize.Net supports hundreds of merchants, including most banks) follow the steps below.
Contact your bank and talk to someone about the merchant services they offer. Be sure to talk about your accounts receivable month volumes – this will have an effect on your rate. Do not accept a rate above 2.4%. If they are charging you more, you can most likely find a better rate somewhere else.
Verify that you can use Authorize.Net as a gateway to their merchant services.
Have the bank set up an account with Authorize.Net on your behalf.
Log into Authorize.Net (or create an account, if you don’t already have one), go to the Account tab and click "API Login ID and Transaction Key"

Take note your API login, and create a new Transaction Key. Select the "New Transaction Key" option and hit submit. You will then be shown the new transaction key that you can copy to clipboard. Note: Authorize may do a security verification check at this step that will send a code to the admin email address on file.

Next you will want to go back to Accounts and this time select "Manage Public Client Key."
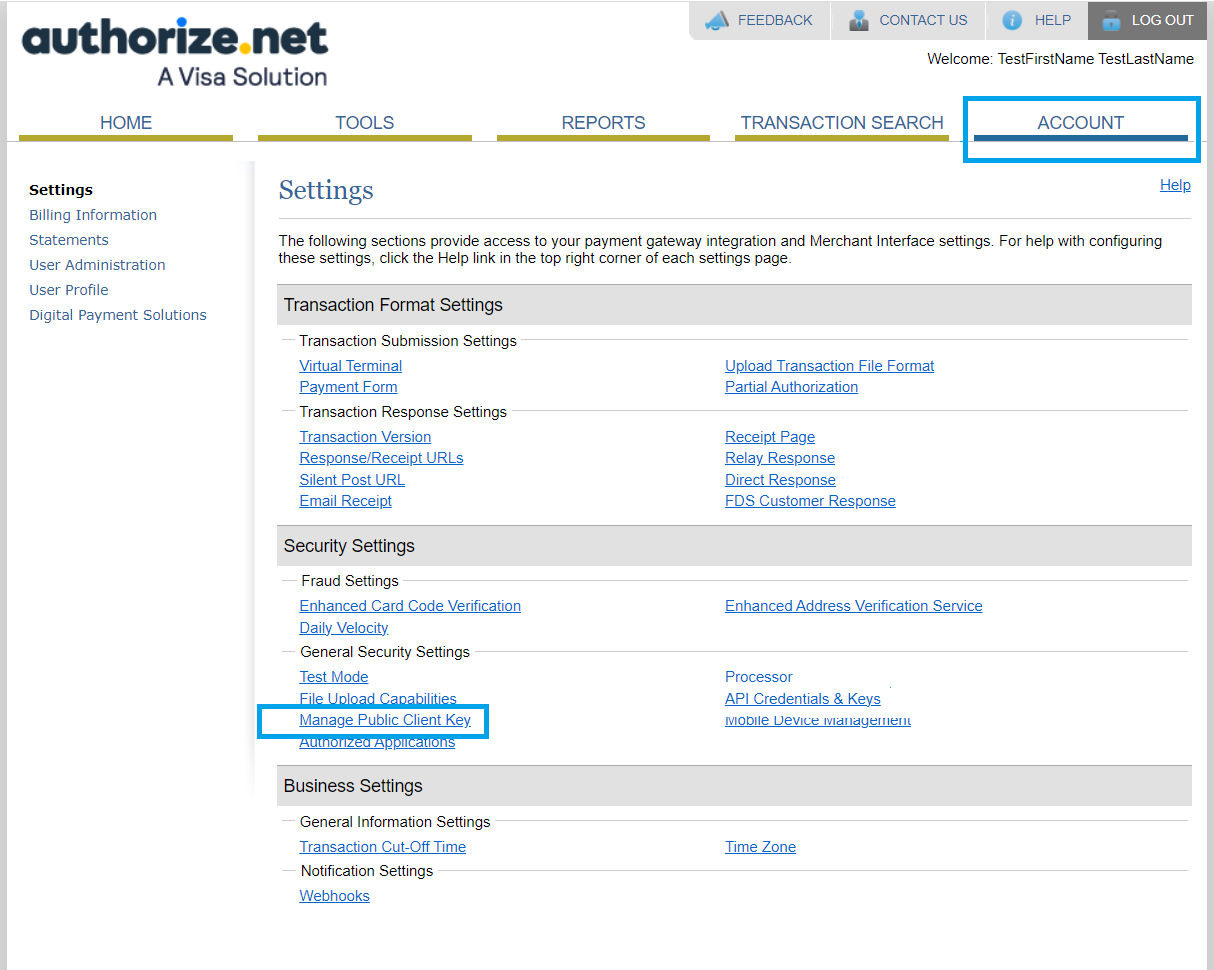
On this new page you can create a new Public Client Key if needed or copy the current one if it has already been generated.

Take note of the API Login ID and Transaction Key, and the Public Client Key, the information will be needed in the next steps over in ServiceMonster.
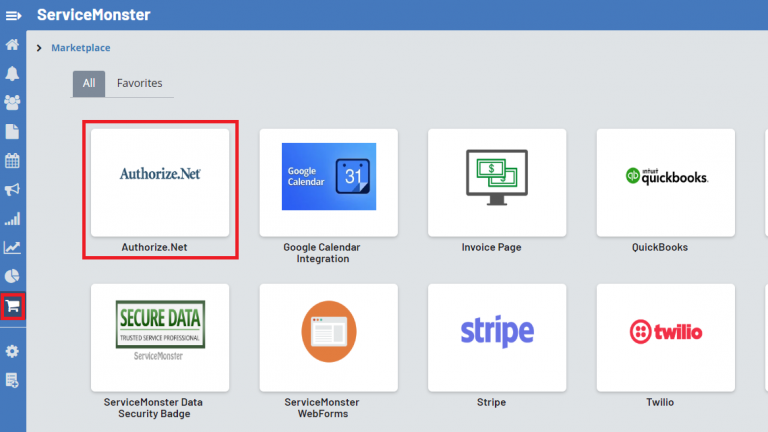
Open a new tab and login to ServiceMonster and click on the Marketplace tab, then click on Authorize.net.
Go to the configuration tab and enter the API Login ID, your Transaction Key, and your Public Client Key and hit Save.

You're all setup and can now process credit cards!
Keep in mind you that using Authorize.Net as both a merchant and a gateway means you'll be at the mercy of their rates
Sign up with Authorize.net by clicking here: https://www.authorize.net/sign-up.html
After you have been approved, login to your account at https://account.authorize.net.
Click on Account and under Security Settings click API Login ID and Transaction Key.
Next you will want to go back to Accounts and this time select "Manage Public Client Key."
On this new page you can create a new Public Client Key if needed or copy the current one if it has already been generated.
Take note of the API Login ID and Transaction Key, and the Public Client Key, the information will be needed in the next steps over in ServiceMonster.
Open a new tab and login to ServiceMonster and click on the Marketplace tab, then click on Authorize.net.
In the Configuration tab, enter the API Login ID and Transaction Key and click Save.
(Note: If you are having issues, do not copy/paste Transaction Key, manually enter it exactly as it appears.)
Once you save your API Login ID, Transaction Key and Public Client Key, you will be able to accept payments in both Mobile and ServiceMonster.
Once you have set up Authorize.Net, you will be able to run credit card payments through ServiceMonster via their service.
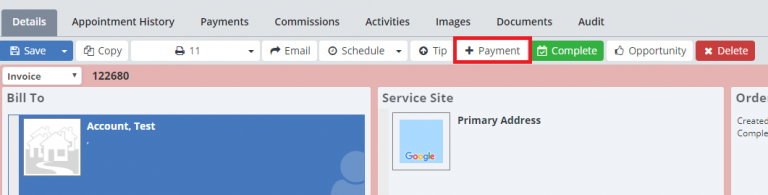
One way you can do this by clicking the "+ Payment" button on an Invoice
Use the "Run Credit Card" button at the bottom of the screen.
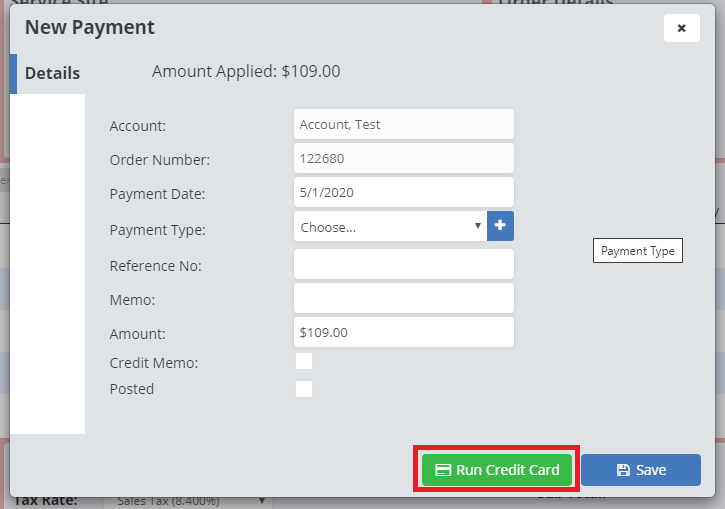
You will then be able to enter their Credit Card information and press "Run Charge" to run the card

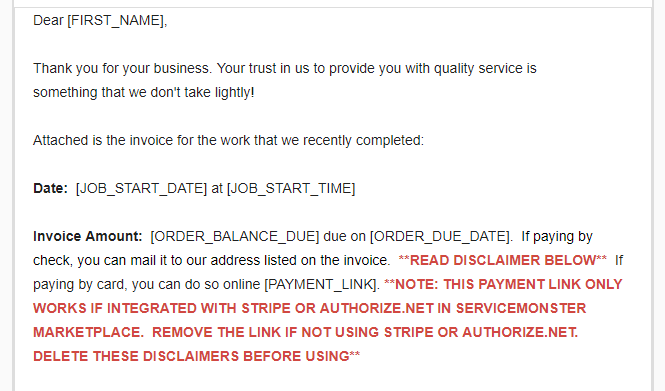
Another way is to send a payment link in an invoice email. If you look at the "Thank You - Invoice (Unpaid)" email template you will find that it includes a merge field for a payment link which allows clients to pay through Authorize.Net by following that link. You can customize your own invoices or payment emails and use the payment link merge field.
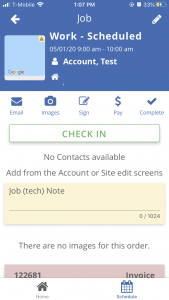
On mobile you can run payments by going to an invoice or work order, and clicking on the "Pay" button
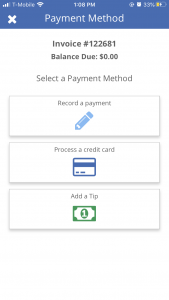
Choosing "Process a credit card"
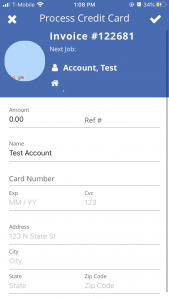
And then entering in their card details, and pressing the small check mark in the top right hand corner
If you have questions about how your Authorize.Net account works, please refer to their Support: Authorize.Net Support
In particular we recommend learning how to lookup transactions (Transaction Search) for details and/or refunds as well as learning about the Customer Information Manager (in Authorize navigate to Tools -> Customer Information Manager) to keep track of each customer profile that is stored for future use.
Click here to sign up for our training webinars.

