
How To Build The Client Retention Drip Campaign
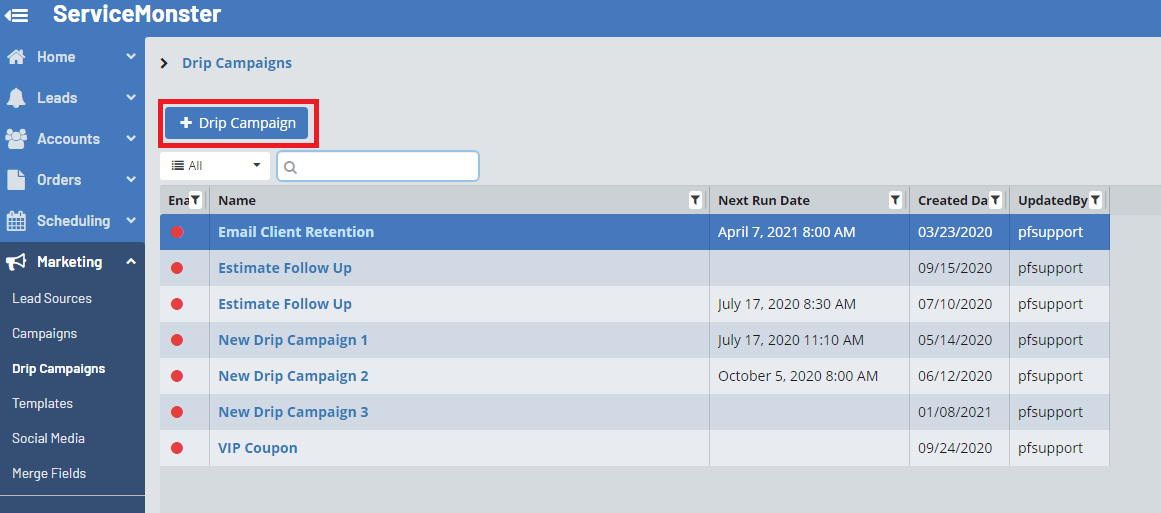
To create a drip campaign, go to the “Marketing” page using the left-hand side menu and select “Drip Campaigns”. This drip campaign can automate your communication with clients and remind them of the products and services you can offer them. It campaign works by sending out an email to your client based on the date that their last invoice was finished in the system. In order for this campaign to work efficiently, you will need to be actively completing your invoices in ServiceMonster. To follow up on your Estimates, click here to create an Estimate Campaign.

Click on the “+ Drip Campaign” button.
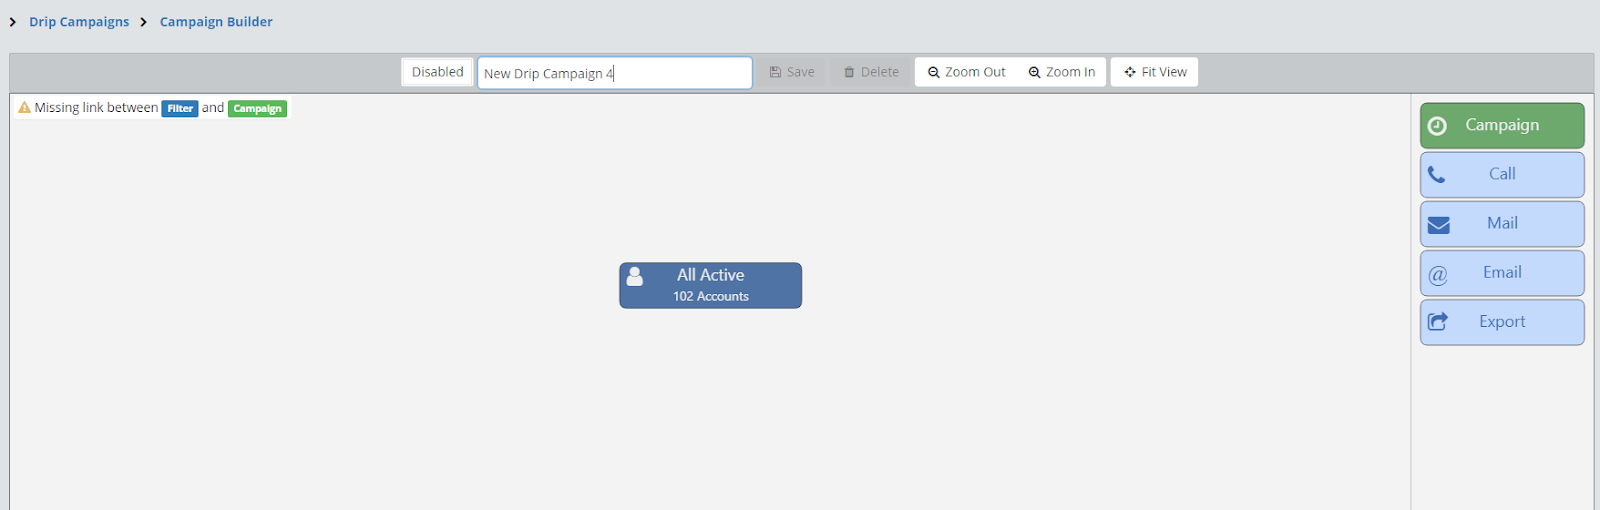
Rename your campaign in the textbox at the top of the campaign builder.
Creating The Campaign Audience
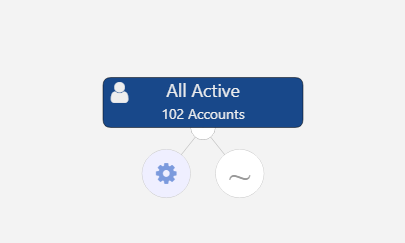
To edit your audience, click on the dark blue “All Active” button, then click on the gear icon.
This will open up the custom view builder, on the left-hand side you will be able to view and edit the filters being applied, on the right you can see what accounts are being included in this campaign. (Click here to view a list of all the filters you can use on marketing campaigns)
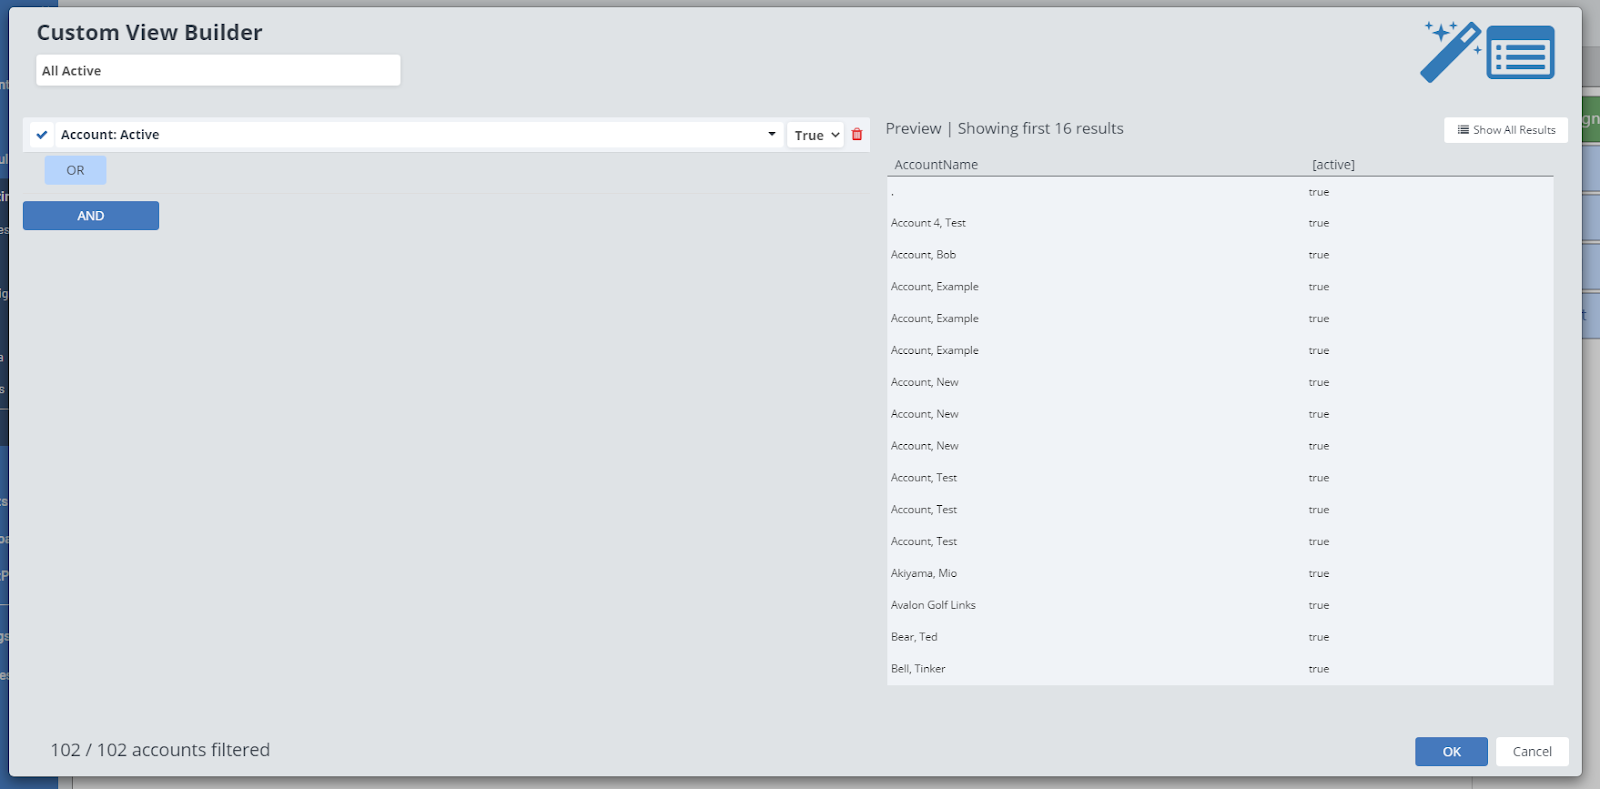
For this campaign, we will want to include the following filters:
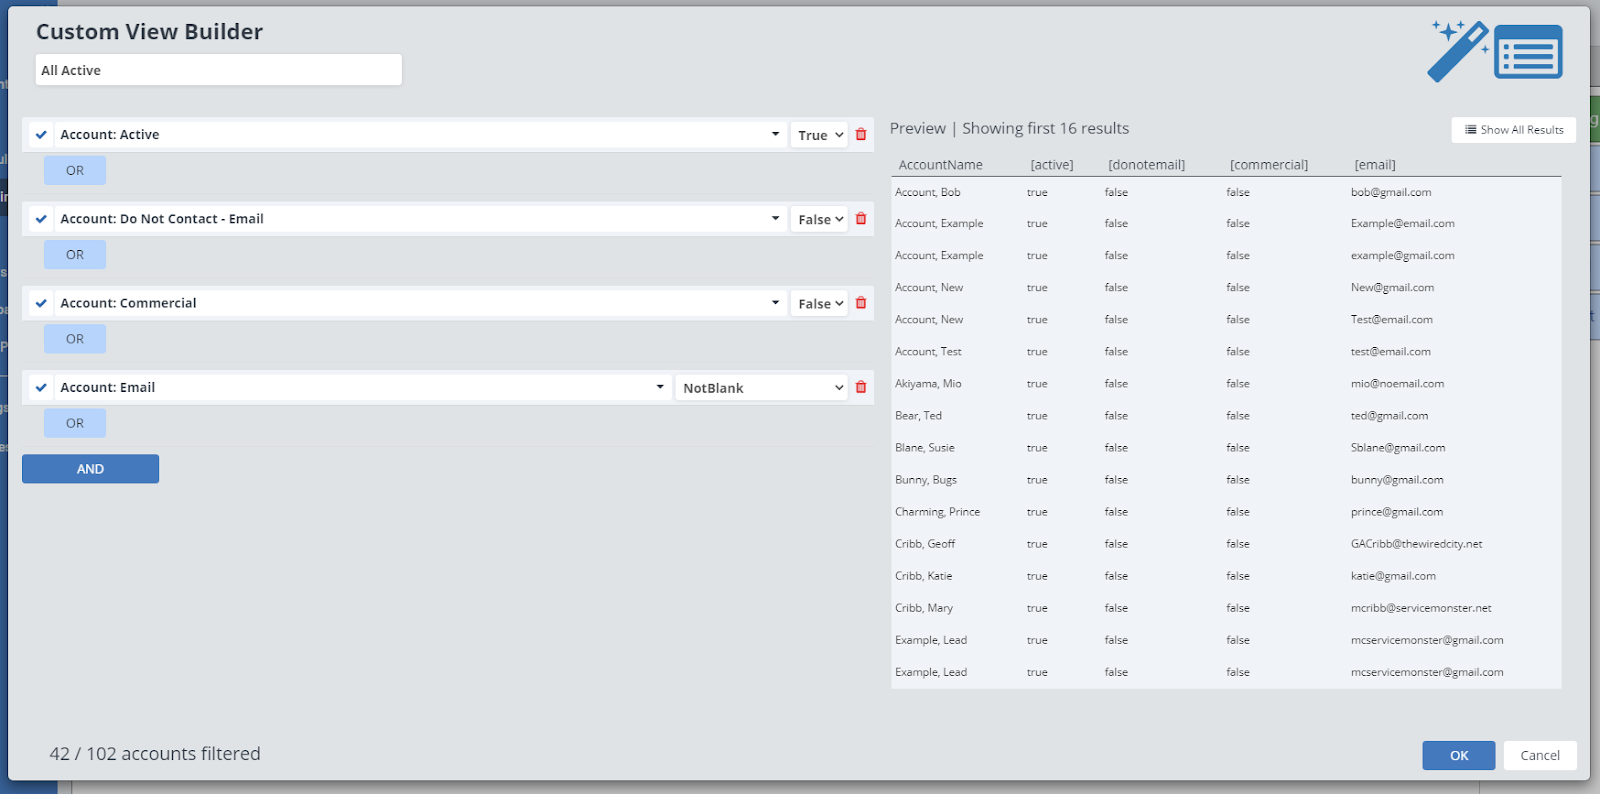
“Account: Active” set to “True” so we are only contacting active accounts.
“Account: Do Not Contact - Email” set to “False” So we are only contacting accounts that are not set to do not contact for email.
“Account: Commercial” set to “False” so we are only contacting residential accounts.
“Account: Email” set to “NotBlank” so we are only contacting accounts that have an email address.
Click on the “Ok” button.
Adding in the Campaigns
Next, you will add in the campaign. This is where you create the rules for what needs to happen in order for an account to receive this email, call, or mail, and when it is going to send out.
Click on one of the green “Campaign” buttons from the right-hand side and drag it underneath the dark blue audience bubble.
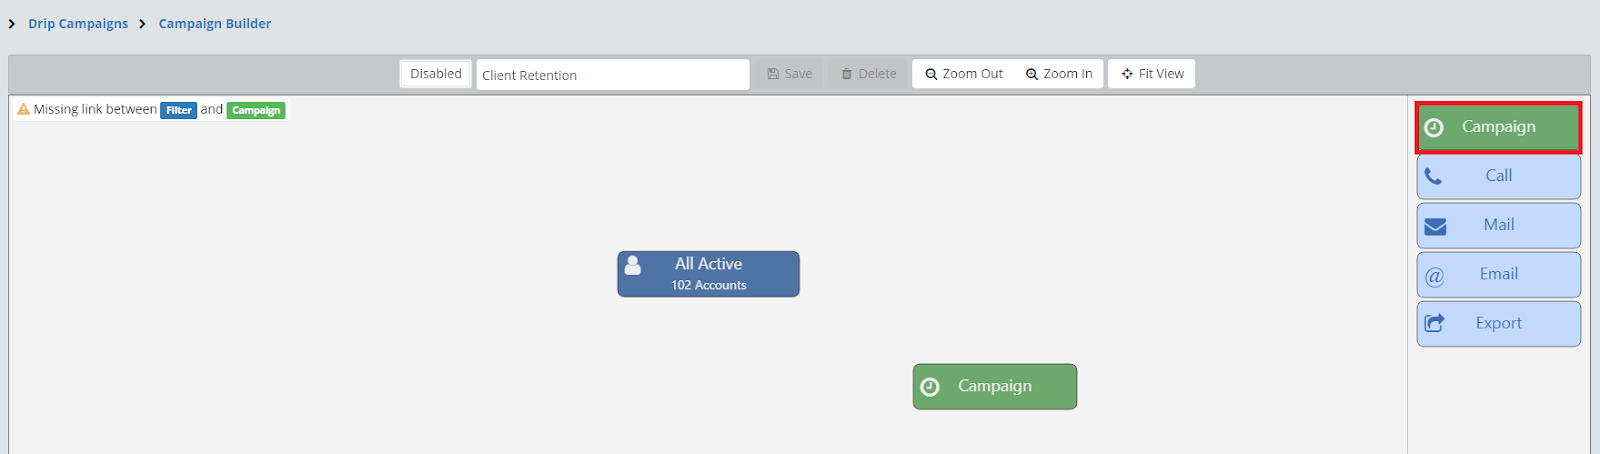
It will automatically connect the “Campaign” bubble with the audience bubble. A campaign window will open.
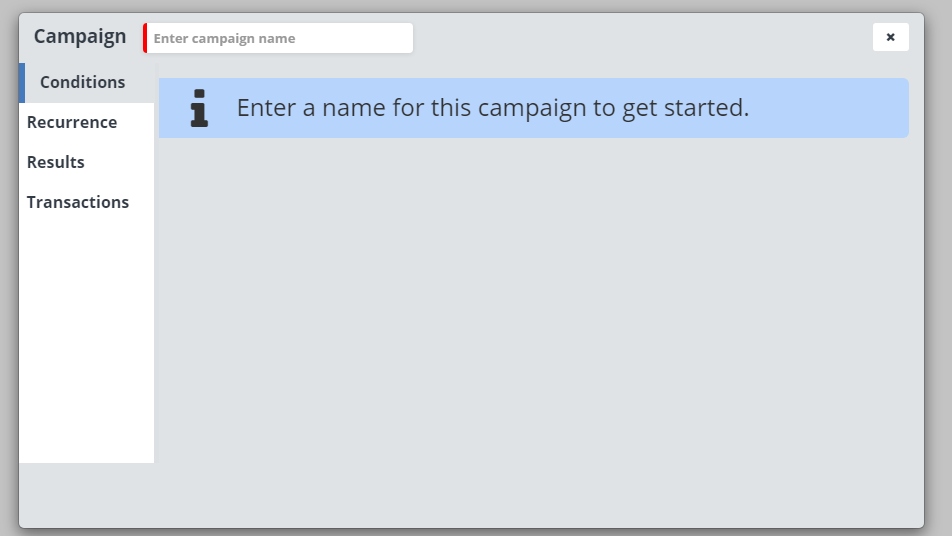
Give this campaign a name. I am going to be calling this step “Three Month Reminder” as it is going to be an email that sends three months after the last invoice on the clients account is completed.
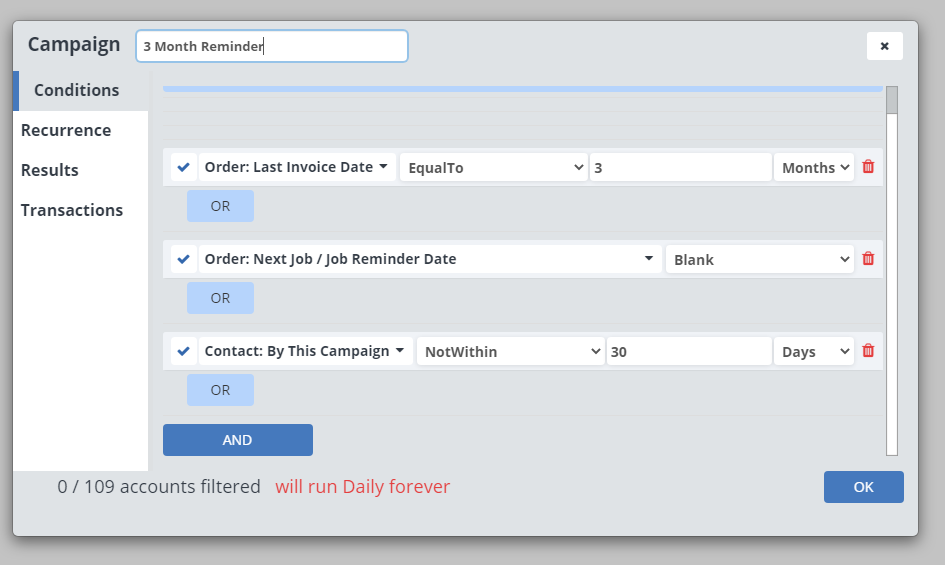
For this campaign we will use the following conditions:
Order: Last Invoice Date - EqualTo 3 Months
Order: Next Job/Job Reminder Date - Blank
Contact: By this Campaign - NotWithin 30 Days
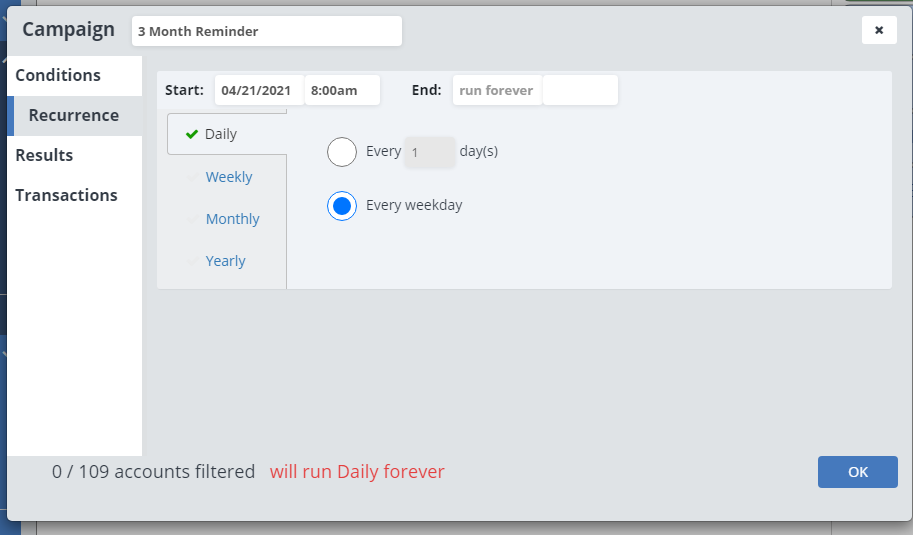
In the Recurrence Tab you can set how often this campaign will run. For the client retention campaign, you should set the campaign to run either every day or every work day for best results.
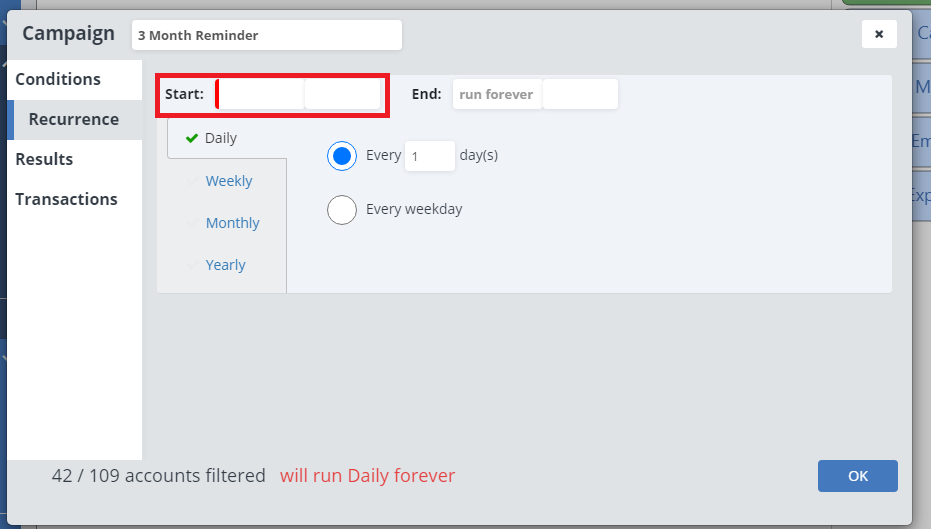
In the start box you'll be able to select what day this campaign will start running on and then what time this campaign will run at be sure to pick a time that you think people will be checking their email around so perhaps around 8 a.m.
In the results tab you'll be able to see any clients who could be included in this campaign if you were to start running it today. In the transactions tab you'll be able to see information on every time in the past this campaign has ran including dates and list of what clients were included on that day.
Adding The Email
Last, we will be choosing what will happen when all of the conditions for our campaign are met. In this case, we want the system to send an email to our client.
To do this, drag and drop the light blue “Email” From the right hand side menu on to the main part of the campaign Builder. It will automatically attach to any open campaigns.
Here you can enter in information about the email itself, which will send once all of the conditions in the green campaign bubble are met.
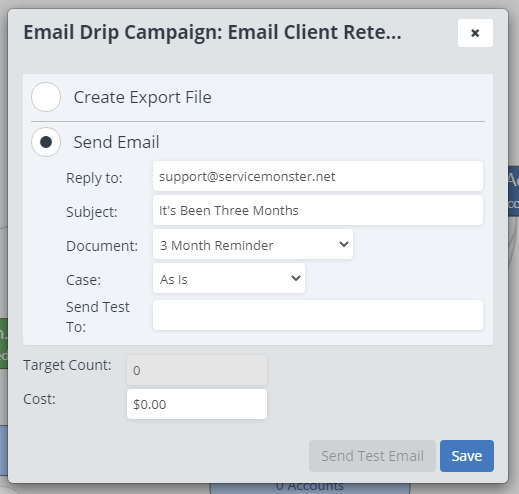
Reply to: This is the email address it looks like this email is coming from.
Subject: This is the subject line of the email itself.
Document: Here you can select the marketing template that you are going to use for this campaign if you want to learn more about marketing templates click here.
Case: This is where you can adjust the casing for the email.
Send test to: This is where you can choose a email address that you want to send a test email to.
Target count: This is the number of accounts that are being reached out to buy this campaign.
Cost: If you have any Associated costs with running this you can enter that here.
Click “Save” and the first leg of your campaign is completed!
Repeat
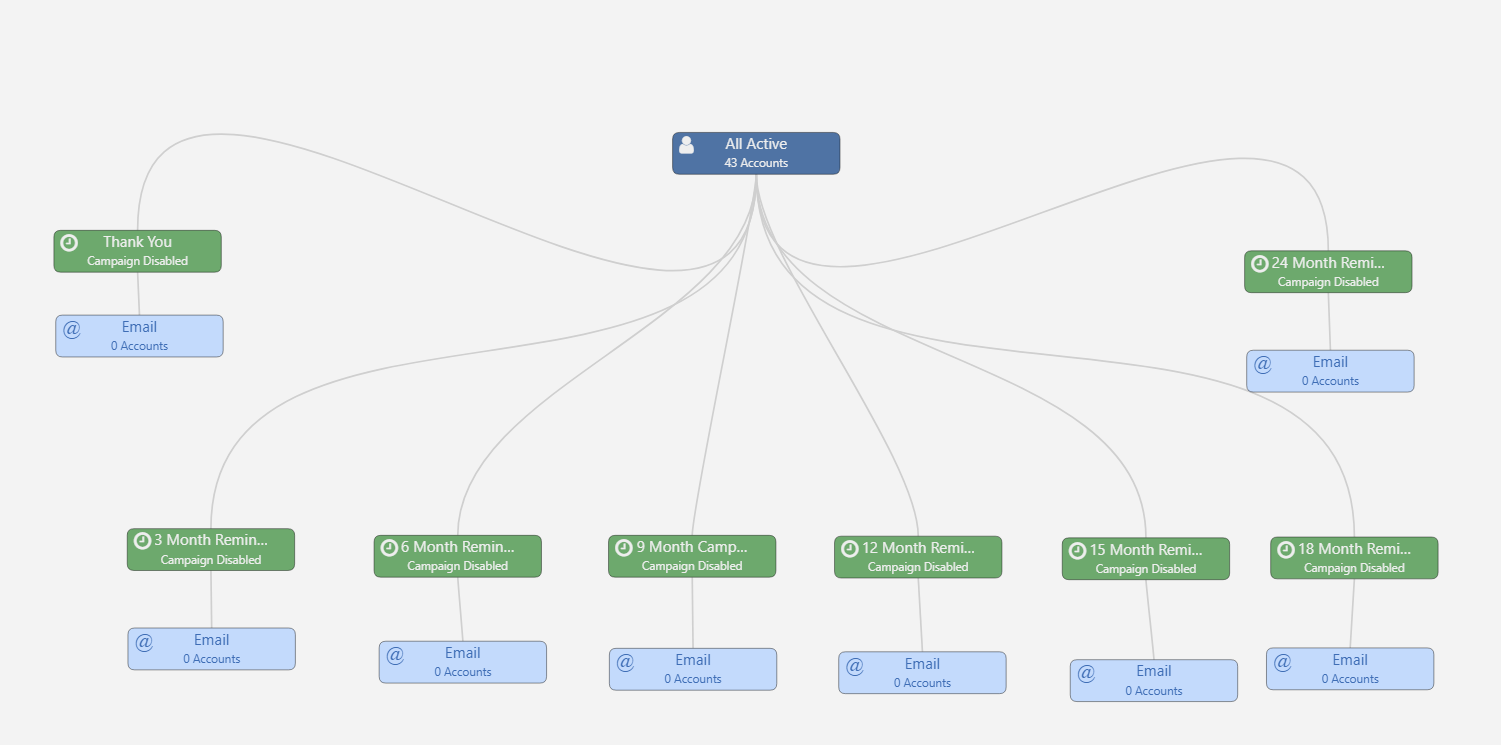
You can now go in and add as many campaign steps as you’d like! Use all the same conditions, and simply adjust the last invoice date filter to create emails that will send 6 months, 12 months, 15 months, ect after the last invoice in your clients account!
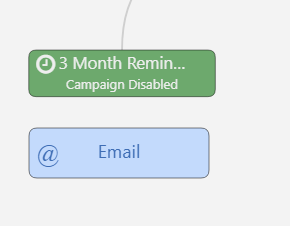
Starting the campaign
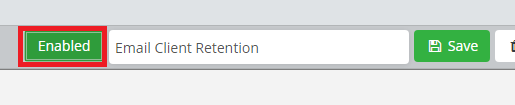
To run the campaign, click on the “Disabled” button next to the campaign name so it says “Enabled” and click “Save”. Your campaign will start running automatically the next day.