Where Are Routes On My Schedule?
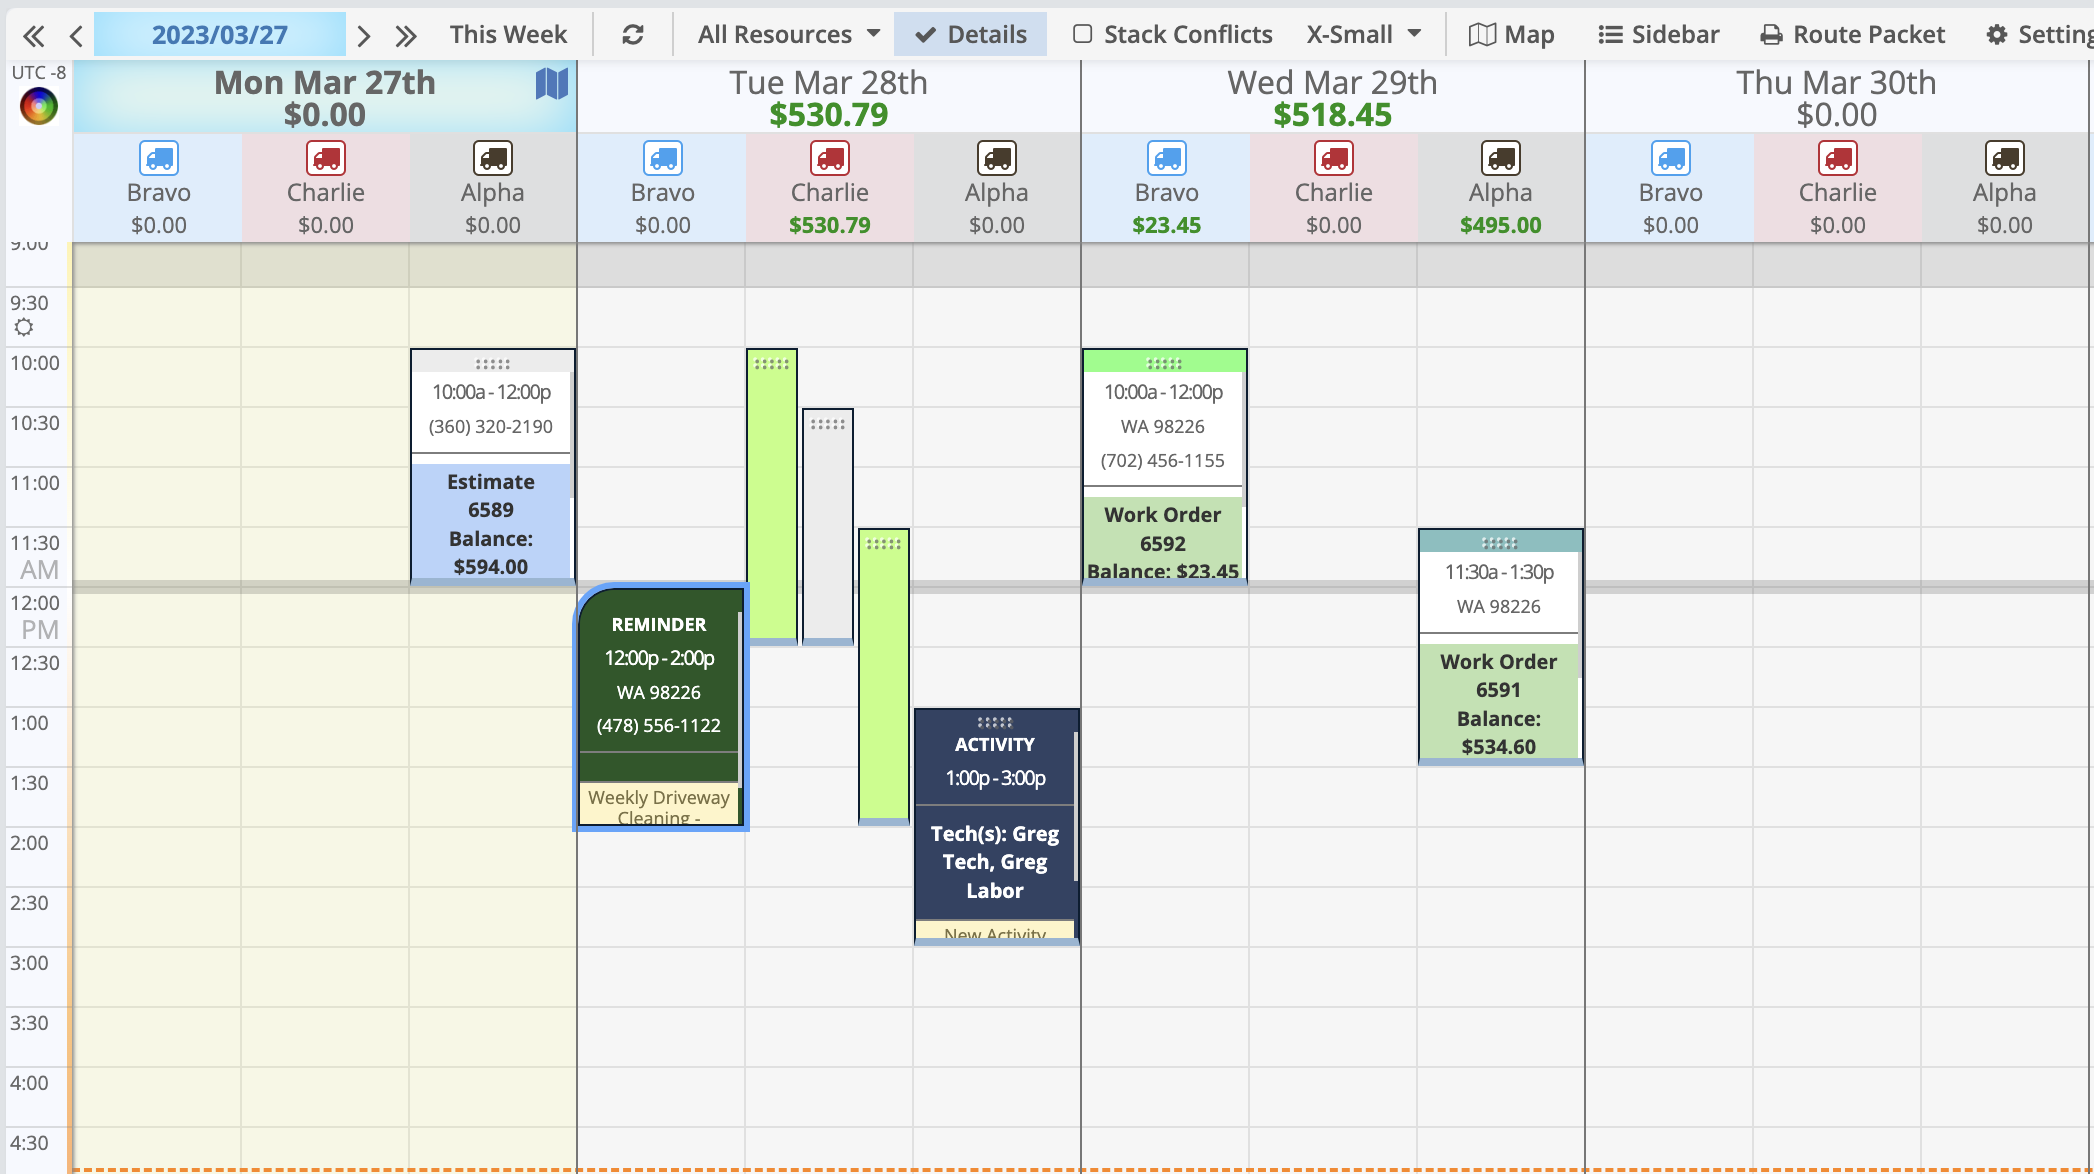
Routes are the columns that appear on the Schedule. Appointments are then assigned to Routes. The example below has three different routes, each with a different name and assigned color.
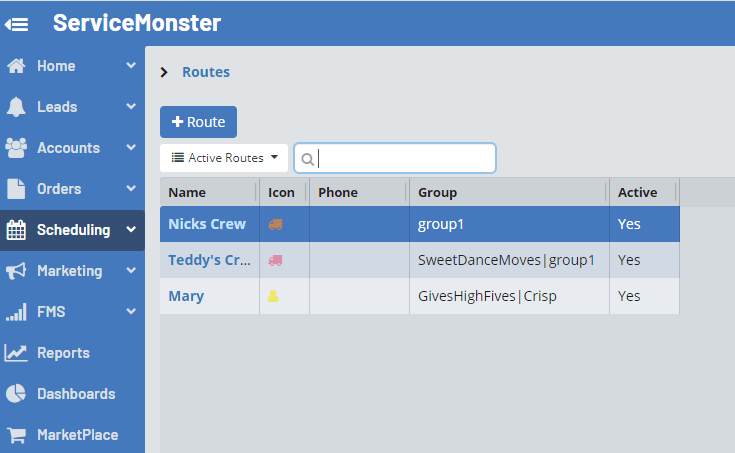
You can access the Routes page by clicking on "Scheduling" in the Main Menu, and then on "Routes".

From the Routes Page, you can see information about your current routes by clicking on the name of the Route, or create a new route by clicking on the "+ Route" button.
Once you click on the "+ Route" button, the "New Route" window will open. In the "New Route" window you can add in the details for the route, including:
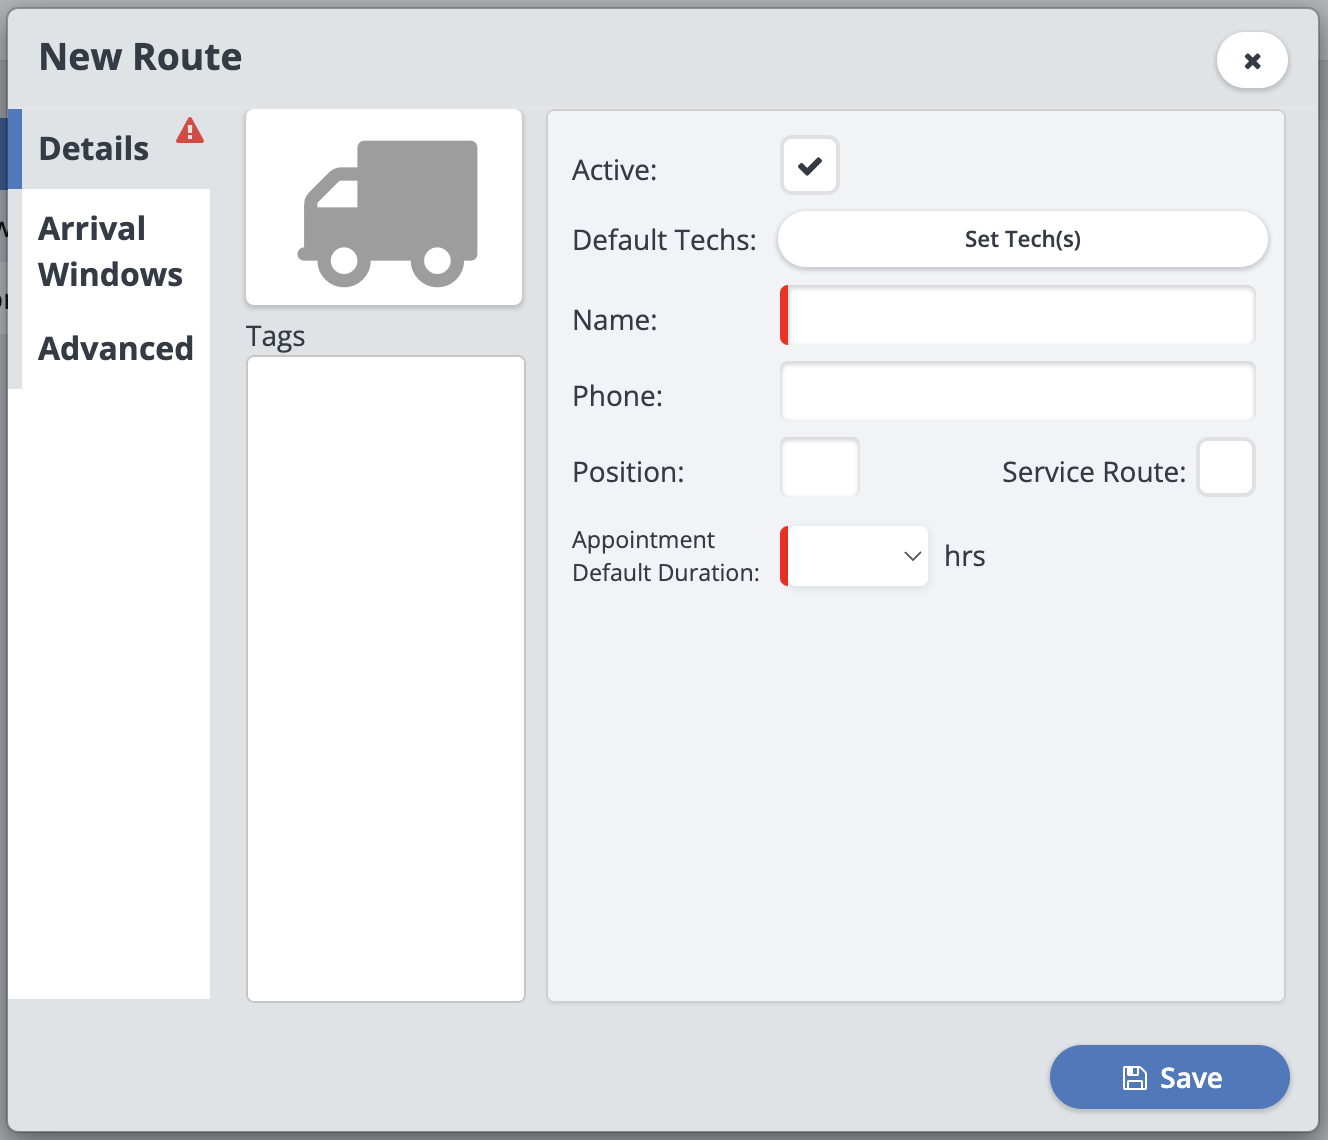
Icon: You can change the image and color for the route by clicking on the gray truck icon.
Default Techs: You can assign specific techs to the route, they will be automatically assigned to new appointments scheduled to the route.
Active: Check this box if want this route to show up on the schedule, to remove it from the schedule uncheck this box.
Name: The name for this Route.
Phone: (Optional) A phone number for this route so that your office staff can easily get in touch with the technicians if needed.
Position: What position this route shows up on the schedule (unless organized alphabetically).
Appointment Default Duration: What any appointments scheduled for this route will have as their default duration.
Tags: Think of these as tags on social media, you can add in grouping names or add tags you want to use to identify different groups. These groups can then be selected on the schedule to quickly view only the routes needed for a particular service (or other purpose). To create a new one, type in the name of the Group (or Tag) that you want to create (i.e., Estimates). You can create multiple groups and assign a route to as many groups as you need. Also, no spacing is allowed in the group names (i.e., Rug Pickup would need to be entered as Rug Pickup).
Service Route: The "Service Route" toggle gives you the option to "hide" a route from being included in the dashboard calculation. In other words, this indicates this route is revenue producing and providing services for your clients. Check the box to include it in the calculation, or turn it off otherwise.
How To Change Which Routes You See On The Schedule
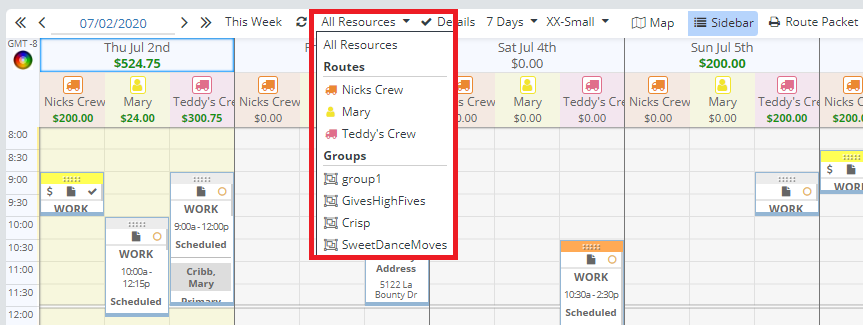
From the Schedule, you can change how many routes you are looking at by clicking on the "All Resources" button at the top of the schedule.
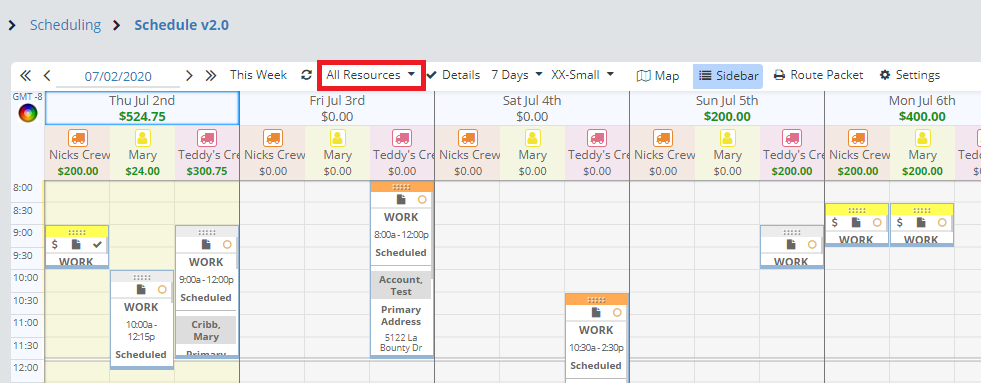
This will open a drop-down menu where you can pick from all your routes, one route at a time, or see the routes that are in the different groups you created with your route tags.